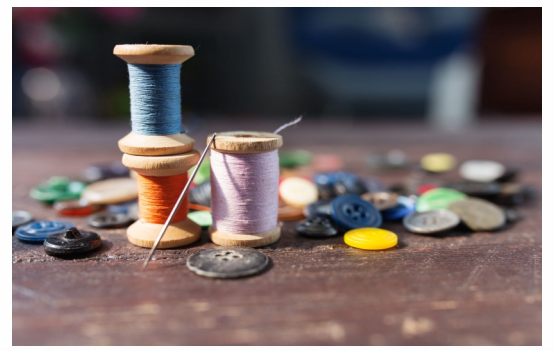
Buttons come in a huge variety of shapes, sizes and materials – though when it comes down to basics there are really only two different types, flat (those with holes that you sew through) and shank. You can attach buttons by hand or use a special button foot on your sewing machine that has a small U shaped base covered in a rubber material – but do be sure to refer to your sewing machine manual before attempting this.
You should always choose a button with a depth and diameter that suits your buttonhole. If anything it should be quite a snug fit when passing through the buttonhole as these do tend to stretch and give with use and time. When you’re sewing on buttons by hand it’s best to double your thread to make it stronger.
When sewing on flat buttons that are going to be used as a fastening then it’s good practice to create a thread shank which will allow a bit of space between the button and the fabric that will make it lie better. To make a shank push a cocktail stick between your button and the fabric and stitch the button on loosely a few times. Then remove the stick and wrap your thread round and round the stitched threads beneath the button to create a shank, securing firmly on the back to finish.
Shank buttons have a hole or loop at the back that you stitch through to attach the button to the fabric. This makes them great for thicker fabrics and outerwear.
If, in spite of the variety available, you can’t find exactly the right button to suit your project then you might like to try covering your own. These buttons come ready to be covered by placing a circle of fabric (especially pretty if enhanced by a tiny embroidered motif) on the front of the button and snapping the back into place using the special tool provided. This is a great idea for soft furnishings and for creating a coordinated finish.
We hope you’ve found our (very!) little guide useful – if you’ve got any tips for working with buttons please leave them in the comments below. We’d love to know!
Check out our other ‘Little Guides to….’ HERE
Article originally appeared in Bustle & Sew Magazine
Dear Helen
Thank you for all your work with your designs, website and blog. I enjoy browsing for inspiration, though there never seems to be enough time to do everything that takes my fancy! I am creating a button collage (of sorts) as a birth sampler for a friend’s son. She wants it in an oval frame so rather than using a fabric that will need to be stretched, I thought to sew or glue them onto something firmer that can be cut to fit the frame. Do you have any suggestions for backing material? I thought of a think felt, but would that sag after a while of hanging?
Best wishes
Vi
Hi Viv, thanks for your kind comments – I wonder if perhaps using fusible interfacing on the back of the felt might be a good idea? xx
Just a note for Viv. I frame a lot of my embroidery in hoops and typically use felt as a backing. I use wool-blend felt and have never had any problem with sagging. Admittedly, I live in a dry climate so humidity isn’t a factor. Just make sure you glue or attach it securely to the frame.
Thanks so much for the tip Judy xx