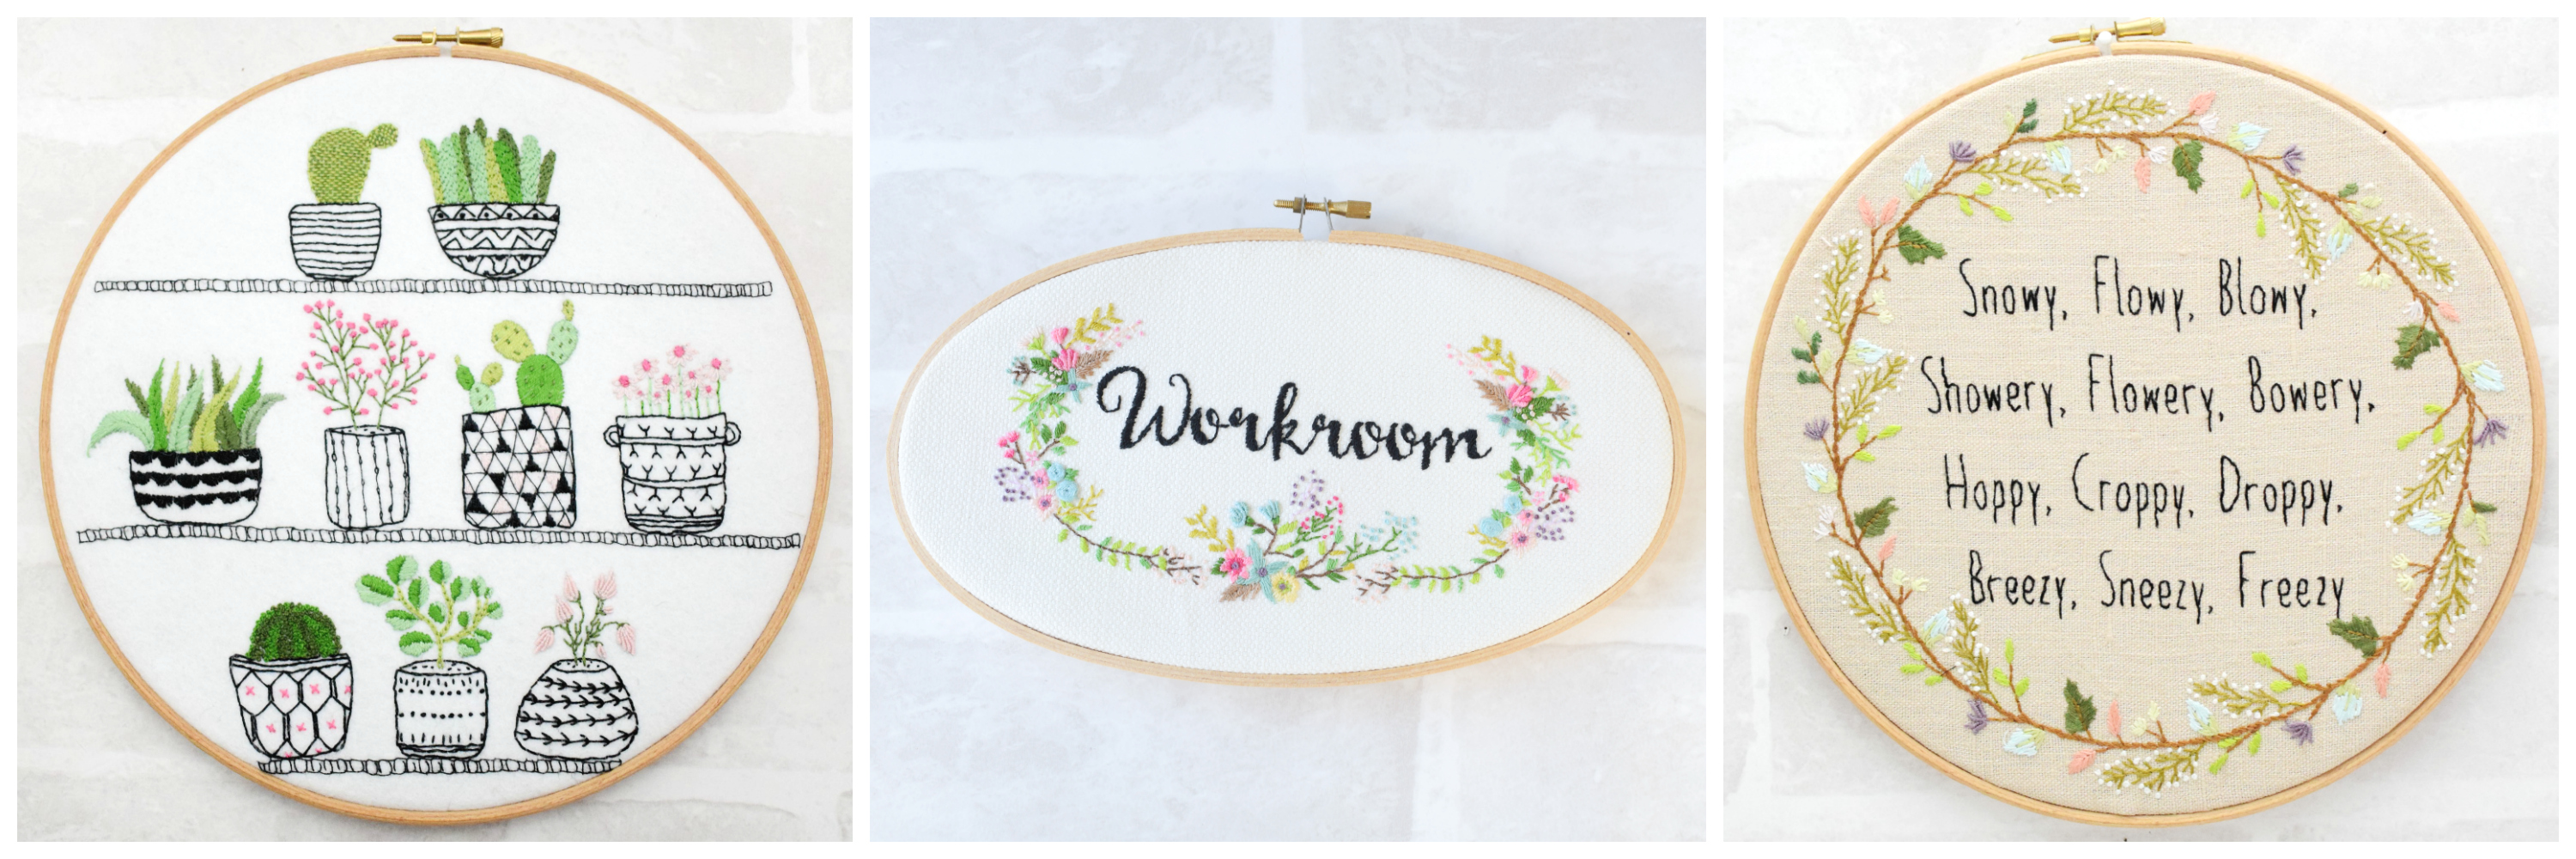
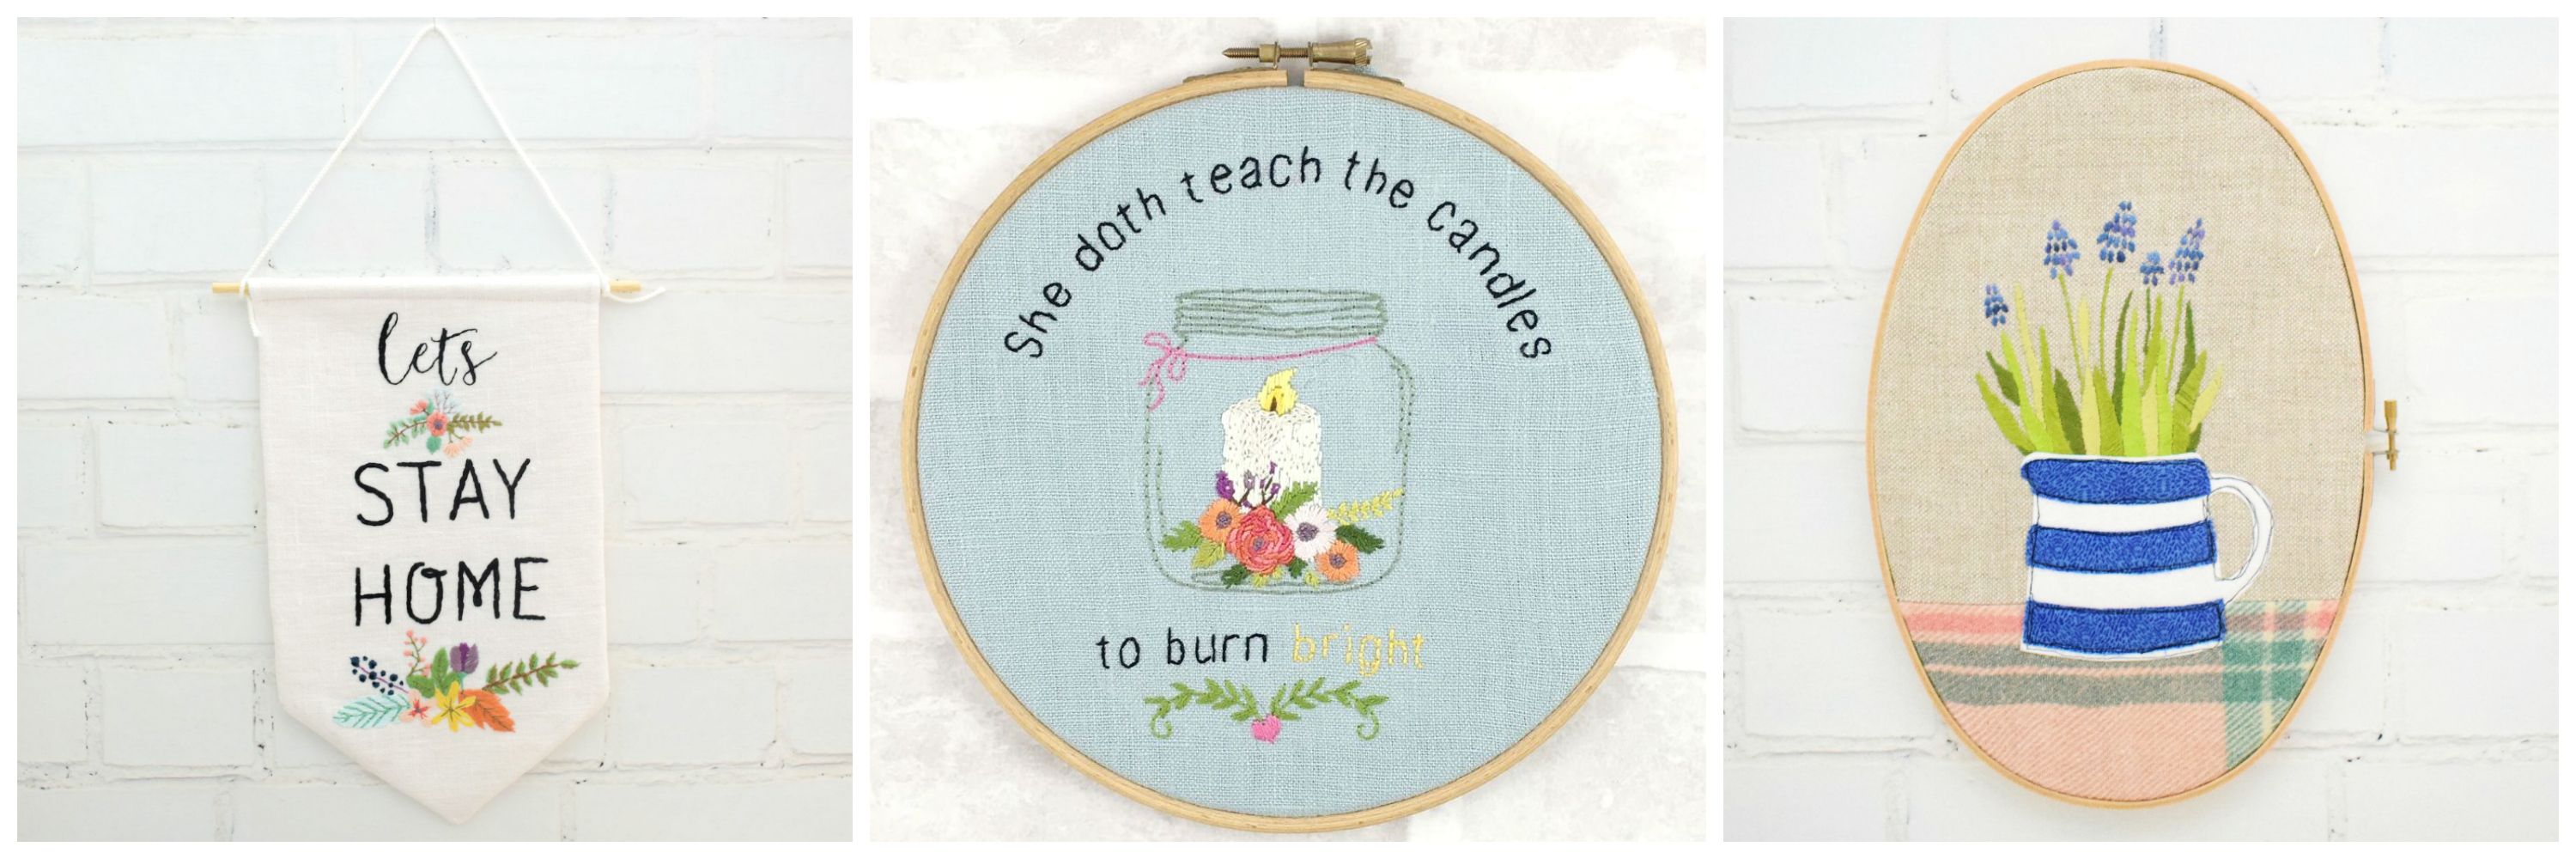
Hand embroidery is a fun and rewarding pastime – and like any pastime there are some hints and tips that help your stitching go smoothly…
In any Happy Stitcher’s life the most exciting moments of all are those when you’re about to begin your latest, most exciting-ever project. You’ve chosen your fabric and floss, transferred your design, your fabric is in your hoop and you’re about to thread your needle. An easy rule of thumb is that the thickness of your needle should match the thickness of your thread. If you’re using stranded embroidery floss, then this can be split. The number of strands of floss you use will depend upon the fineness and detail of the stitching in your project.

When you’re deciding how many strands of floss you need (if your pattern doesn’t tell you) then a simple rule is never to use a thread which is thinner than the thread of the material – it will look insignificant and puny against the background. My mum taught me this simple rule of thumb and it works in 99% of cases – the exception being if you’re working very fine detail in a small area of your work.
The Happy Stitcher winds her skeins onto bobbins…
I would highly recommend that if you want to be a Happy Stitcher then you should wind your skein onto a bobbin before you start. It is possible to pull floss straight from the skein if you pick the right end, but this is very risky – you are quite likely to end up with a nasty tangled mess – and even if you avoid this, then as the skein gets smaller, the bands will slip off and you’ll have no idea what colour you’re stitching with. (Take my word for this as one who knows!).

Bobbins are readily available, either plastic (which can be reused again and again) or cardboard. You can also buy thread sorters – pieces of card with holes punched to loop the floss through – these can be good while you’re working a project, but at the end do remove the floss and store on bobbins. You may think that I’m a bit obsessed with this, but do trust me when I say floss isn’t especially cheap, and it has a mind of its own – tangling at every possible opportunity, which leads to waste and frustration.
*All patterns included in this post are available to download from our store*
Hello Helen, You have my full attention on this bobbin thing. So are you speaking of Sewing Bobbins? And so you wind the floss on the bobbin, then do you just pull off the piece you want when embroidering, cut your piece of floss and embroider. And if you are winding the floss on the bobbin how do you know what the color # is if you have removed the band with # on it? Did I miss something…lol I probably did. But I kept reading it and trying to figure out the reason for the bobbin besides the
tangling.
Hi Peggy thanks so much for your comment – sorry for any confusion. Rosie is talking about special plastic (or sometimes cardboard) bobbins you can purchase specifically for embroidery floss. I’m afraid I’m not organised and patient enough to use them but if you are then they’re absolutely fantastic for keeping your floss in good order and tangle free. You just wind your floss onto the bobbin and write the number onto the bobbin itself so no more bands slipping off skeins. I can’t post a picture in this comment I’m afraid, but if you just google floss bobbins then I’m sure everything will become super-clear! Hope this helps! Helen xx