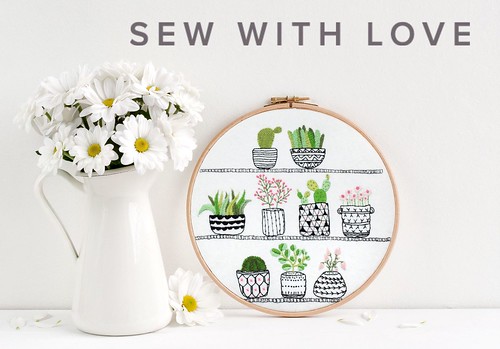
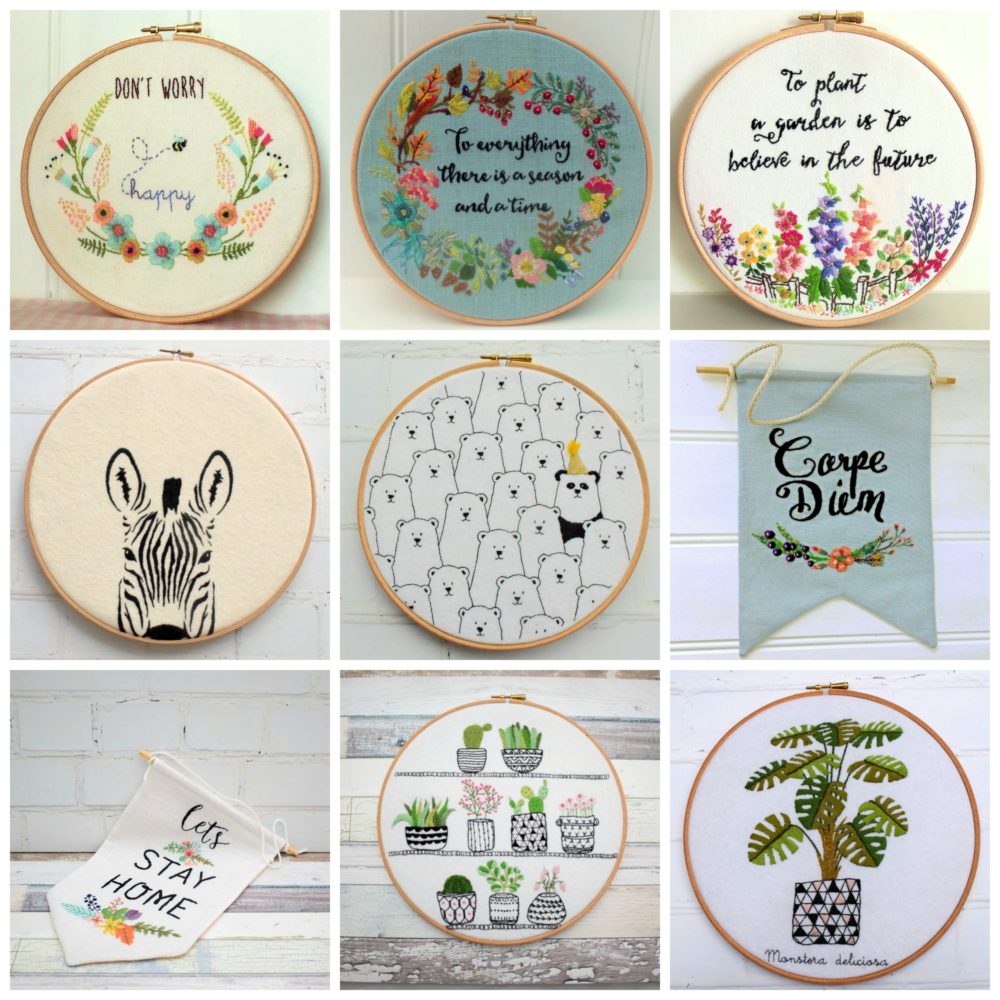
I posted about Sulky Sticky Fabri Solvy about a year ago now, so I thought it might be time to revisit my post, and let you know how everything’s going with it. Overall, I’m still a lover of this product which has definitely revolutionised the way I work, especially for more complex patterns such as my Rosie’s House Plants Hoop above.
You can purchase Sulky Sticky Fabri Solvy in two forms – either on a roll or as 10 x 8″ sheets. I have tried both, and whilst the roll is certainly more economical as you need only use the exact amount for your design, for me it has one major drawback – which is that you still have to trace the design. This is because the curl of the roll has made it impossible to for me to successfully get my printer to print on it. So I always purchase the sheets …

The Sticky Fabri Solvy sheets are made up of two layers – a paper backing layer and a non-woven fabric-type layer. This is the side that you print on. Yes – print!! Whoopeee!! No more tedious tracing – this product makes it possible to transfer even the most intricate designs totally accurately…..

I don’t know if you can see properly here – this is the fabric side uppermost. As you can see it’s quite a lightweight product, so it’s still possible to see your backing fabric while you’re stitching. Remember what I said about more intricate designs?
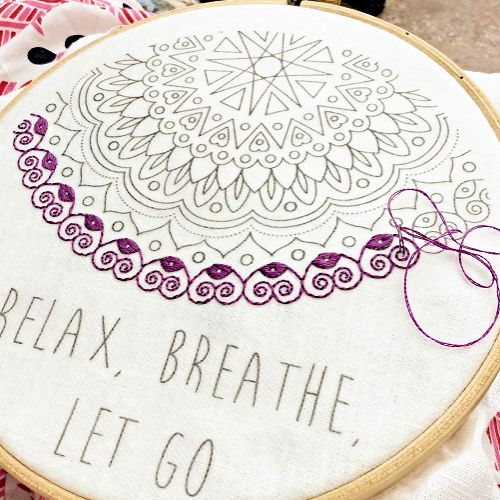
Here I’ve printed my Festival Mandala design (from the August 2016 Magazine) and am working through the Sulky Sticky Fabri Solvy onto white linen. One issue I’ve found with Sulky Sticky Fabri Solvy (I do wish they’d think of a shorter name!) is that you can’t properly see the colour of your background fabric through it. This isn’t a problem when embroidering on white or cream of course, or if you’re working from a pattern, but can be a little more challenging when you’re making it up as you go along designing a new pattern!

This is part of an embroidered iPad cover which I was working on a beautifully rich gold-coloured linen background. I’m sure you can see the problem – it’s really hard to see how the finished design will look – until I turn my work over ….

And then the colours really sing. That little cow parsley isn’t all wishy-washy after all, but will stand out against the background fabric just as I hoped. Result!
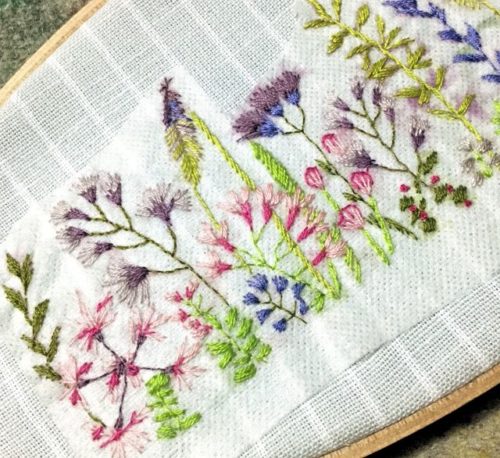
The fabric layer has a sticky back, so when you’ve printed your design you simply peel it away from the paper backing and press into place on your background fabric where you want your design to be. Unlike some other stitchers, I haven’t found a problem with sticky residue on my needle at all, and the sticky fabri solvy acts as a stabilizer which can be helpful. The linen I chose for the project above had a fairly loose weave and I wanted to create quite a complex design stitched with only a single strand of floss. I think I would really have struggled – if I could have achieved my desired result at all – if I had been tracing the pattern in the “old” way.
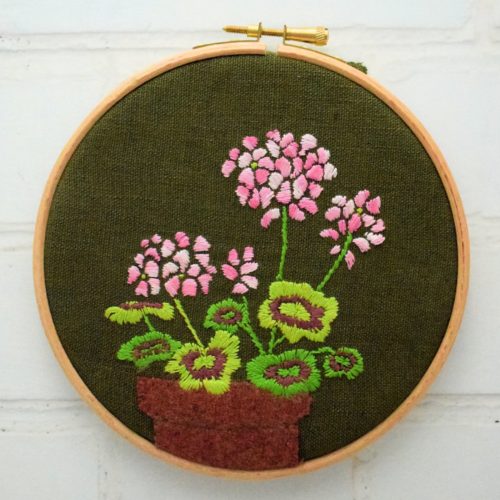
Using this product also makes it easy to transfer your design to thicker fabrics that you can’t trace the pattern onto, as well as textured or dark coloured fabrics like the olive green linen I used for this geranium stitchery. When you’ve completed your stitching you simply immerse your work in cold water …

I usually put mine into the water upside down so any residue, and printer ink particles, can disperse to the bottom of the basin, but here it’s the right way up so you can see how the Fabri Solvy is beginning to curl and disappear ….

Here it’s been in the water for about five minutes. I usually leave mine face down for at least an hour to make sure every little bit has dissolved away, and then I rinse thoroughly. (do check that your fabric won’t shrink though – and be sure to pre-wash if you’re in any doubt at all). The only issue I’ve had is if I don’t rinse thoroughly, and leave any printed particles behind, then my printer inkjet inks can bleed into my background fabric. But that really is my fault for not rinsing and these days I’m super careful, often leaving my design overnight to make sure every particle of ink has dissolved out of the design.
Want to know more? We’ve put together a whole booklet on the best ways to transfer your embroidery pattern – just click below to get your FREE copy!
I did wonder if a lot of people had been put off purchasing Sulky Sticky Fabri Solvy by having to buy a pack of 12 sheets all at once – especially as it isn’t a particularly cheap product. I was talking to Rosie about this and we came up with the idea of offering single sheets pre-printed with a Bustle & Sew design for those who’d like to try it for themselves. I’ve chosen nine of our most popular designs to begin with – but if you’d like one that isn’t there then please let me know. Pre-printed sheets are currently listed in our Etsy store only and you can find out more HERE.
Happy stitching!
What kind of fabric and fabric line can be used with the
Sulky Sticky Fabri Solvy To Transfer.
Tks Beatriz
Hi Beatriz, you can use any kind of fabric, as long as it can be soaked in cold water to remove the Sulky Sticky Fabri Solvy. And it’s worth pre-washing if you are at all concerned your fabric may shrink – I find some wool blends are particularly prone to this, even when I use cold water. xx
Hi, just curious if you have tried using freezer paper to stabilize your piece of Solvy off the roll? I have used freezer paper many times for sending stuff through my printer that was otherwise too flimsy or curled, etc to go through on it’s own.
Thanks for sharing your tips, I always enjoy seeing your patterns and ideas.
XOXO
Robin
Hi Robin, thanks so much for that idea, I hadn’t thought of that and will definitely give it a go! xx
Please can you tell if you can us the sticky Fabri Solvy with the magic pen or it’s called punchneedle you push the neeedle in and pull it out to make the stitches
Thank you (Mrs Mary Bell)
Hi Mary, I’m really sorry but I’m afraid I can’t help you here as I’ve never tried this type of work.
Is it possible to just tear away the stabilizer after embroidering, e.g. on flannel?
I don’t think I would want to try that – as it’s adhered to the fabric you’d have to pull quite firmly to release it and I think it would damage your stitching. x
Maravilhosoooooooooooo demais 😍😍😍