First of all, a great big “THANK YOU” for all your kind birthday wishes. I did indeed have a lovely day – and an especially lovely time beforehand too, as I was away for a few days – I’ll tell you all about my special birthday trip later this week.
Of course Christmas is drawing ever-closer and so I’d like to share my Christmas tree stand cover idea with you. This came about because, as usual I have been dreadfully disorganised. I had planned to make a Three Kings tree skirt, but I didn’t get around to it so was faced with, once again, the problem of disguising the horrid plastic log at the bottom of my tree. And I didn’t want to spend lots of money as I WILL make a tree skirt next year – I hope! So …. I had a rummage around my workroom and managed to put together what I think is a rather nice cover, using only items I had to hand. And it can be easily dis-assembled once Christmas is over and everything reused for future projects.
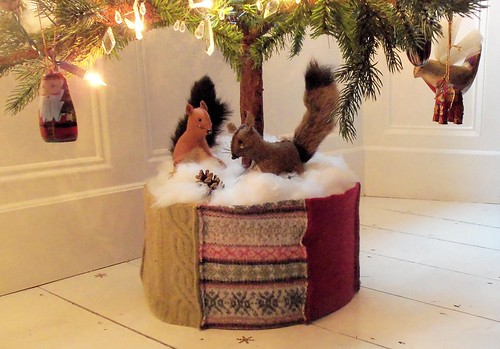
It looks a bit like a woolly tub I think! If you’d like to make your own, you’ll need:
- bendy card or plastic – sufficient to wrap around your tree stand/bucket (I had a sheet of handbag base that I cut into half and joined with parcel tape – see pictures below)
- Parcel tape if you need to join your plastic or card
- an assortment of patches cut from old knitwear
- toy stuffing
- sewing machine
How I did it:

Measure around the base you want to disguise. Cut your plastic into a strip that can be bent into a ring that will fit comfortably around your tree base – allowing for joins if necessary. Make the cover as tall as you wish – mine was about 8″ tall. I allowed a couple of inches for each join and stuck my plastic together with brown parcel tape so I could easily peel it off and use the handbag base for its original purpose after Christmas.
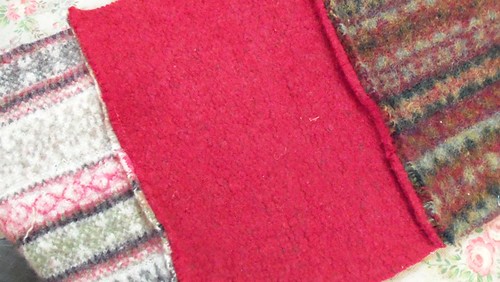
Join your patchwork squares into a strip that’s about an inch less than your plastic strip in length, and half an inch taller. I joined my squares with machine zig-zag stitch, allowing between 1/2 and 1/4″ seam allowance (I wasn’t too fussy) and pressed the seams open so that the machine stitching doesn’t show.
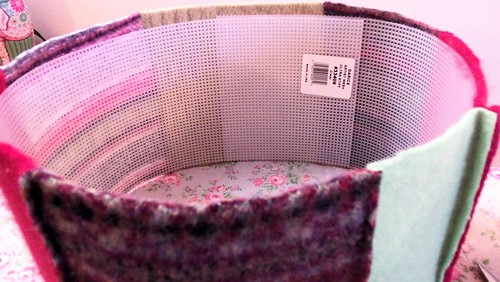
When your strip is the right length, join the two short ends so that it forms a circle and slip it over your plastic ring. The woollens will be stretchy and as the woollen circle is very slightly smaller than the plastic one, this stretch will keep it in place without distorting its shape.

Place your cover in position with stand inside then assemble tree (you could also make this to cover an inelegant bucket or tree stand for a real tree).
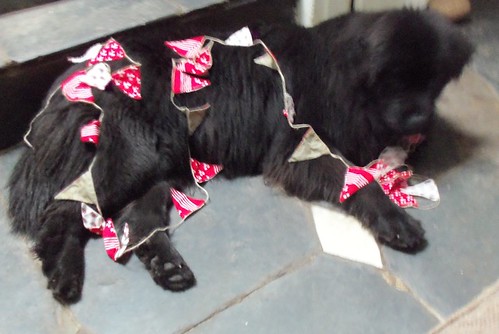
Optional step: Untangle puppy from the decorations she has stolen while you were unpacking your tree and place the decorations out of reach.
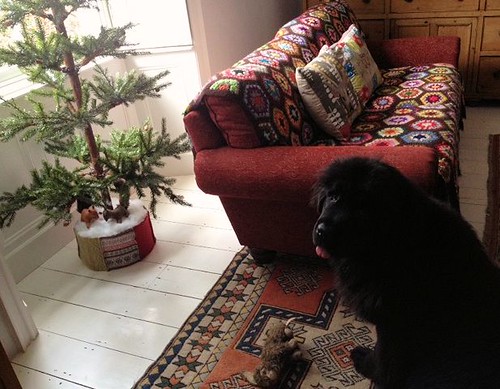 Fill tub with toy stuffing to resemble snow. Then decorate your tree – switch on the lights ….
 Stand back and admire! (I added my baby squirrel softies to my snowy scene – but I’m not sure how safe they’ll be with Miss Daisy on the prowl).
That looks absolutely wonderful
Julie xxxxxxx
Thanks Julie x
It’s lovely! I especially love the idea of adding your squirrels!
X Linda
That is a wonderful Idea Helen!! Thank you for sharing!!
Merry Christmas!!! To you and yours!!
Hugs,
Jan
Now I must get back to sewing!!! The big day is drawing nye!!!