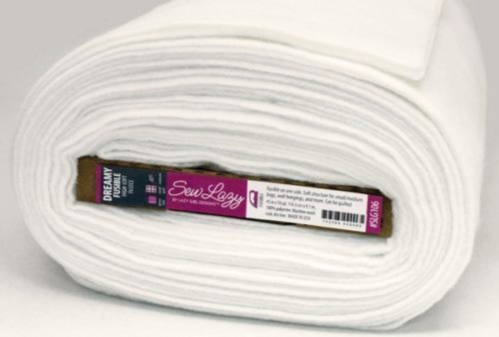
Interfacing is available in (to my knowledge anyway) two colours, black and white and also fusible (iron-on) and non-fusible (sew-in) varieties. Fusible interfacing is coated with an adhesive substance that melts and adheres to your fabric when you press it with a hot iron. It’s suitable for use with a wide variety of fabrics – except of course those that are damaged by heat, pressure or moisture.

You should always choose an interfacing that is lighter in weight than your fabric, bearing in mind that the adhesive on the interfacing will change the texture and feel of the fabric slightly. It’s wise to test-fuse a sample to your fabric before going ahead, to check its suitability and to determine the exact heat, pressure, moisture and time duration needed to create a good bond between the interfacing and your fabric.
When fusing your interfacing protect the sole of your iron with a damp cloth and press according to manufacturer’s instructions. Press down firmly, but don’t move your iron around as this may cause bubbles or ridges. You need to press firmly to melt the adhesive completely and fuse it to your fabric.
I always turn my work over and fuse again from the right side – again using a cloth – this time to protect my fabric too. Doing this ensures that the adhesive is fused to my fabric as firmly as possible and creates the strongest possible bond. It will also help fuse any areas that weren’t bonded properly the first time.
When fusing larger pieces work from the top down or from one side to another, overlapping previously fused areas with your iron to ensure you achieve complete coverage. If possible, work on a surface large enough to hold your entire piece of fabric to avoid stretching, distortion or slipping of your work.

We hope you’ve found our (very!) little guide useful – if you’d like to receive more hints & tips straight to your inbox then just click below to sign up to our free newsletter!
Leave a Reply