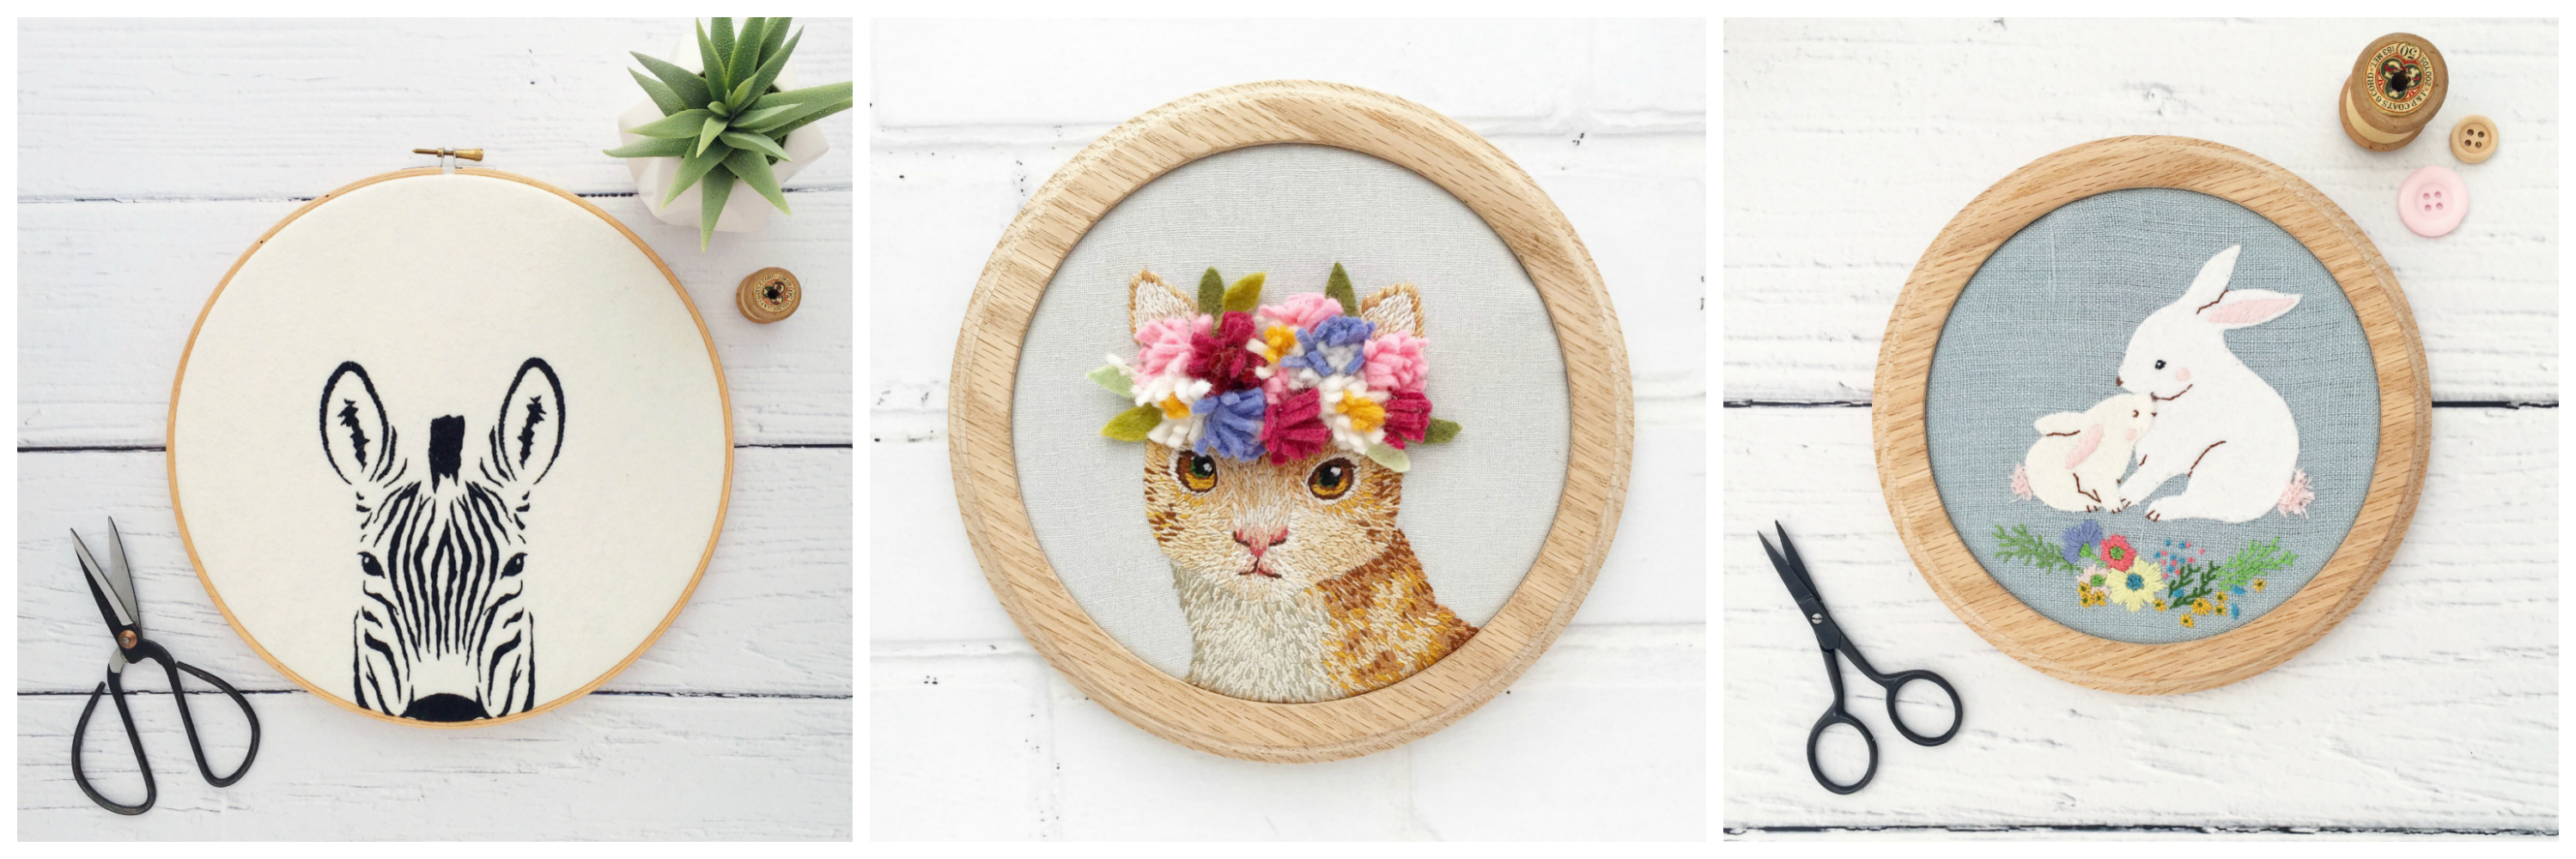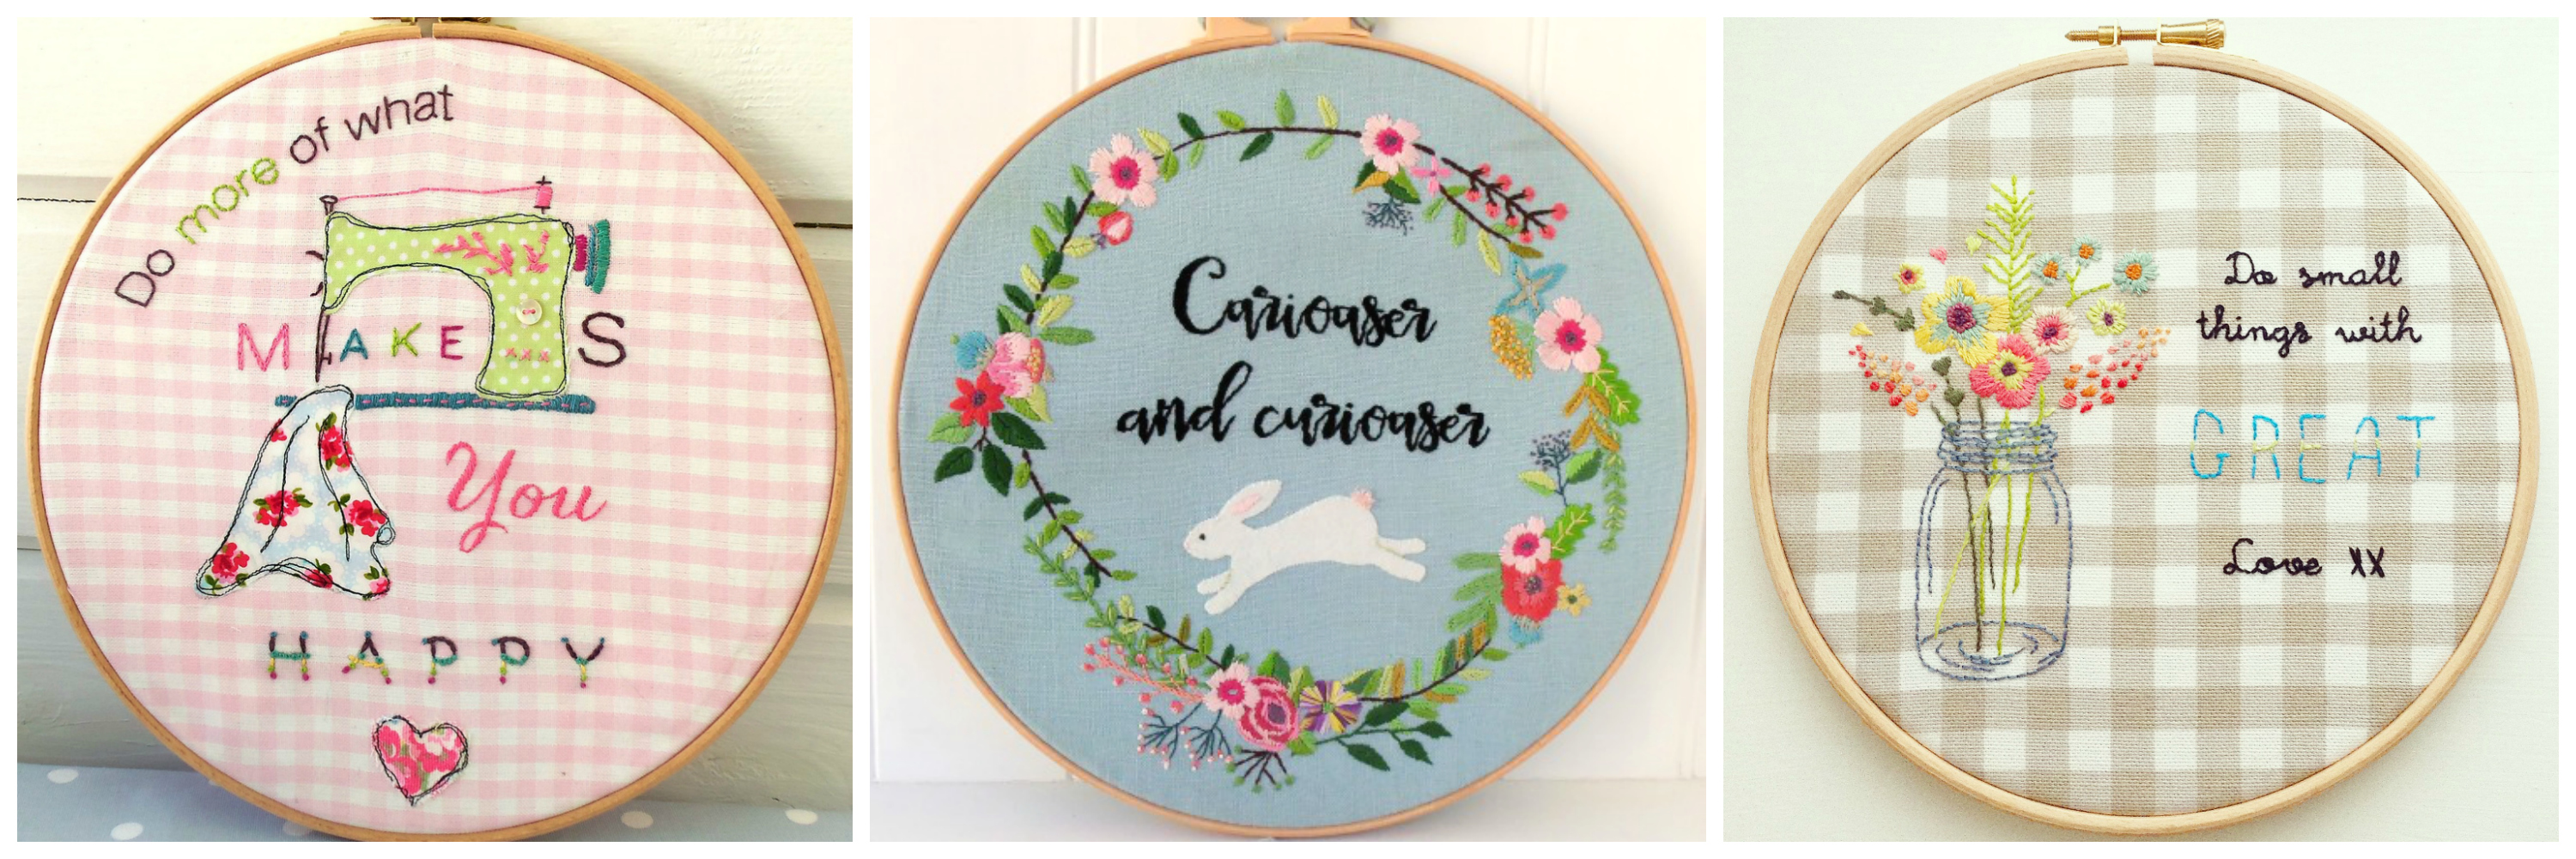
We’re all familiar with the basic embroidery hoop or, to give it its full name, the tambour hoop. But did you know the word “tambour” the French derivation of the Arabic word “tunbur” meaning lute or drum. Perhaps it was given this name as when fabric is stretched tightly within it, it does rather resemble a drum? I wonder if the musical instrument “tambourine” got its name from the same source? But I digress…
To hoop, or not to hoop, that is the question! I know there are many stitchers who don’t use a hoop, perhaps because they find it awkward to hold, too much trouble to move around their work, or simply have tried using one but just didn’t get on with it. And lots of those stitchers produce lovely work without one – but the majority of us find our work is much neater and goes much more smoothly when we hoop up before beginning to stitch.
Using an embroidery hoop is the easiest and handiest way to keep your stitch tension correct (frames are possibly even better, but not always as portable and certainly more expensive). Your hoop has to hold your fabric tight and taut while you work to achieve this – but beware – not all hoops are the same, and some are (much) better than others.
An embroidery hoop can be made from wood, plastic or metal – but whatever the material, it is comprised of two rings. One ring, the inner, is placed beneath your fabric, then the second, or outer, ring is placed on top, then pushed down over the inner ring and the screw tightened to hold your fabric in place and nice and taut.

My preference is to use a wooden hoop, preferably birch (nice and smooth and springy with no splinters). Birch is also strong and solid and I should think it would be almost impossible to bend a good quality birch hoop out of shape, though when Ben was a puppy he did find one rather good to chew on – bad dog!Your hoop should have good quality brass fittings that can be tightened so that there is no gap at all between the inner and outer ring.
When you’re purchasing a new hoop, check that the brass fittings are strong and durable, and that they don’t bend, no matter how much you tighten the screw. The screw itself should have outer ridges to help you get a good grip when tightening, and the best sort also have a groove in the top for a screwdriver for that extra tightness. When you’re buying a hoop, choose one that fits comfortably in your grasp. You should be able to hold the edge of your hoop in your palm, secured by your thumb, and be able to easily stretch your fingers to the middle of the hoop. I find that 6″ and 7″ hoops work best for me. If you’re using a larger hoop (eg 10″) then you might like to consider purchasing a stand to support it, so that when necessary you have both hands free to reach the centre of your work. You must remember to loosen the screw and remove your embroidery when you are not working on it as if you leave the hoop in place for a long period of item it can cause your fabric to stretch and distort.
Binding a hoop isn’t absolutely essential but it does advantages as when you bind at least one ring (I bind the inside ring), by making that ring less smooth and slippery it will “grip” your fabric tighter and keep it taut for longer. The binding also helps to protect your fabric by padding the hard edges of the hoop. Binding your hoop doesn’t take very long at all and once done you shouldn’t have to repeat the task. I have hoops with the inner ring bound that I’ve used for quite a few years, and they’re still just as good as when I first bound them.

To bind the inner ring of my hoop I usually use cotton twill tape as this has a nice nonshiny surface – great for gripping my fabric and, unlike bias binding, doesn’t have any lumps, bumps and edges where the pieces are joined. This means I get supersmooth coverage of my hoop. I have been known to use my glue gun to secure the tape, but I’m not sure that’s really the best way – in fact I know it isn’t! The best method is to stitch along the edges as you go to create a really strong seam that will last for years.
Mary Corbett has a really good tutorial for doing this over on her Needlenthread blog, just
click HERE for step by step instructions with excellent photographs.
This article originally appeared in the May issue of Bustle & Sew Magazine. Find out more HERE.
Want more hints & tips? Then click below to get our free newsletter – you’ll even get some fab free patterns too…
Leave a Reply