Embroidery Hoop or Frame
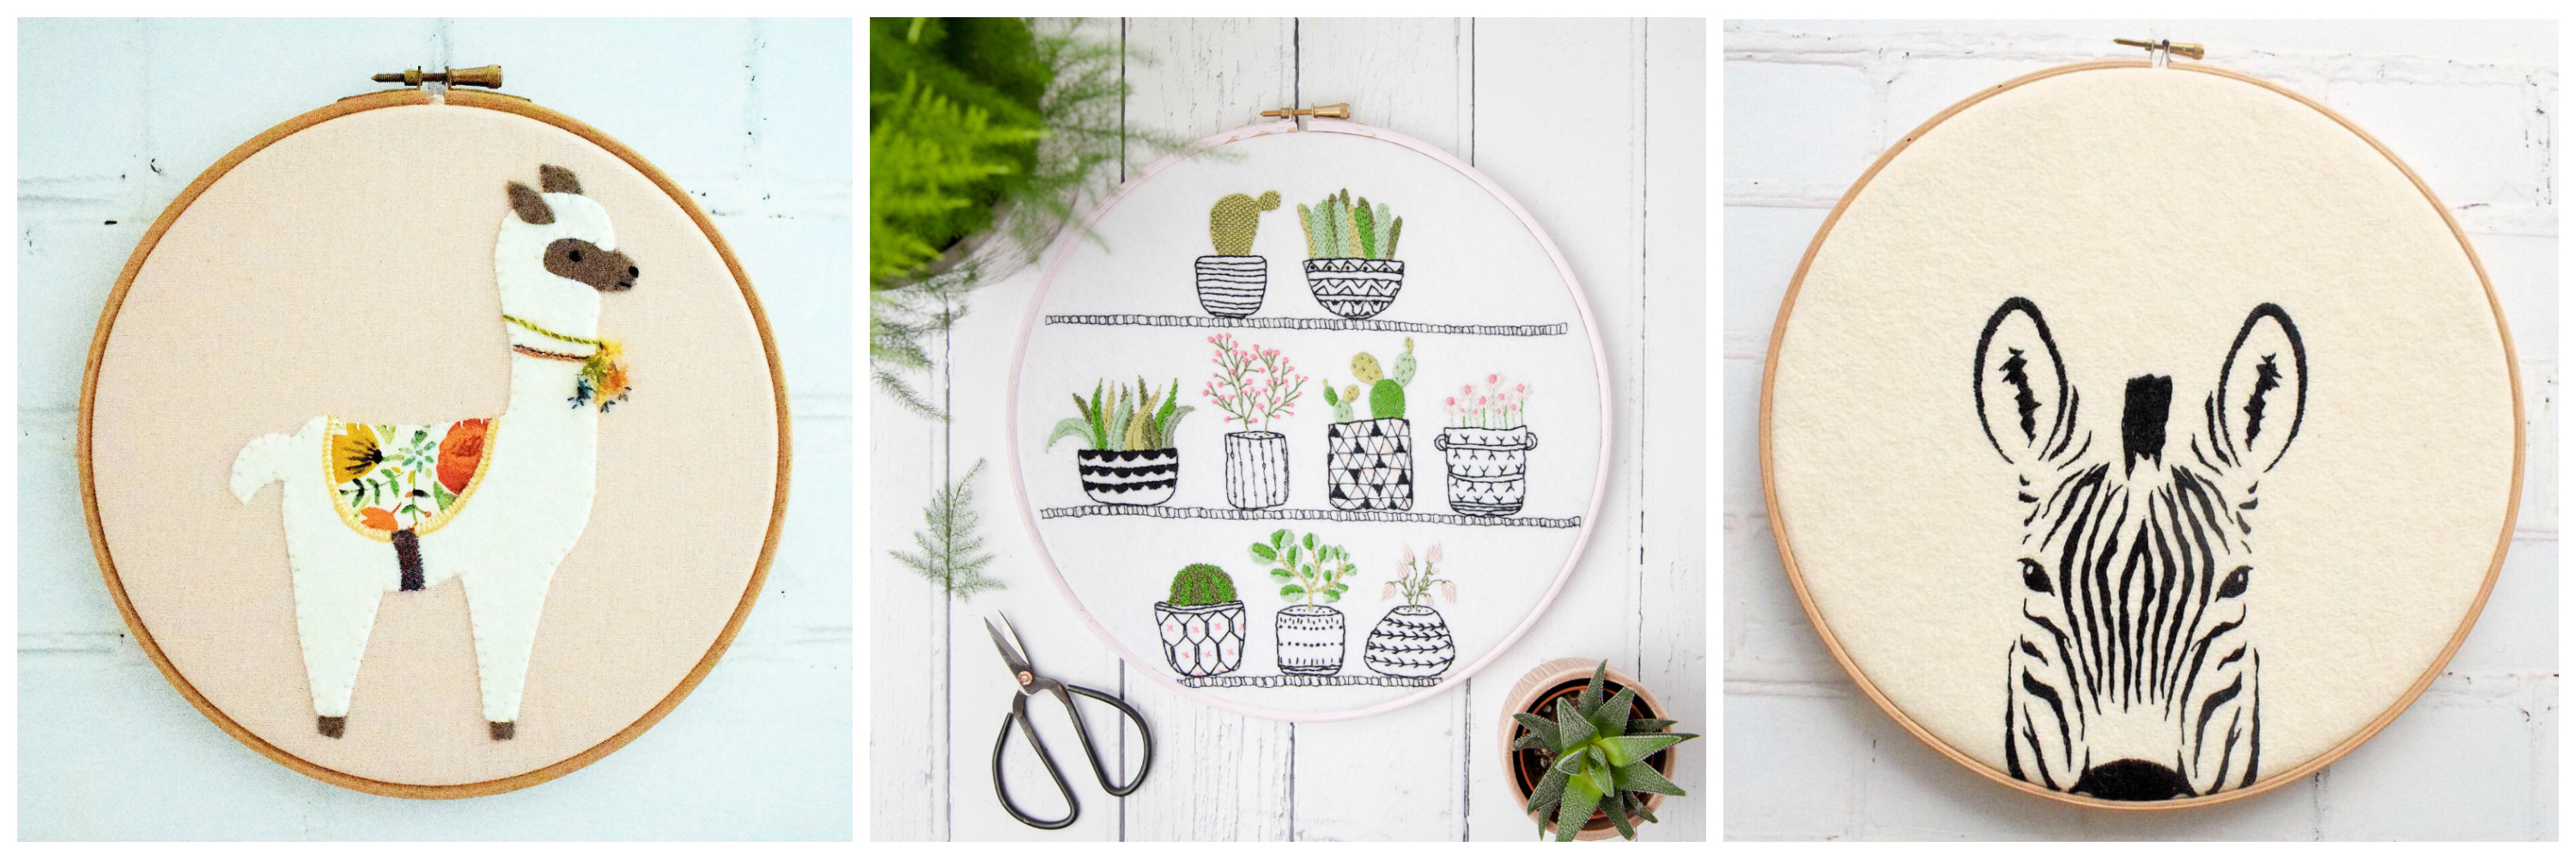
Some stitchers prefer not to use a frame, holding their work in the hand instead. I personally can’t work without one to keep my fabric taut and help me keep an even tension while I’m stitching. It’s very important that you use one large enough to allow plenty of fabric around your design as it’s preferable not to have to move your hoop around the work (though this can’t always be helped). If you do have to move your hoop, then try to position it so you don’t squash any of your stitches. To help prevent your work slipping bind the inner hoop with fabric strips or bias binding securing the end with a few stitches.
Preparing your Fabric
Make sure your fabric is pressed and smooth before you transfer your design. Whichever method you choose (there’s a full guide later in this issue), be sure to always transfer the whole of the design before you begin to stitch.
Beginning Work
If possible it’s a good idea to work in a continuous flow rather than hopping around to different parts of the design to help provide continuity and rhythm throughout your work. Never run your thread across the back of an area that will remain unstitched – if your work is going to be of practical use then these long threads may get snagged and pull at your stitches or even break causing your work to unravel.
Doing this could also spoil your tension and show through the finished work. Your thread should be no longer than 18” – and ideally shorter – my mum always used to say that it should be the length of the distance between wrist and elbow. If you cut longer lengths they may twist and knot.
Finishing Off
Never use a knot to secure your thread as it may wobble or even come loose – again with the potential to spoil your embroidery. Instead, to finish your thread either make a few tiny stitches that will be covered by the next thread or turn your work over and run your thread under a few stitches at the back to hold it securely in place. Before removing it from the frame make sure it really is complete (this may sound silly, but I have before now, removed my work and then realised I’ve missed my rabbit’s whiskers – or something equally foolish!)
Always press your work on the reverse – I recommend laying it face down on a clean, padded surface, such as a lint-free towel – to avoid flattening your stitches.
Want to put your embroidery skills into action? Then why not pop over to our store and check out our embroidery patterns.
I hope you’ve found this very little guide useful! If you’ve got any other tips please leave them in the comments below – we’d love to know. And if you missed part one you can check it out here!
Leave a Reply