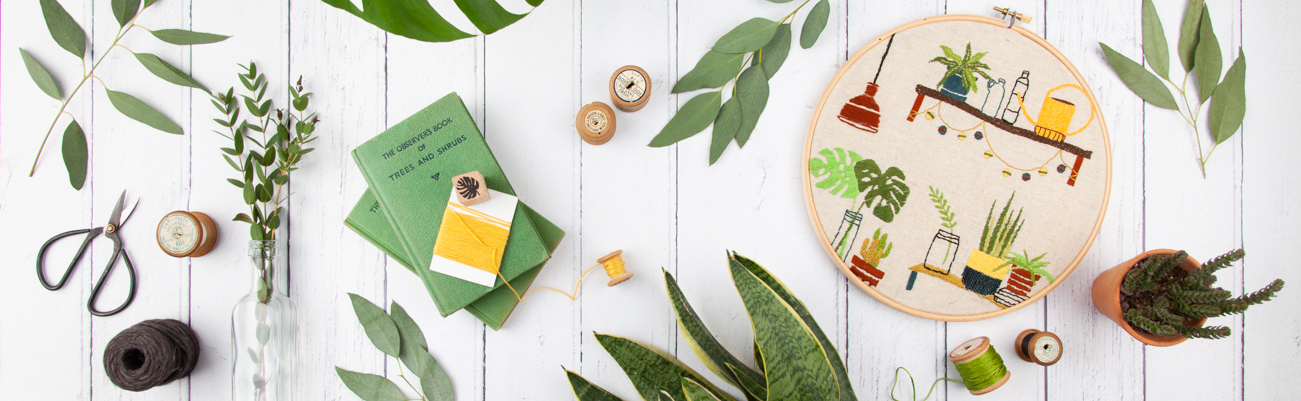
After you’ve been stitching for a while you’ll develop your own preferences – including whether you like to hold your work in your hand when stitching or if, like me, you’re more comfortable using a hoop. And if you do decide a hoop works best for you – then this raises the all-important question – which is the best sort of hoop to use?
Hoops come in a huge range of sizes and are available in wood, plastic or metal. Some hoops are round, square or oval, while others are large rectangles or scrolls. Finding your way through this bewildering array and choosing the right hoop for your project is important for your own comfort as you work as well as the quality of your finished stitching.
Using a hoop is straightforward. They are formed of two parts: the outer edge or framing piece with spring or screw hardware and a piece that fits inside of it. Round hoops, the most usual shape of hoop, range in size from 3 to 14-inches in diameter before you begin to work you place your fabric over the bottom ring, then push the outer hoop over the top pulling it taut, but not too tight. You don’t want to stretch the fabric which will cause the shape to distort and ruin your work when you release it from the hoop. Then tighten the screw to hold the fabric firmly in place. Having a taut piece of fabric makes it easier (I think) to create nice, even stitches at the right tension.
The size of the hoop you choose will depend on the size of your project. It should fit around your fabric with between 1” – 2” spare once the hoop is tightened. It is best to choose a hoop that fits comfortably in one hand, while you stitch with the other. The hoop doesn’t have to completely enclose the area to be stitched, it can be larger or smaller. If smaller, then it’s a good idea to insert a small extra piece of fabric when moving it from place to place to protect the stitches you’ve already worked.
Embroidery hoops made out of wood or bamboo have a smooth inner hoop. Like many embroiderers I usually wrap the inner part of my wooden hoop with twill tape to create a snugger and less slippery fit for my fabric. You don’t have to do this, again it’s personal preference. If you decide upon a wooden hoop, then be sure to purchase a quality hoop. Even if you’re a complete beginner and not sure whether or not you’ll continue, don’t be tempted by a cheaper hoop – even quality ones aren’t too expensive and you’ll find the problems of using a cheaper one can be frustrating enough to completely put you off embroidery. Cheap hoops are difficult to tighten properly and may even crack while you’re stitching.
If you choose wooden hoops for your project, make sure to purchase a quality hoop. While I prefer using wooden embroidery hoops, it has happened that the inside hoop cracked while I was stitching. Plastic embroidery hoops often have a groove or lip on the inside where the inner hoop locks into the outer hoop, in addition to having the screw hardware to tighten the hoops together. This makes for a snug fit.
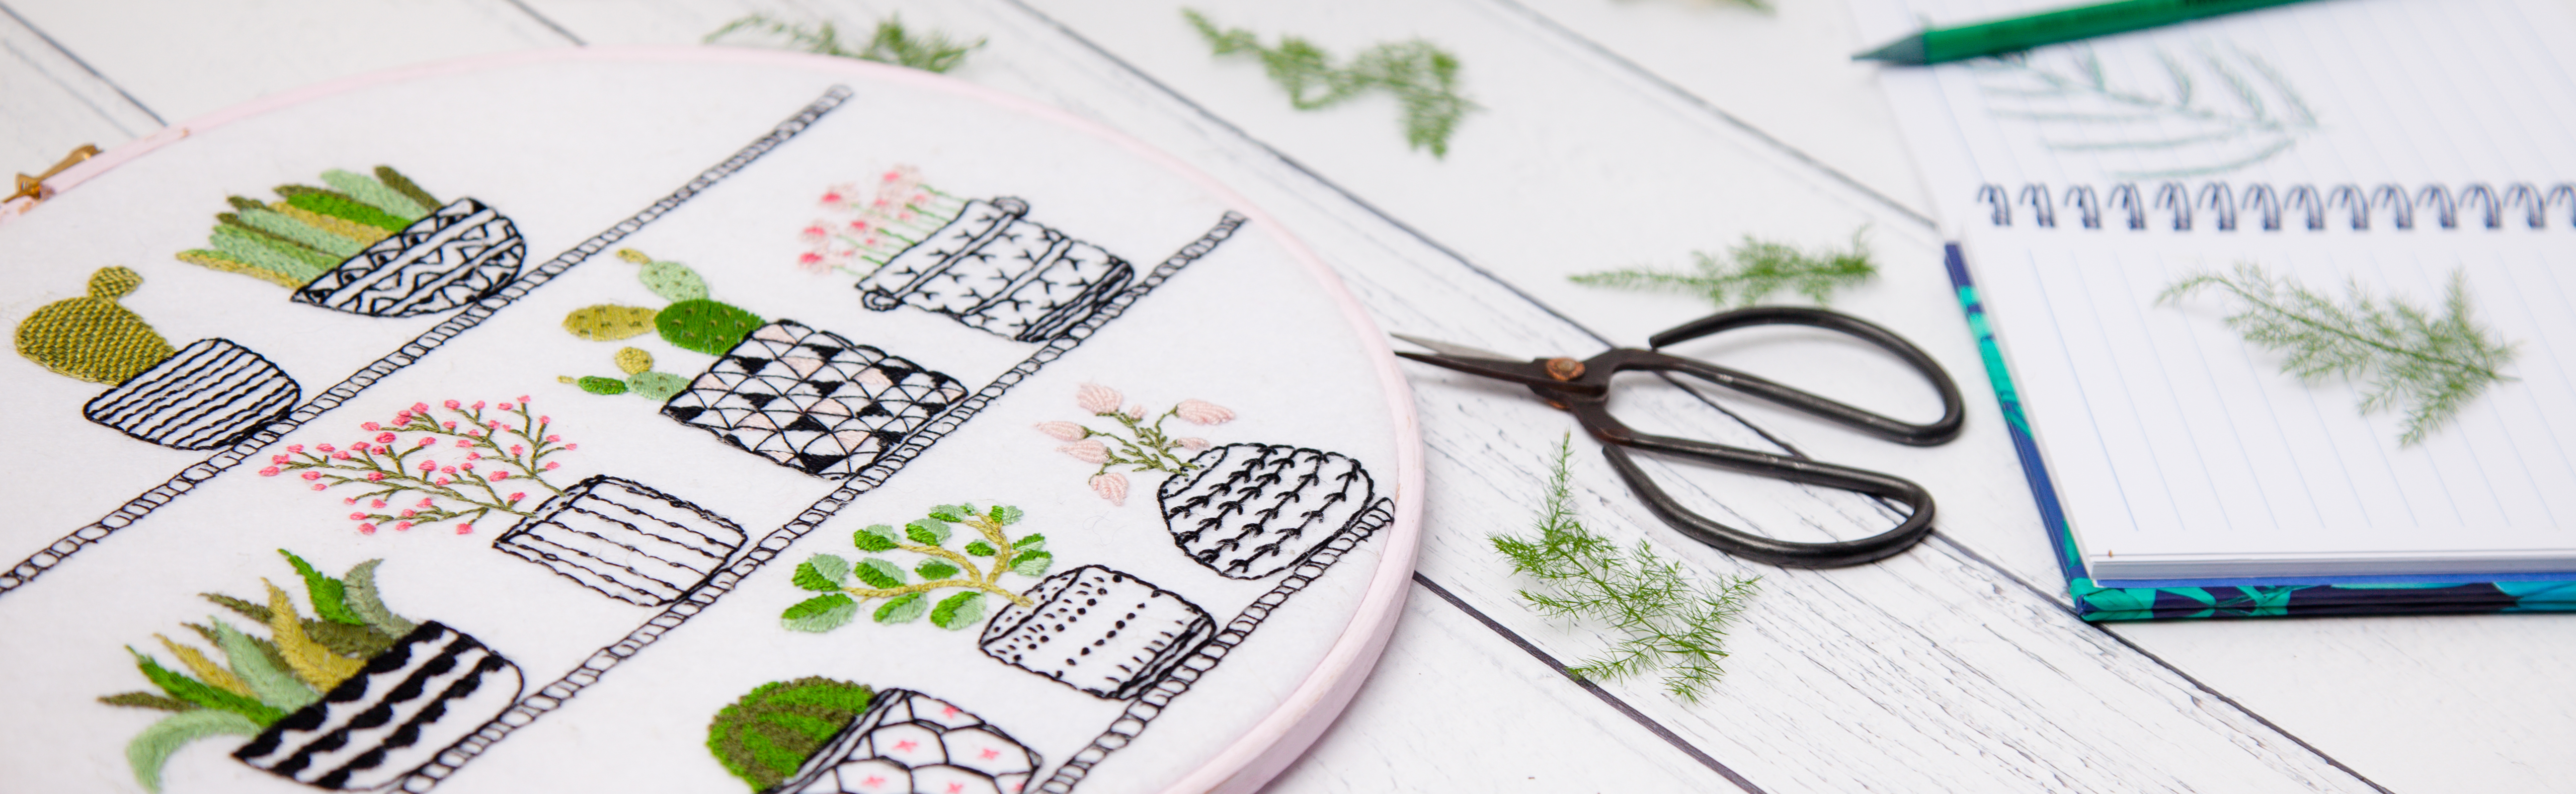
While it is more common to find round hoops at fabric and craft stores, there are also square and oval shaped embroidery hoops. Whilst I love using oval hoops to display my work, beware of using these for stitching as their shape makes it difficult to obtain an even tension across your work.
Want more hints & tips? Then click below to get our free newsletter – you’ll even get some fab free patterns too…
*This article originally appeared in Bustle & Sew magazine. Find out more HERE
Do you have any hints or tips for choosing your embroidery hoop? If so, please leave them in the comments below…we’d love to know!
Leave a Reply