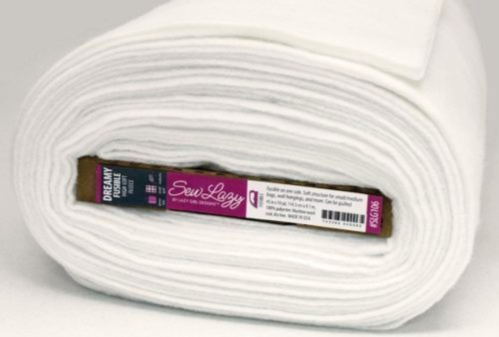
It’s hard to take a step back sometimes when you’re eager to get on with your project, but it really is worth taking a few moments to try a test fuse before proceeding with the real thing.
To do this cut a 4” square of fabric and then cut interfacing to cover half this square. Place your fabric wrong side up on a clean flat surface then place your interfacing on one half of the square, adhesive (shiny) side down. Place a small triangle of lightweight fabric under one corner of your interfacing to create an unfused tab to check the bond.
Fuse the interfacing and fabric .
When your fabric is cool the adhesive on the interfacing will have set. Now is the time to see how successful you have been in fusing the two together! Try to pull the interfacing away from the fabric by pulling up the tab. You shouldn’t be able to peel back the edges or see any bubbles or unfused areas. Try folding the interfaced fabric to see if the fusing holds and the fabric reacts well. Check for fabric discolouration or any ridges showing through the edge of the interfacing. If all is well, then proceed with your project.
Some problems you may experience can be easily solved:
Interfacing shows through – If the interfacing is visible from the right side of your fabric, you’re using a weight of interfacing that is too heavy. Try your test-fuse again, but this time using a lighter-weight interfacing.
Your fabric is wrinkled – If your fabric has puckered or wrinkled, it has shrunk due to excessive heat or moisture during fusing. Cut a new fabric sample and test fuse again, using less heat and steam from your iron.
The interfacing has blistered – If your interfacing has bubbles on it, then your
iron was too hot. Try another sample using a lower temperature. This may call for some experimentation as you may need to increase the fusing time if you’re using a lower temperature – it’s well worth spending the time to get everything just right if this is the case.
Interfacing peels off – If the interfacing peels away from your fabric, then the iron was too cool and the adhesive hasn’t melted properly and formed a bond with your fabric. Test-fuse another sample using a higher temperature setting. You may also have to press more firmly on your iron. Again, it’s worth spending the time to get this just right before proceeding with your work.
I hope you’ve found these tips useful – do also check out our Little Guide to Fusible Interfacing. If you’ve got any other tips please do leave them in the comments below, we’d love to know!
*Article originally appeared in the July issue of Bustle & Sew Magazine
I have purchased a pretty good amount of Fusible Interfacing and due to the high temperatures where it was stored it has dried out. Is there anyway to salvage it? Any tips would be greatly appreciated!
Hi Amanda, sorry but I’m not aware of anything, good luck with your research!
I don’t have a comment but I do need help. I have used every thing and can’t get the 911ff interfacing to adhere to my t-shirts for a quilt for my granddaughter please help with any ideas
Thank You
It’s possible you haven’t fused it enough, you need a good 10 seconds with a hot iron for it to adhere properly otherwise the glue can easily peel away with the paper.
I use double sided fusible interfacing for appliqué purposes but recently have had issues with the paper not peeling off in order to complete the technique. Any suggestions?
It’s possible you haven’t fused it enough, you need 10 seconds with a hot iron for it to adhere properly otherwise the glue can easily peel away with the paper.
I have opened a package of ez steam II and the sheet I am to trace on is not stuck to fuseable sheet. How do I adhere the sheet long enough to trace and fuse to fabric? I have a fusing mat.
I’m sorry Jenny but I haven’t used this product so can’t help.
Hello, I bought Fusible Interfacing but I just learned my fabric can’t be ironed. Can I see the Interfacing on instead?
Yes that should be fine Rachel