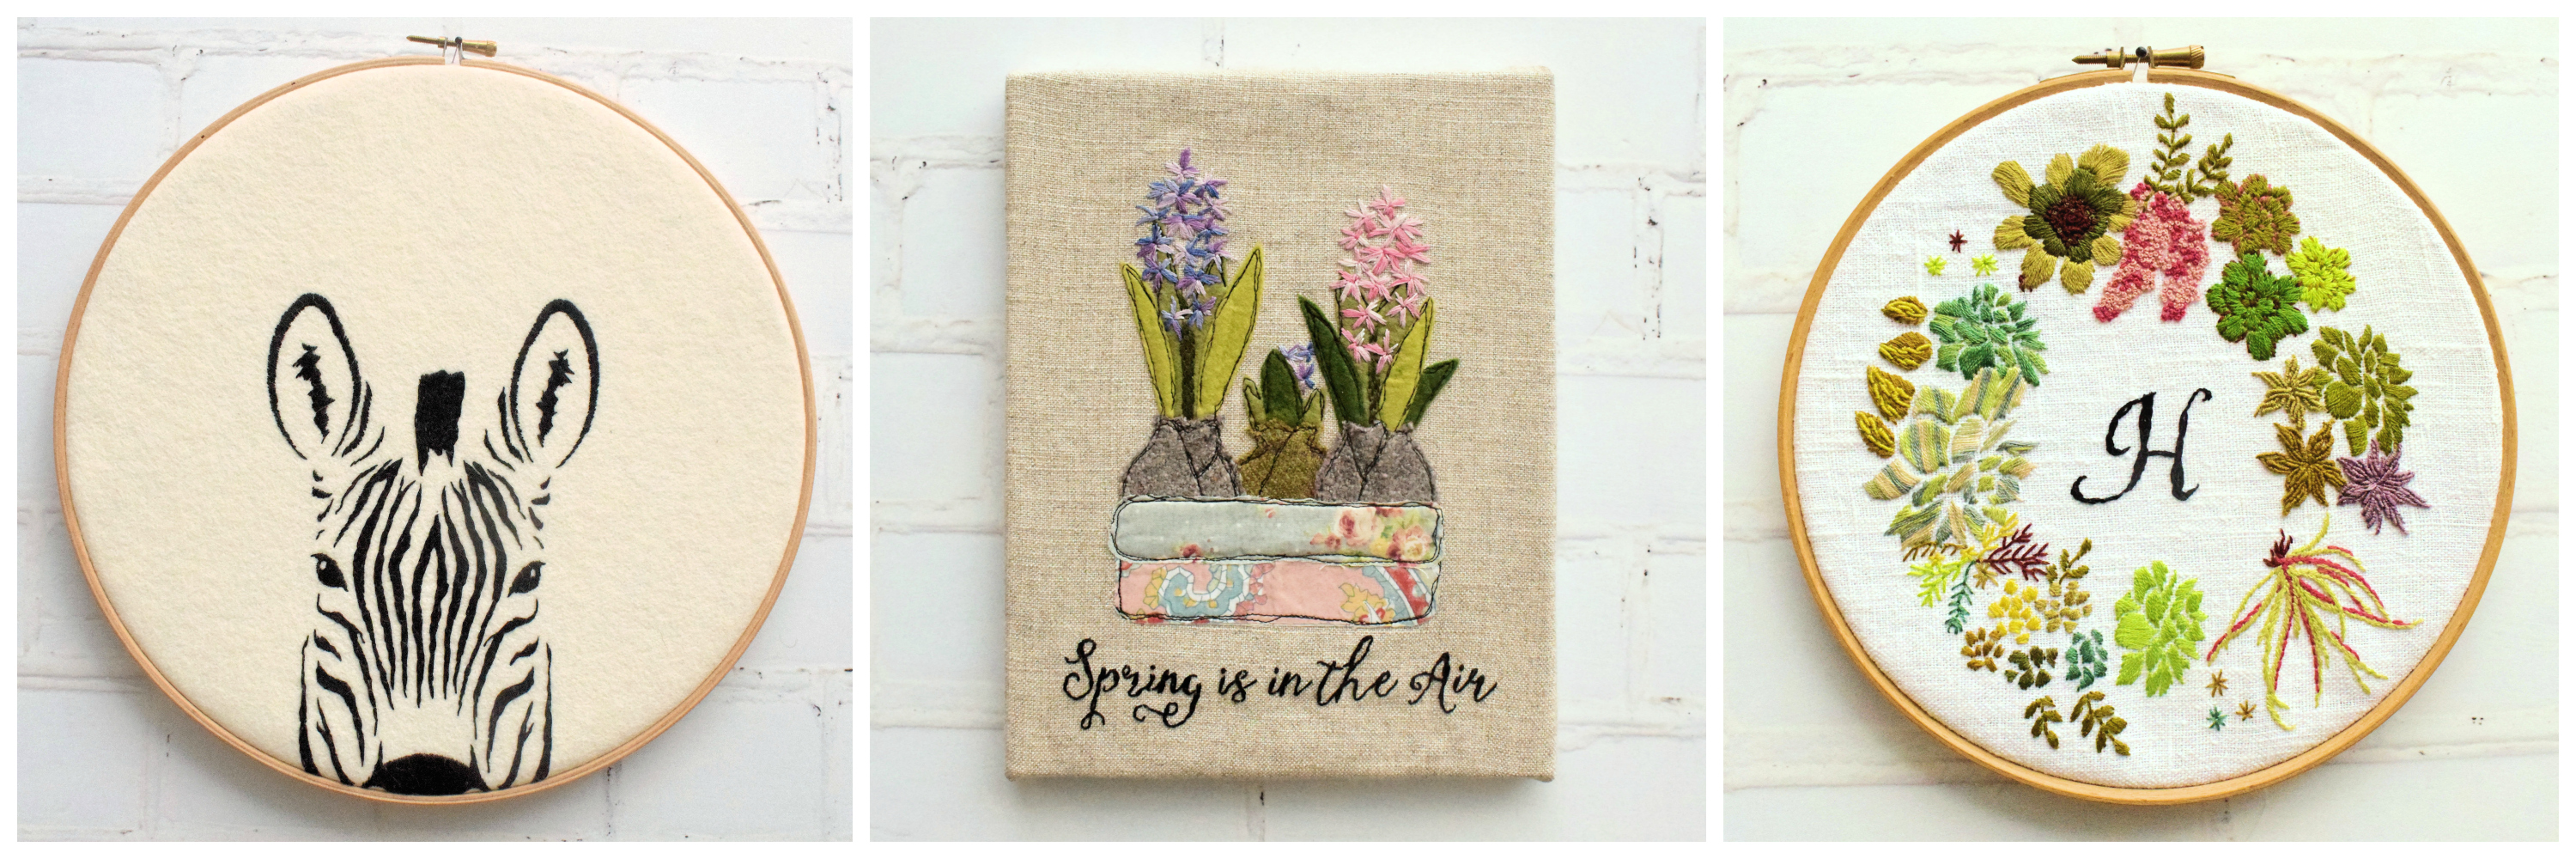
From beginning to end – threading your needle, placing your first stitch and finally fastening off, beginning and ending a piece of work properly is so important. This month’s issue of Bustle & Sew Magazine brings several hand embroidery projects – perfect for curling up by the stove on cold winter evenings, so I thought this was the perfect moment to remind ourselves of these vital, but often overlooked, techniques.
Threading your needle
Many stitchers find threading their needle difficult because of poor eyesight (I can so relate to this now that I too need glasses), or simply through not knowing the best method to do so. A good way to thread your needle, and the way I was taught by my grandma, is as follows…
Hold the needle in your right hand (left if you are left-handed) and with your other hand loop the thread over the point of the needle and pull it tight. Holding this loop firmly between your thumb and forefinger, turn the needle around, place the eye over the loop and push it down so that the thread passes through the eye.
Beginning your project
Where you should start to stitch your design is a fundamental question. It’s always a good idea to work in a continuous flow rather than to start in several different places and then discover that your work doesn’t join up successfully. If your design requires very dense stitching it’s easiest to start in the middle with the main features and then work towards the edges.
Starting a thread
Your thread shouldn’t be any longer than the distance from wrist to elbow. Longer threads are not only uncomfortable to stitch with as you have to stretch your arm and shoulder to pull them firm, but are also much more likely to knot, twist and fray.
For most hand embroidery projects, the neatest way to begin is to make a few small stitches, leaving the end of the thread at the front at a point that will be covered by the stitches you intend to make with the thread on your needle. It is important to cover the starting stitches within this part of the project to ensure that colours don’t overlap and show through. Keep the “tail” short – snip it closely to the front of the fabric. Once your work is underway you can run your thread under a few stitches at the back before starting to stitch. Try not to run dark threads into light ones and vice versa as they might show through.
Finishing a thread
This can be done in the same way as starting a thread. If you’re continuing in the same colour, then make a couple of tiny stitches where they will be covered by your next thread. Leave the end on top of your work, snipping it off when you reach it. If you’re using a contrasting colour then turn your work over and run the thread under a few stitches at the back.
Never carry threads behind the work across an area that won’t be stitched – this can cause your work to distort, they may catch in wear and they may also show through to the front. It’s important to trim your threads closely once they’ve been secured as threads left hanging will tangle and interfere with your stitching. My grandma used to say that the back of your work should look as lovely as the front and whilst I’m not entirely convinced by this, I do believe that it should be as neat, tidy and secure as you can make it.
Have you got any tips for starting and finishing your work? Leave them in the comments below…we’d love to know!
What do you think about using a very lite and airy batting on the back of your embroidery to help conceal the travel threads ? Someone in my quilt guild told me this was taught to her and it also gave her piece some dimension. I love you designs. Just wish I had more time to do them. Thank you for a very informative blog/newsletter.
Hi Janice, Thank you for the suggestion, and I can see that it would give a nice effect, though I must admit I’ve never tried it. I was trained by my mum and grandma not to allow threads to travel across the back of my work, rather to start and finish – my grandma told me the back should be as neat as the front – I don’t think I’ve ever quite managed that, but it’s definitely something I keep aiming for! Thank you also for your kind comments, I’m so pleased you’re enjoying Bustle & Sew. xx
I must admit I don’t like trailing threads, not sure if I would like stitching through batting with some stitches but I can see it could look rather nice. I am not a terribly experienced stitcher so I have plenty to learn. I do love it though and have had very pleasing results. Not least some of your patterns. Starry nights even got to be finished into a lovely cushion cover.
I think I found the idea about making teeny tiny stitches to secure work from you. I probably misread, because I don’t have my end thread at the front of the work but am going to try this as it seems it will look after those annoying endy bits better – in terms of looks and making them even more secure. I do find those little stitches secures the ends very well.
Thanks for all your beautiful work, it’s so inspirational.
Aw, thanks Sara – I don’t like trailing threads either xx