I know I’ve mentioned Sulky Sticky Fabri Solvy before, but over the weekend I’ve received several emails asking about the best way to transfer an embroidery design to fabric, so I thought I’d post about it today.
I think it’s safe to say that this product has revolutionised the way I work. You can purchase it in two forms – either on a roll or as 10 x 8″ sheets. I have tried both, and whilst the roll is certainly more economical as you need only use the exact amount for your design, for me it has one major drawback – which is that you still have to trace the design. This is because the curl of the roll has made it impossible to for me to successfully get my printer to print on it. So I always purchase the sheets …
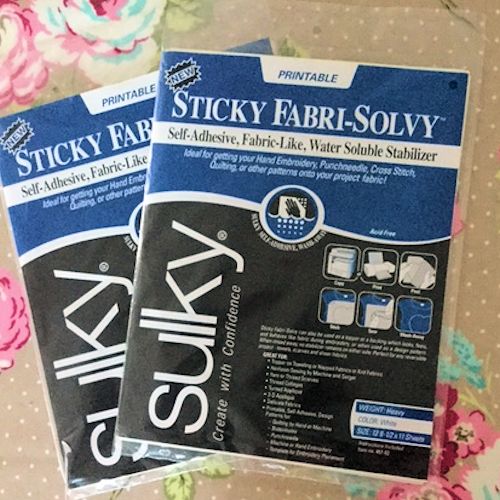
The Sticky Fabri Solvy sheets are made up of two layers – a paper backing layer and a non-woven fabric-type layer. This is the side that you print on. Yes – print!! Whoopeee!! No more tedious tracing – this product makes it possible to transfer even the most intricate designs totally accurately…..
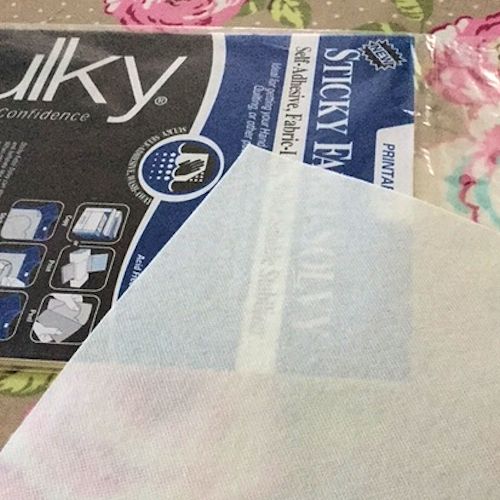
I don’t know if you can see properly here – this is the fabric side uppermost. As you can see it’s quite a lightweight product, so it’s still possible to see your backing fabric while you’re stitching. Remember what I said about more intricate designs?
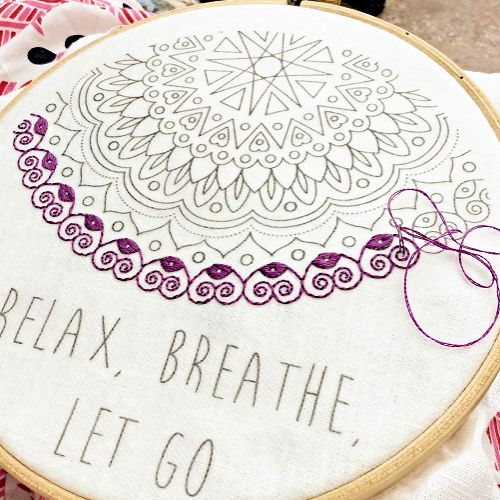
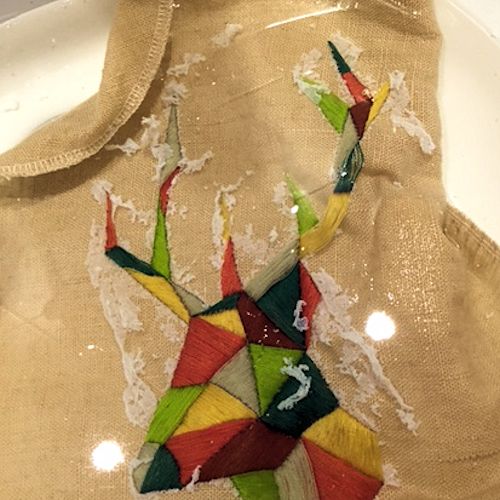
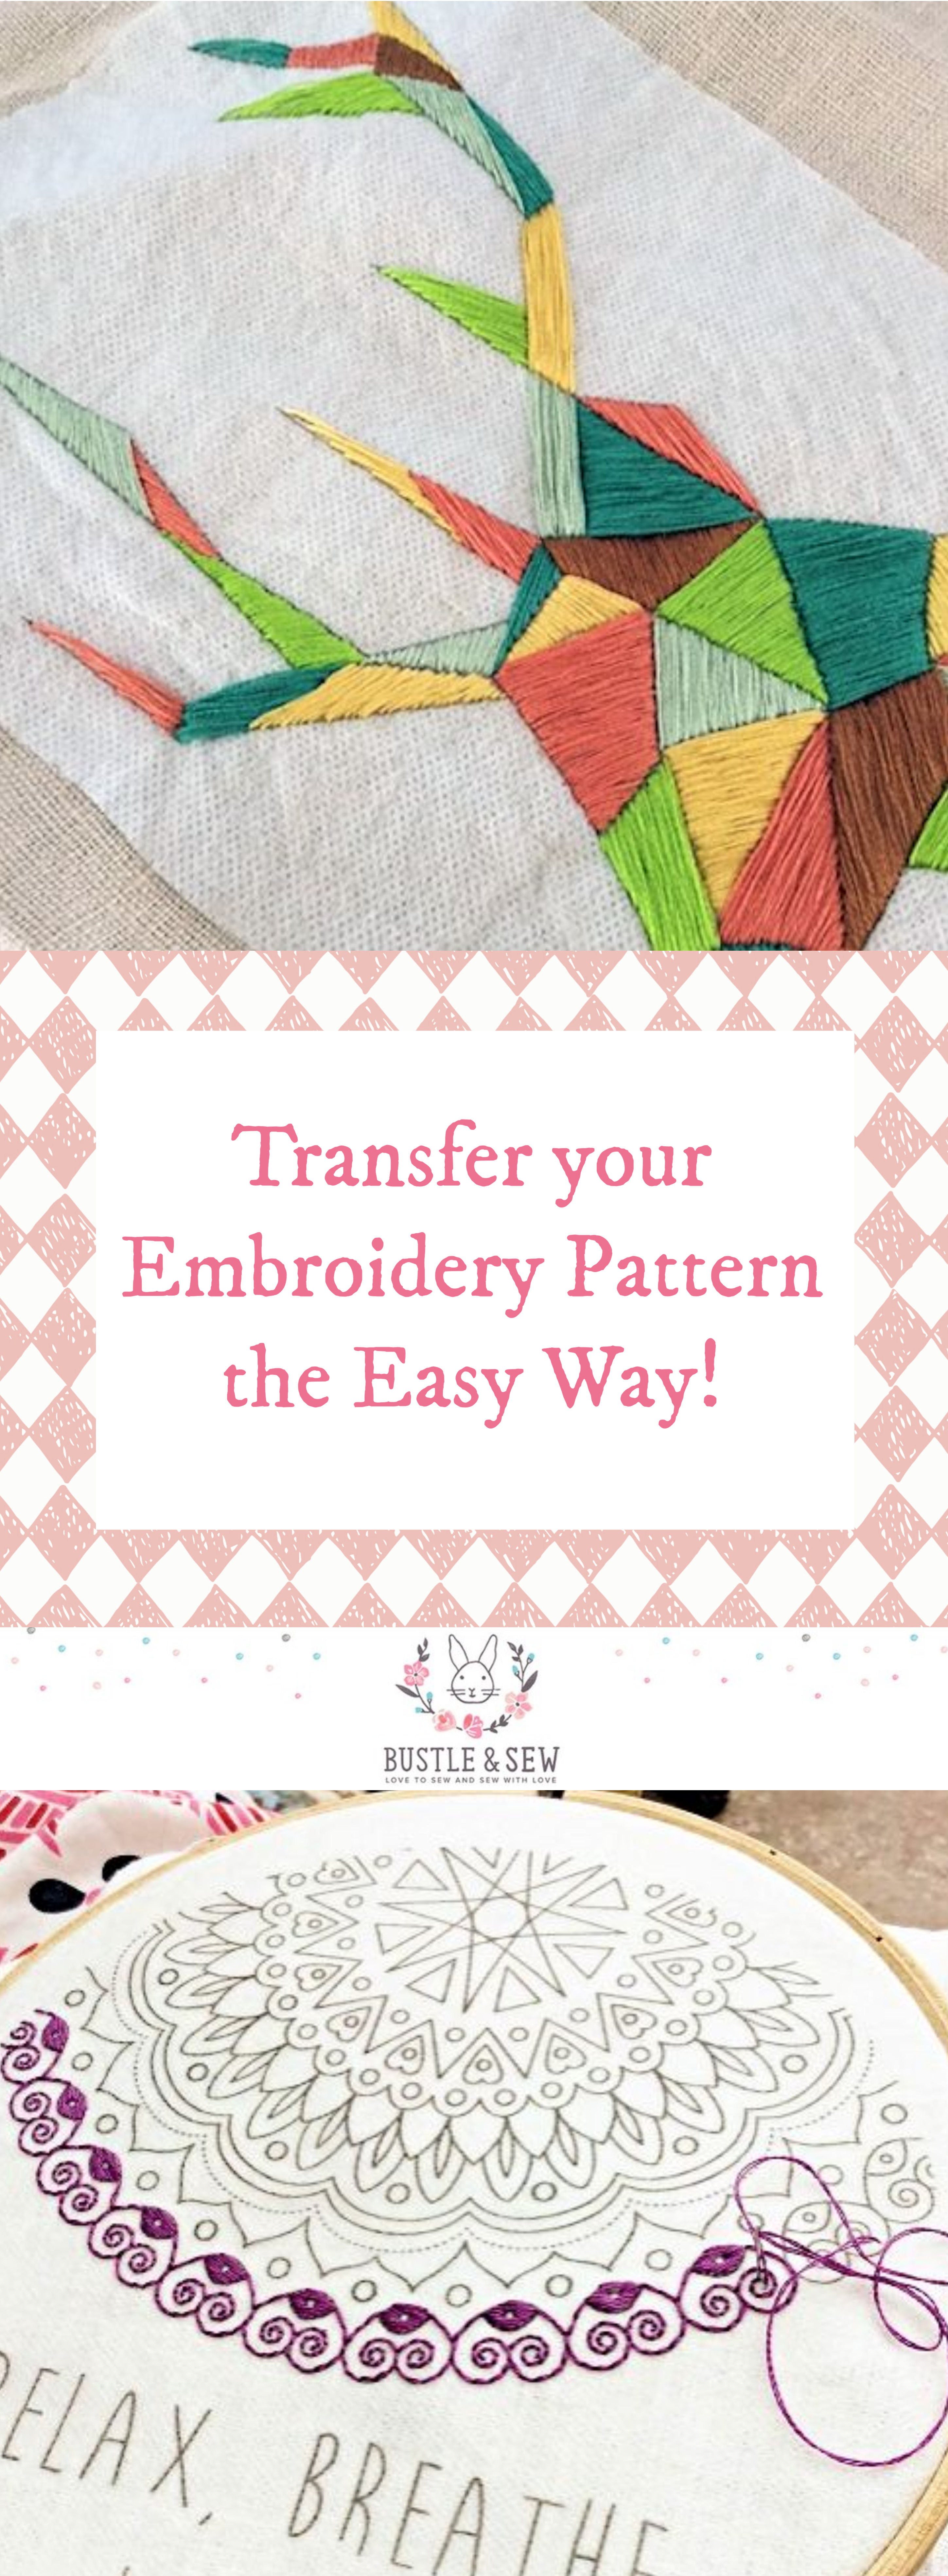
Here I’ve printed my Festival Mandala design (coming in the August Magazine – and as kits too) and am working through the Sulky Sticky Fabri Solvy onto white linen. Here’s a geometric stag (this pattern won’t be available until September) so you can see how it looks on a coloured background fabric ….

The fabric layer has a sticky back, so when you’ve printed your design you simply peel it away from the paper backing and press into place on your background fabric where you want your design to be. I haven’t found a problem with sticky residue on my needle at all, and the sticky fabri solvy acts as a stabilizer which can be helpful. Using this product also makes it easy to transfer your design to thicker fabrics that you can’t trace the pattern onto, as well as textured or dark coloured fabrics. When you’ve completed your stitching you simply immerse your work in cold water …
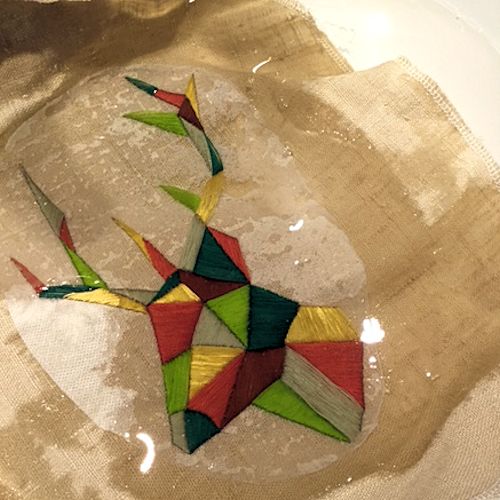
I usually put mine into the water upside down so any residue, and printer ink particles, can disperse to the bottom of the basin, but here it’s the right way up so you can see how the Fabri Solvy is beginning to curl and disappear ….
Here it’s been in the water for about five minutes. I usually leave mine face down for around an hour to make sure every little bit has dissolved away, and then I rinse thoroughly. The only issue I’ve had is if I don’t rinse thoroughly, and leave any printed particles behind, then my printer inkjet inks can bleed into my background fabric. But that really is my fault for not rinsing and these days I’m super careful.
And that’s it!
I totally recommend this product (I’m not being paid to endorse it!), and it’s very easy to find – I usually purchase mine from Amazon, but I am sure there are other stockists too. Oh .. and here’s another peep at my finished Festival Mandala ….
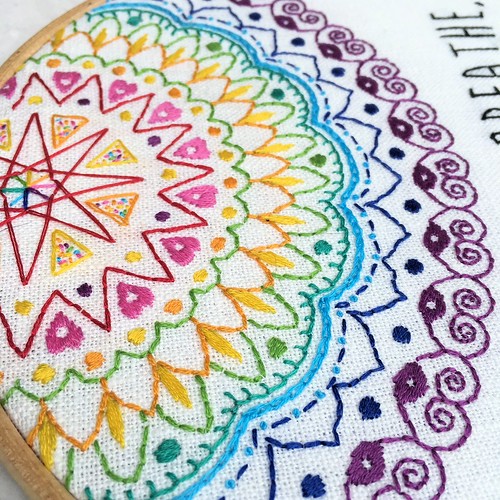
Perfectly accurately transferred, which is good as I think any inaccuracies would really stand out in this design!
Want to know more? We’ve put together a whole booklet on the best ways to transfer your embroidery pattern – just click below to get your FREE copy!
![]()
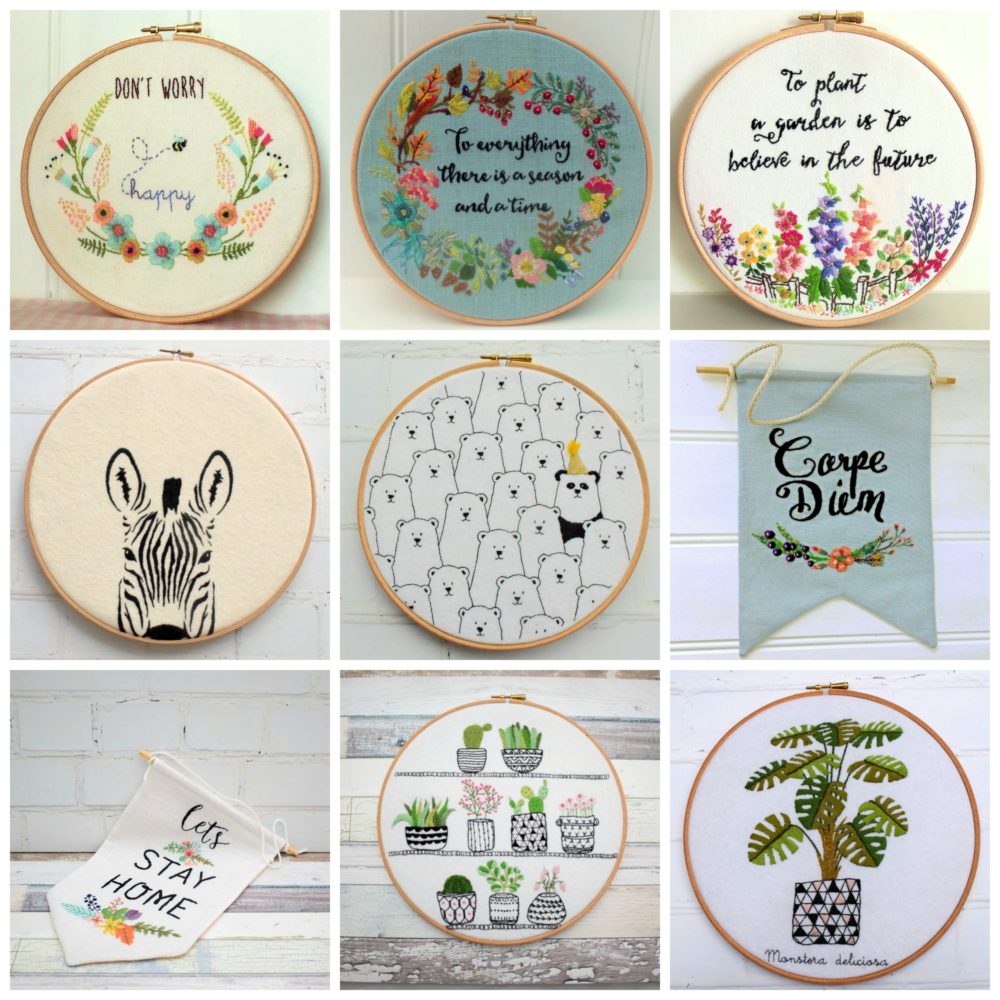
I did wonder if a lot of people had been put off purchasing Sulky Sticky Fabri Solvy by having to buy a pack of 12 sheets all at once – especially as it isn’t a particularly cheap product. I was talking to Rosie about this and we came up with the idea of offering single sheets pre-printed with a Bustle & Sew design for those who’d like to try it for themselves. I’ve chosen nine of our most popular designs to begin with – but if you’d like one that isn’t there then please let me know. Pre-printed sheets are currently listed in our Etsy store only and you can find out more HERE.
Happy stitching!
I use sticky fabri-solvy too and can highly recommend it.
Your pictures are lovely are lovely
Julie xxxxxxx
Thanks Julie xx
I love your designs and am so happy that you love Sulky Sticky Fabri-Solvy. I wouldn’t embroider without it! Isn’t it great that they come in 8.5″ x 11″ sheets?
Yes indeed! So convenient and easy to run through the printer. xx
This was so helpful! Thank you.. I will definitely be giving this a try!
This sounds fantastic! I have a hard time finding embroidery transfers for my Mom. It’s exciting to know I can print my own!! I really appreciate your description.
Brilliant, absolutely brilliant! Thanks so much for sharing
You’re very welcome Karen xx
I love that deer pattern! Where did you get it?
Hi Haley, thanks so much – it’s a pattern from the September 2016 Bustle & Sew Magazine xx
Does this work in a laser printer?
I’m sorry I don’t know Sarah, can anyone else help? I will say though that I have accidentally ironed over it (on the reverse) and it was fine
Yes, it definitely works with a laser printer. I’ve used it half a dozen times already with no problems at all.
Hi Helen,
Do you hoop the solvy as well when hand embroidering?
Cheers, Kerry
Hi Kerry – you can hoop the solvy if you wish, and it certainly protects your work against hoop marks, but I generally don’t – as it’s quite strongly self-adhesive it holds to the fabric very well I find. Hope this helps xx
Re the query on Laser printers, I have put the equivalent product through recently and it printed very well.
I agree that this is a worthwhile product.
Sue Simpkin
Thanks so much Sue for letting us all know xx
Hi where do you get this product from I have never heard of it and would like to purchase some? Thans
Hi, you can find it on Amazon. Just search for Sulky Stick Fabri Solvy and you’ll find it x
How would you use this when wanting to embroider a name?
Hi Sheila – simply print the name onto the soluble side and peel and stick onto your fabric. Embroider over the printed name, then dissolve the Sulky Sticky Fabri Solvy away. xx
Será que dá para mandar pro Brasil? Quanto fica? bjsss
Desculpe, não sei. Eu compro o meu da Amazônia para que você possa olhar lá
I have used the Sulky Sticky Fabri Solvy on several quilting projects. It is so nice not having to use a hoop on my particular projects especially when traveling. The only problem I have is after soaking the material and it dries it is sticky, could it be from not leaving it in the water long enough? Has anyone else had this problem?
Thanks so much Terri – I always place mine upside down in the water preferably overnight so the film drops away, changing the water if it becomes very cloudy as for me the key has been to rinse, rinse and then rinse again! Hope this helps xx
Helen – I love all of you embroidery designs. And, the softies are wonderful. Has anyone had problems with the printer ink bleeding on the fabric when the item is placed in water to dissolve the Sticky Fabri Solvy film? The Sulky website mentioned this could be a problem, depending on the type of printer ink used.
Thanks so much Terri – I always place mine upside down in the water preferably overnight so the film drops away, changing the water if it becomes very cloudy and for me the key has been to rinse, rinse and then rinse again! I did get bleeding to begin with, but have found being absolutely rigorous with the rinsing has prevented this recurring. Hope this helps xx
This is awesome. however, I do crazy quilts with a lot of silks and velvets. I am thinking this probably won’t work on those. It would be awesome if it did. I definitely want to try it on other projects that are washable. My granddaughter is wanting a design on a jean skirt and this will make that sooo much easier.
Can I purchase the pattern for Relax Breath anywhere?
Thanks, Lynda wilder/ Vermont
Yes indeed Lynda, you’ll find it in the embroidery section of our store xx
I am sorry but I don’t understand the procedure from beginning to end. Can you please explain each step? I would be very grateful. Do you need a special sewing machine?
Reply
Hi Kathie, it’s not hard at all. You simply print your design onto the sticky fabri solvy, it goes through your printer just like regular paper. Then you peel off the paper backing to reveal the sticky side – press onto your fabric and stitch through both the fabri solvy and your fabric. When you’re finished just soak in cold water to remove the fabri solvy. Hope this helps. xx
Thank you so much for all of this great information! I have been tempted to try it, but not knowing enough just would not take the risk. Now, I will not hesitate and look forward to buying some and doing my next hand embroidery project! Have a great day!
Thanks so much Brenda, I’m glad you’ve found this useful x
Can you use this on photos.
Will this product work with any kind of printer? Thanks
I have only used it with an inkjet Colleen, so I’m not sure – it would probably be a good idea to refer to the manufacturer’s guidelines before going ahead x
Does this product leave a sticky residue on the needle as you stitch the design? I’ve run into that problem when using fabric appliques backed with iron-on fusible products.This happens when I use either the blanket stitch or the zig-zag stitch where the stitching thread is spaced closely together to outline the appliques.
Hi Lynda – I must admit I haven’t personally experienced this problem, but I think if you were working in conditions of high humidity then this might be something to take into consideration. x
Used it but project remains sticky and attracts dirt. I don’t recommend it.
Thanks for your comment Carol – perhaps you didn’t rinse it thoroughly enough – I find an overnight soak is the best way!
I used this to put a large embroidery pattern on the back of a navy blue sweatshirt/jacket. It worked great. No stretching of the knit fabric and no puckering either. I just soaked it in cool water for about an hour and rinsed it thoroughly. No residue or stickiness on my jacket.
I am really going to have to try this. Thanks for the information