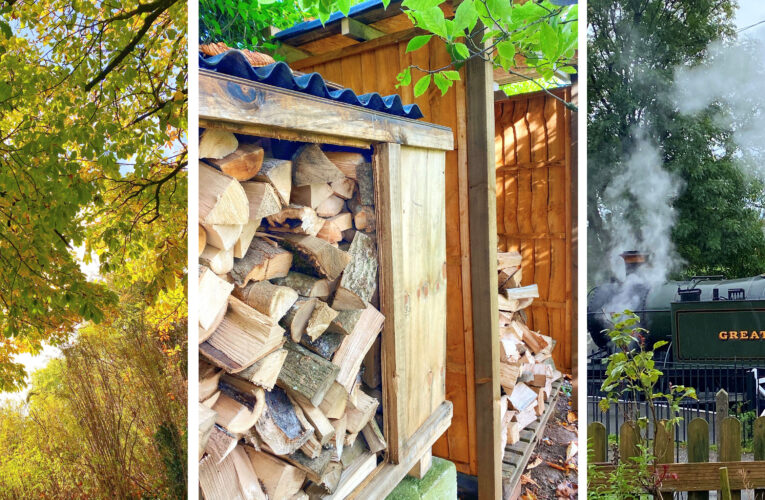
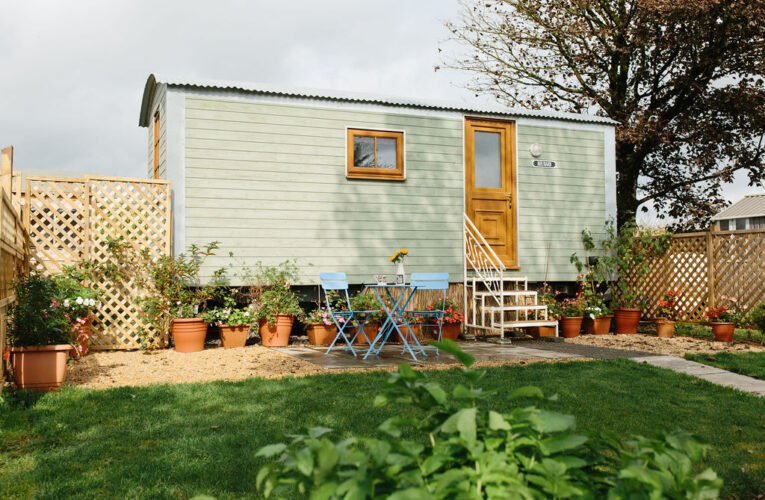
 Now autumn is really and truly upon us as the first frosts of the season are forecast for this weekend. The log store is comfortingly full, ready for cosy evenings snuggled up in front of the wood burner and the trees are dressed in their autumn colours. Next week the trains will stop running, their summer season is over – and it’s time to put the garden to bed as well…
As well as the Engineer’s illness last month, we’ve spent a lot of time lately getting Rhubarb all ready for his photoshoot, which means that the gardening has been put on the back burner and so there’s a lot to do. The greenhouse has been made ready for those geraniums we’re hoping to overwinter, the grass will shortly be receiving its last cut and my raised beds in the Kitchen Garden are cleared of summer crops, though the leeks, carrots and parsnips will go on well into the colder weather.

A couple of weeks ago I planted my garlic. We use a lot of garlic in our house, and since I discovered that most supermarket garlic is imported from China – why, oh why? I have enjoyed growing my own. My seed garlic comes from the Isle of Wight Garlic Farm and – this is my third season – I’ve harvested enough from one bed to see us through the whole year.
The old superstition is to plant on the shortest day and harvest on the longest, but I don’t usually harvest until early July as our dates tend to be a little later high up here on the Mendip Hills. The cloves I planted at the end of September are already beginning to show green shoots above the soil and they’ll love the upcoming frosts as they need some cold weather to encourage them to segment into new garlic bulbs.
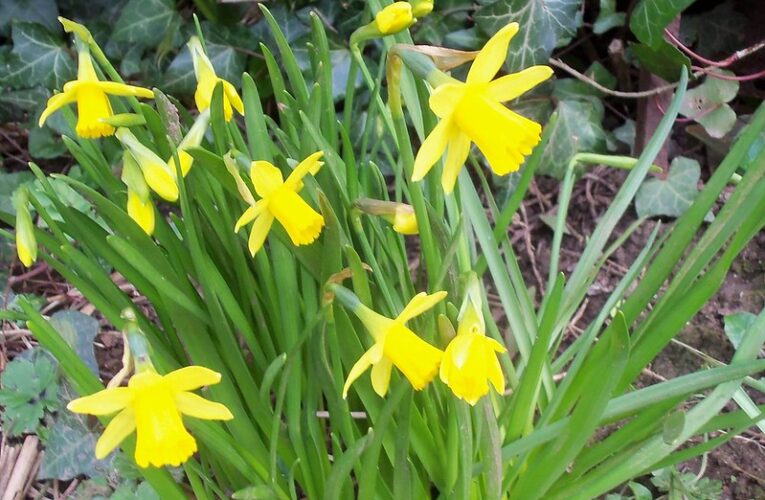
I have other planting to do too. Last autumn I planted daffodils over the bank outside our house and though they’re still a little sparse I’m hoping that they’ll naturalise and multiply until the whole bank is smothered in golden yellow blooms each spring.
I also have aliums to plant on the same bank – these have multiplied in my garden over the last three summers and I have plenty to spare. I love their purple globes and they will extend the season of colour on our bank from February (snowdrops), March and April (primroses and daffodils) right through until the end of May when I will be able to restrain the Engineer and his mower no longer! Being a tidy kind of soul, he tolerates no-mow May, but as soon as the calendar page is turned to June the mower appears and the bank is shorn once more.
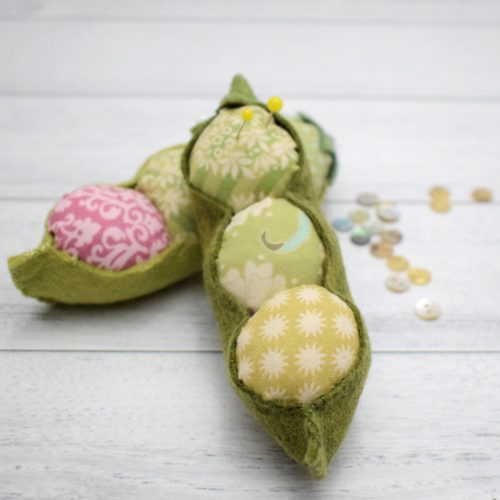
It’s fair to say though that vegetables are my passion when it comes to gardening – and I love stitching them too! In the Bustle & Sew Magazine for the last couple of months I’ve been including not only seasonal patterns, but ones that I think would make great gifts too. And I remembered my little Pea Pod Pin Cushion from some time ago now. It’s an oldie – but I think is still a goodie that uses very little in the way of materials but would make a great little present for a stitchy friend – or for yourself too of course!
To make your very own pea pod pin cushion you will need:
● 6” x 4” green felt for pod
● Small scrap of felt (a different green) for the leaf frill at one end (I’m not at all sure what the technical name for this is, but leaf frill is at least descriptive!)
● Three 4” squares of printed cotton (Quilting cotton is the perfect weight for creating plump wrinkle-free peas, so why not hunt out some of your leftover pre-cuts.)
● Toy stuffing
● Green embroidery floss or pearl thread
METHOD
● Cut two pea pod sides and one frill using the full size templates. Cut three x 3” diameter circles from your printed cotton fabric.
● Place the two pea pod sides together and using two strands of green floss join along the bottom edge from B to C. Use either blanket stitch, or my favourite is a decorative cross stitch formed by stitching over the edges with a diagonal whip stitch, then returning and stitching again but this time slanting my stitches in the opposite direction to create the cross stitch.
● Stitch along the top edge from A to B in the same way. Place the pod to one side.
● Run a gathering stitch around the circumference of your printed fabric circles and pull up tightly inserting stuffing as you pull to create a nice plump round shape (you may find a stuffing stick useful for this) A stuffing stick is simply created by breaking the pointed end off a bamboo skewer and “fraying” the broken end so it grabs the stuffing as you push.
● Fasten off the thread firmly and snip long ends.
● Pin the peas into place along the sides of the pod, then make small stitches at intervals to secure them into place. Make sure they’re squished in nice and firmly and secured to the pod.
● Fold your leaf frill in half and stitch to the completed pod at C.
● Your pin cushion is now finished.
I hope you enjoy making your pin cushion, and I’d love to see pictures of any finished peapods!
If you’d like this tutorial as a free pdf file, then click the button below and I’ll send it to you. (If you already receive our free newsletter then you’ll find the tutorial waiting for you in your newsletter readers pattern library).
![]()
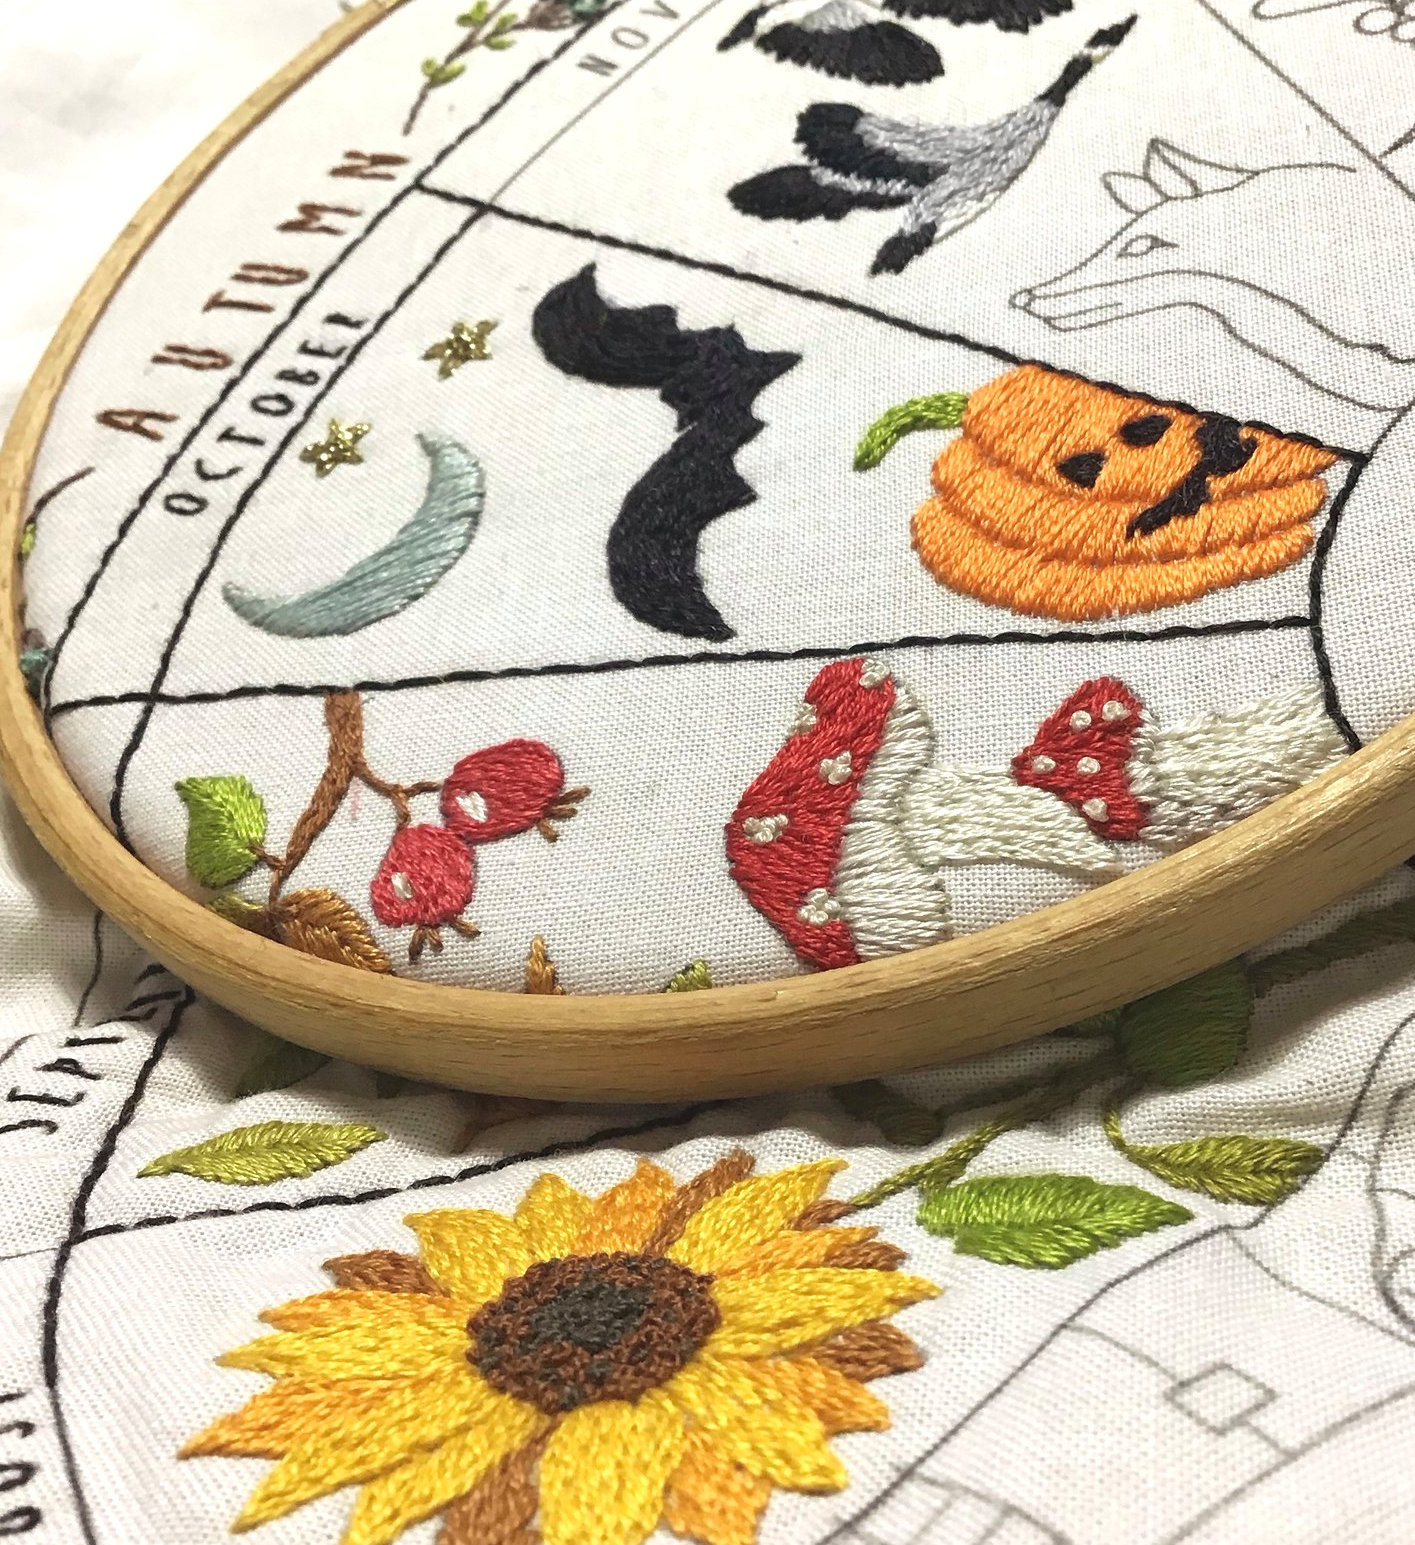
And finally … a quick peek at how my Countryside Year project is progressing….. rather like the garden and the countryside around Station House we’re well into autumn now – and I hope you approve!
Your stitching is so perfect. Does it come natural to you? Mine was never that pretty and at age 75 & poorer eyesight as the years go by, I’ve finally accepted that’s the way it’s gonna be. But still, the love of embroidery is with me. Thank you for the eye candy you give us.
Thanks so much Brenda, I learned at a very early age, both my mum and grandma stitched so I guess there’s a bit of hereditary in there, but I have also had loads of practice over the years! x