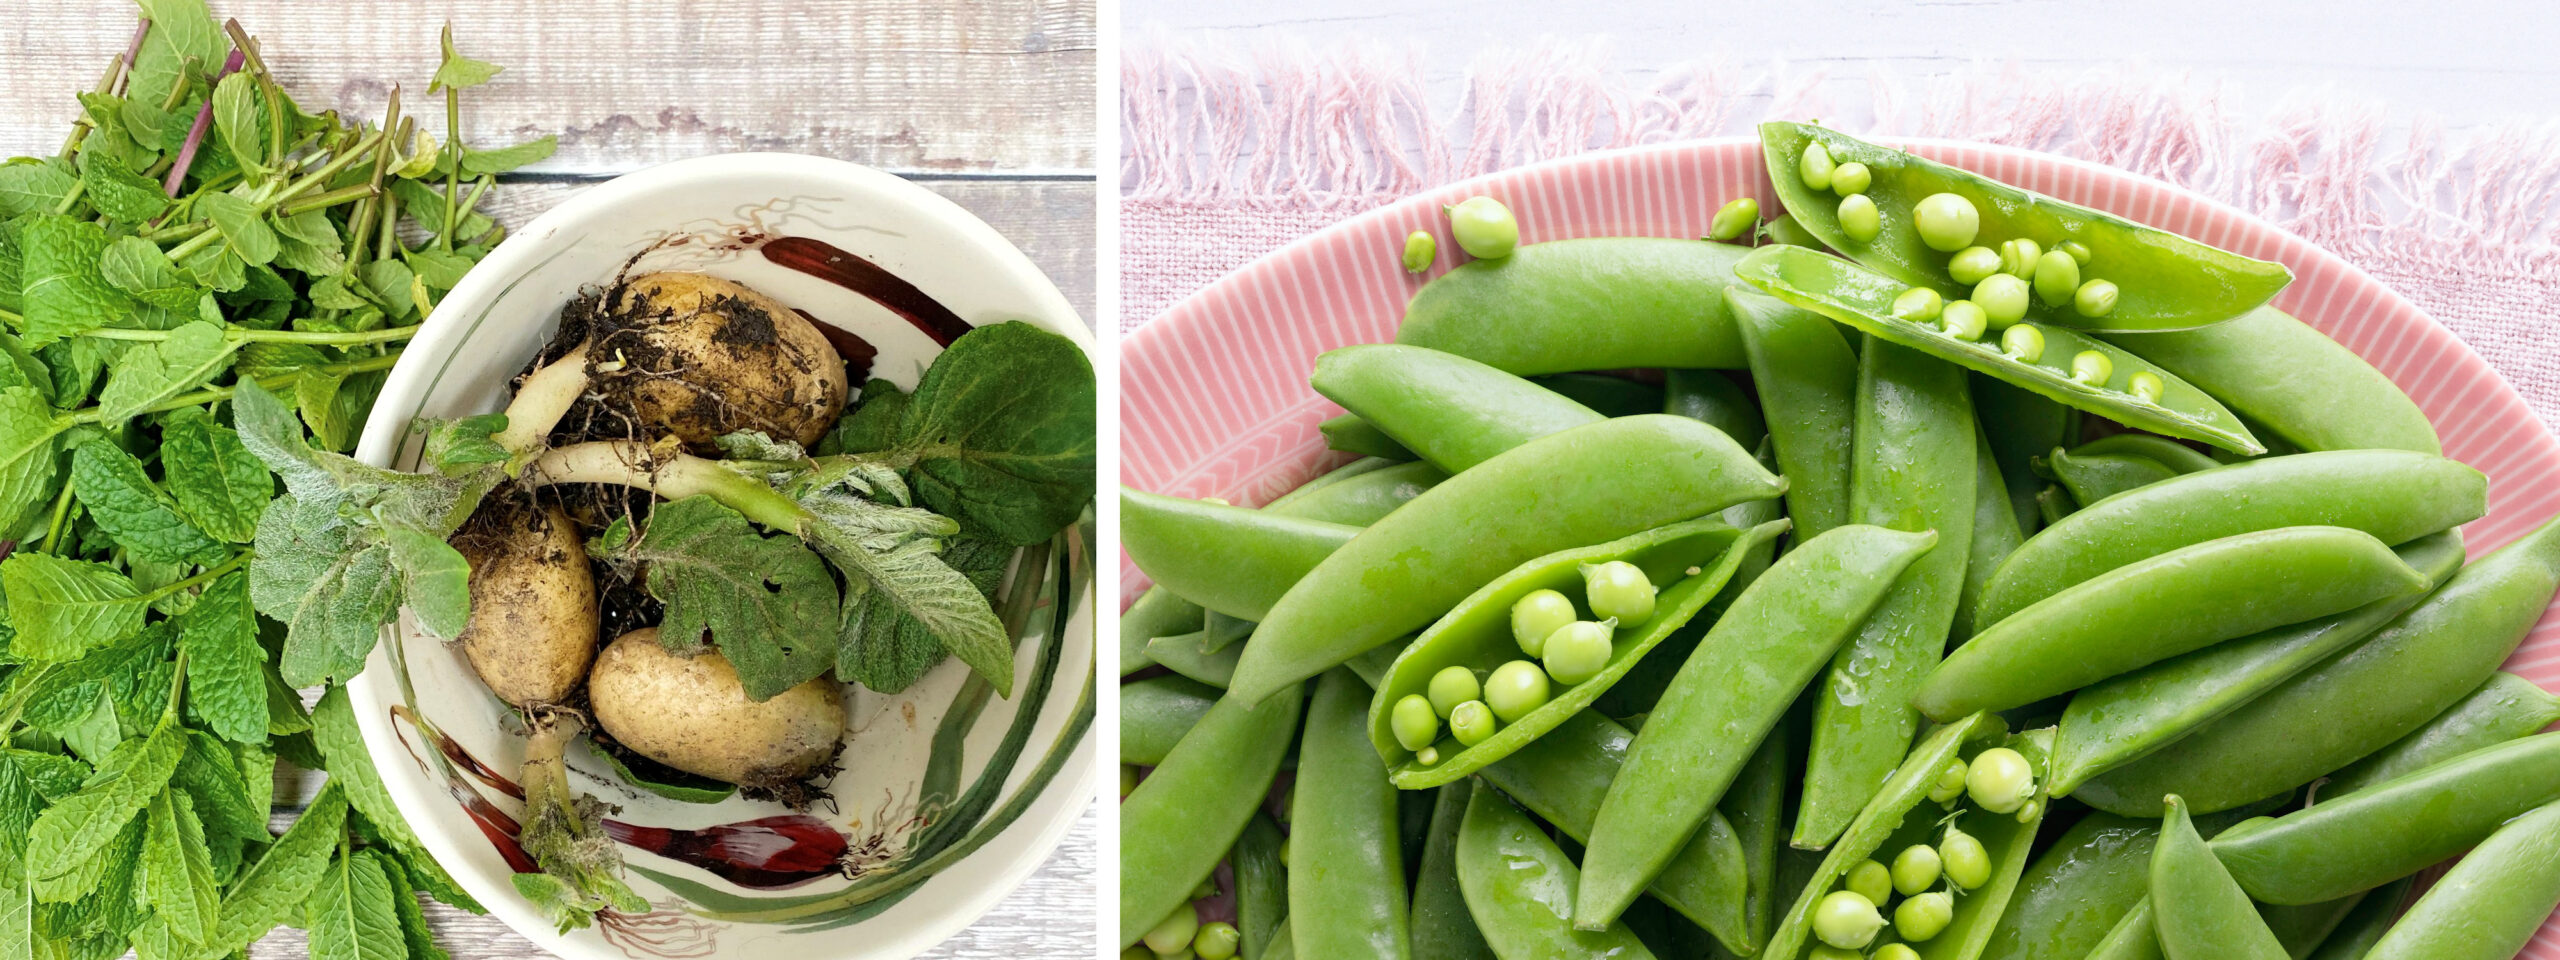
And now, just like that, it’s July! Glastonbury has been and gone and the long school summer holidays are in sight. My kitchen garden is coming into production, and though everything is a little late this year after the long cool spring we experienced, there are plenty of new young vegetables to enjoy. The garlic has been harvested and once again is drying out in my (now vampire-free!) shed, whilst the peas, broad beans, carrots and spinach make delicious additions to our summer diet.
I’m sure as well, that when young Freddie and Florence come for a sleepover they’ll be happy to help us shell beans and pod peas – a lovely gentle pre-bedtime activity that spans the generations – I can remember helping my own grandad in this way more than half a century ago!
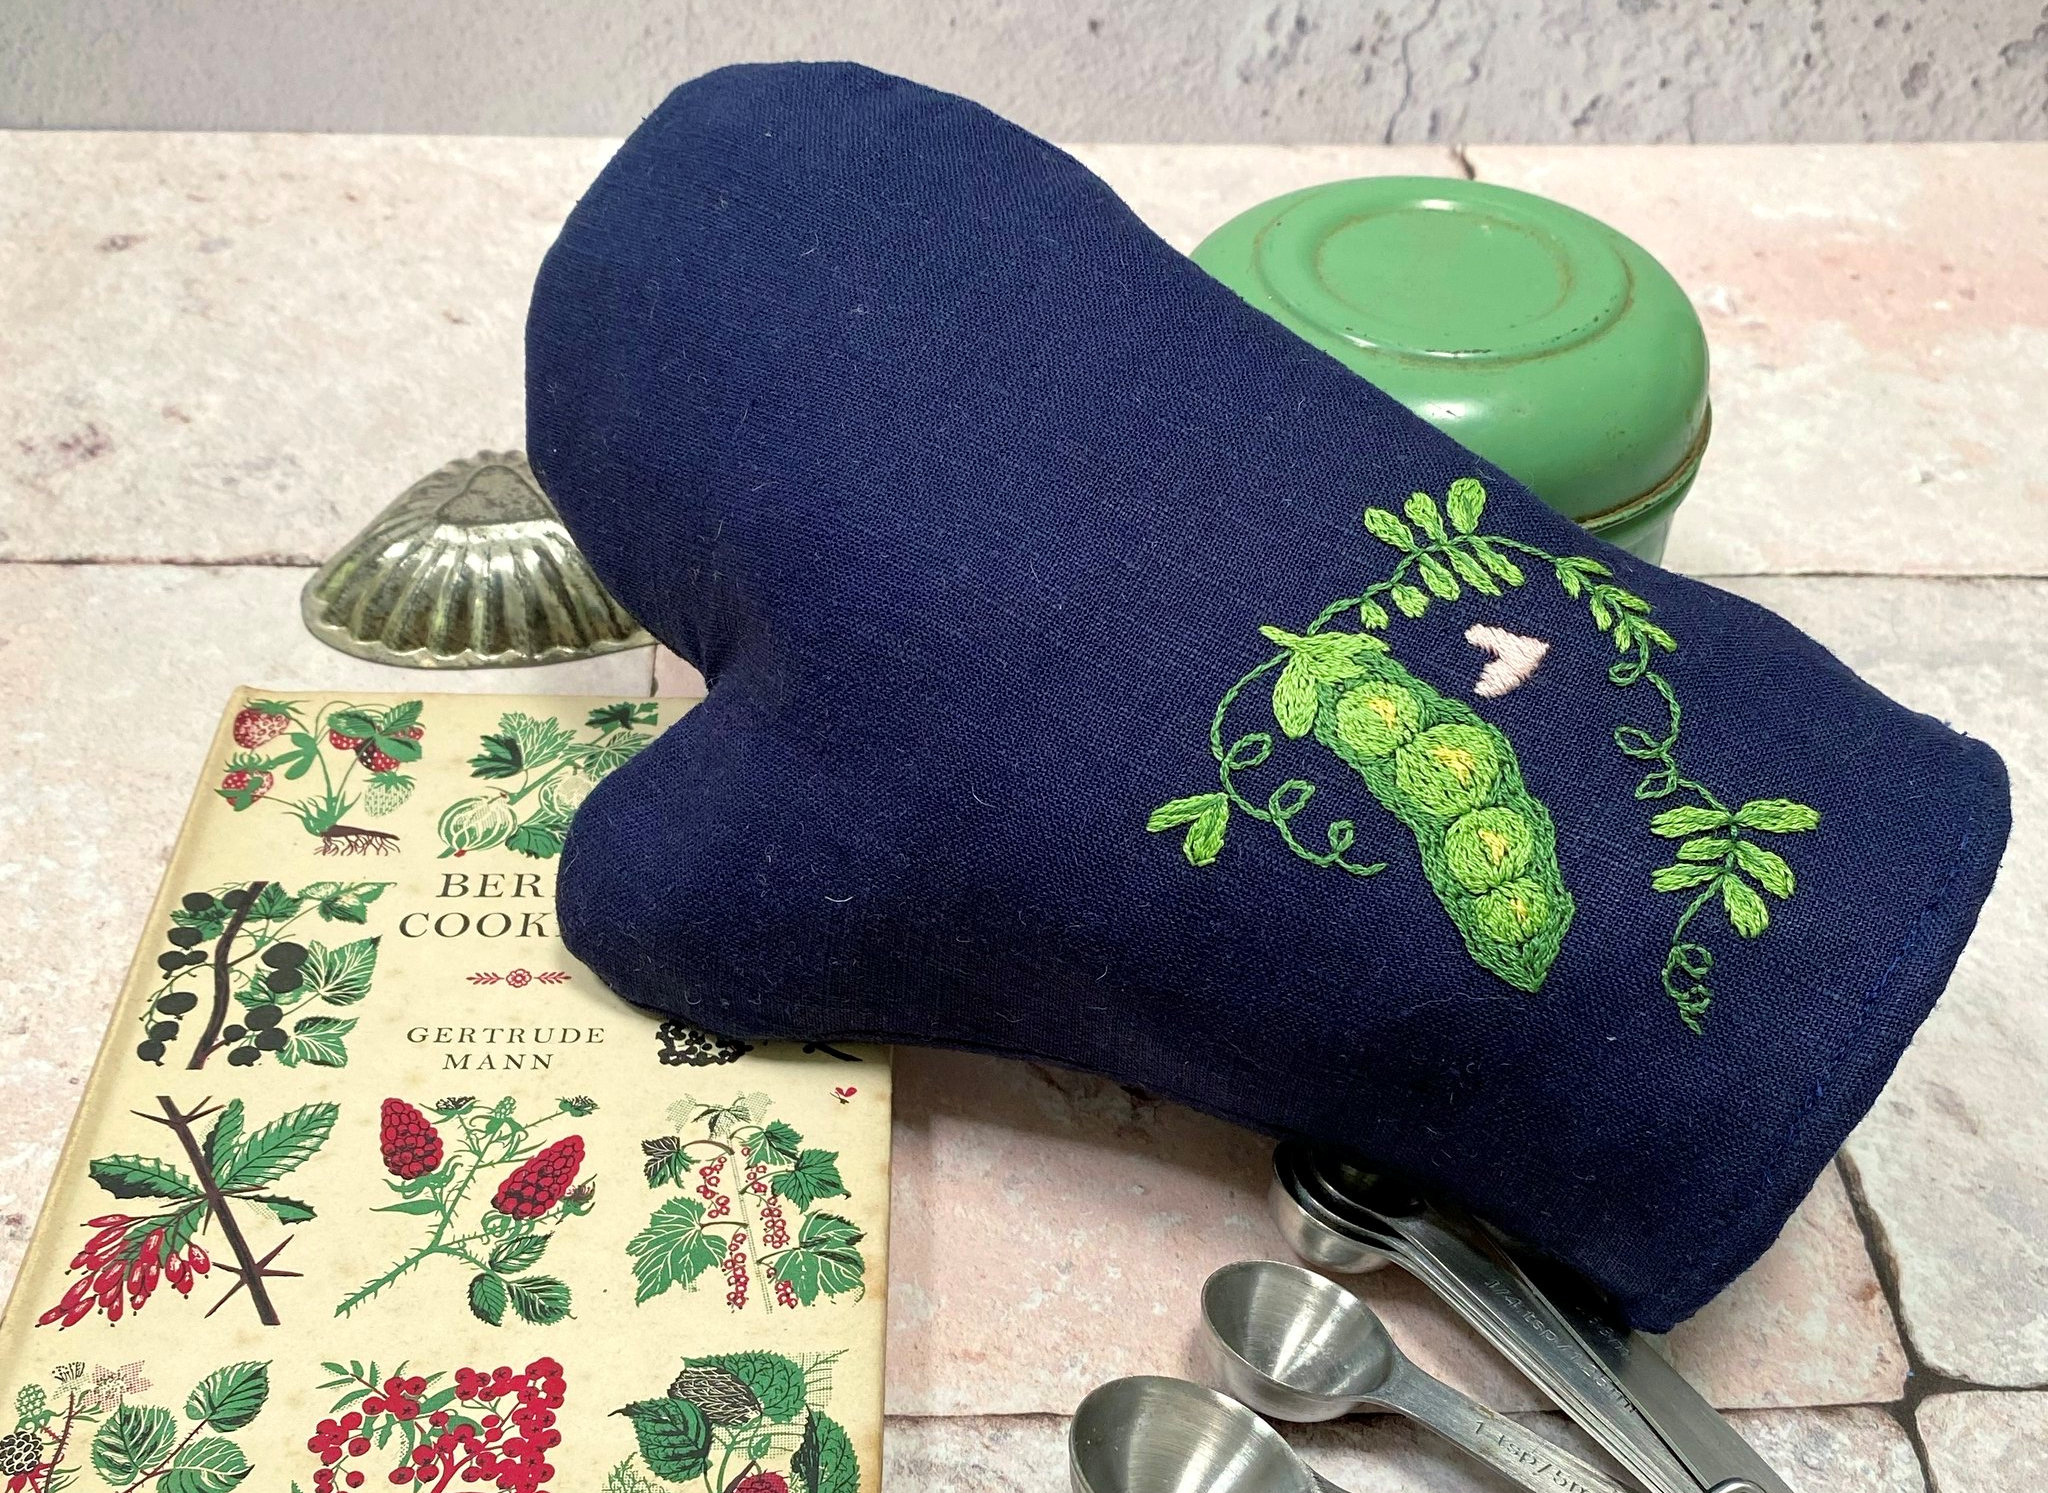
There’s a pea pod pattern in this month’s Bustle & Sew Magazine too – an oven mitt featuring a pea pod embroidery which I hope subscribers will enjoy. I have a horrid habit of grabbing the nearest tea towel to protect my hand when taking dishes from the oven – which over the years has ended up with more than one burn on fingers and hand, so I’m definitely going to keep my mitt handy in the kitchen.
And, thinking of pea pods, what could be nicer than a plump pea pod pin cushion, with three fat peas perfect for your pins and needles? This is a really quick project that takes only around an hour or two to complete and is totally sewn by hand.
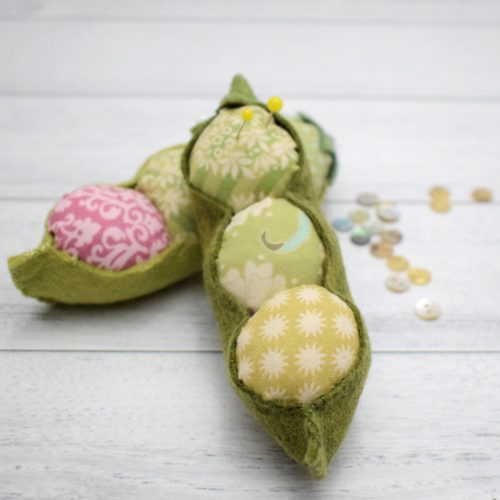
This pattern has been around for a while now, but it’s still pretty and would make a great gift – or indeed an easy make for a fundraiser….
MATERIALS
To make your very own pea pod pin cushion you will need:
● 6” x 4” green felt for pod
● Small scrap of felt (a different green) for the leaf frill at one end (I’m not at all sure what the technical name for this is, but leaf frill is at least descriptive!)
● Three 4” squares of printed cotton (Quilting cotton is the perfect weight for creating plump wrinkle-free peas, so why not hunt out some of your leftover pre-cuts.
● Toy stuffing
● Green embroidery floss or pearl thread
METHOD
● Cut two pea pod sides and one frill using the full size templates. Cut three x 3” diameter circles from your printed cotton fabric.
● Place the two pea pod sides together and using two strands of green floss join along the bottom edge from B to C. Use either blanket stitch, or my favourite is a decorative cross stitch formed by stitching over the edges with a diagonal whip stitch, then returning and stitching again but this time slanting my stitches in the opposite direction to create the cross stitch.
● Stitch along the top edge from A to B in the same way. Place the pod to one side.
● Run a gathering stitch around the circumference of your printed fabric circles and pull up tightly inserting stuffing as you pull to create a nice plump round shape (you may find a stuffing stick useful for this) A stuffing stick is simply created by breaking the pointed end off a bamboo skewer and “fraying” the broken end so it grabs the stuffing as you push.
● Fasten off the thread firmly and snip long ends.
● Pin the peas into place along the sides of the pod, then make small stitches at intervals to secure them into place. Make sure they’re squished in nice and firmly and secured to the pod.
● Fold your leaf frill in half and stitch to the completed pod at C.
● Your pin cushion is now finished.
I hope you enjoy making your pin cushion, and I’d love to see pictures of any finished peapods!
Like this tutorial? Sign up to our newsletter to receive lots more free patterns, how – to guides and all the latest from Bustle & Sew!
![]()
Leave a Reply