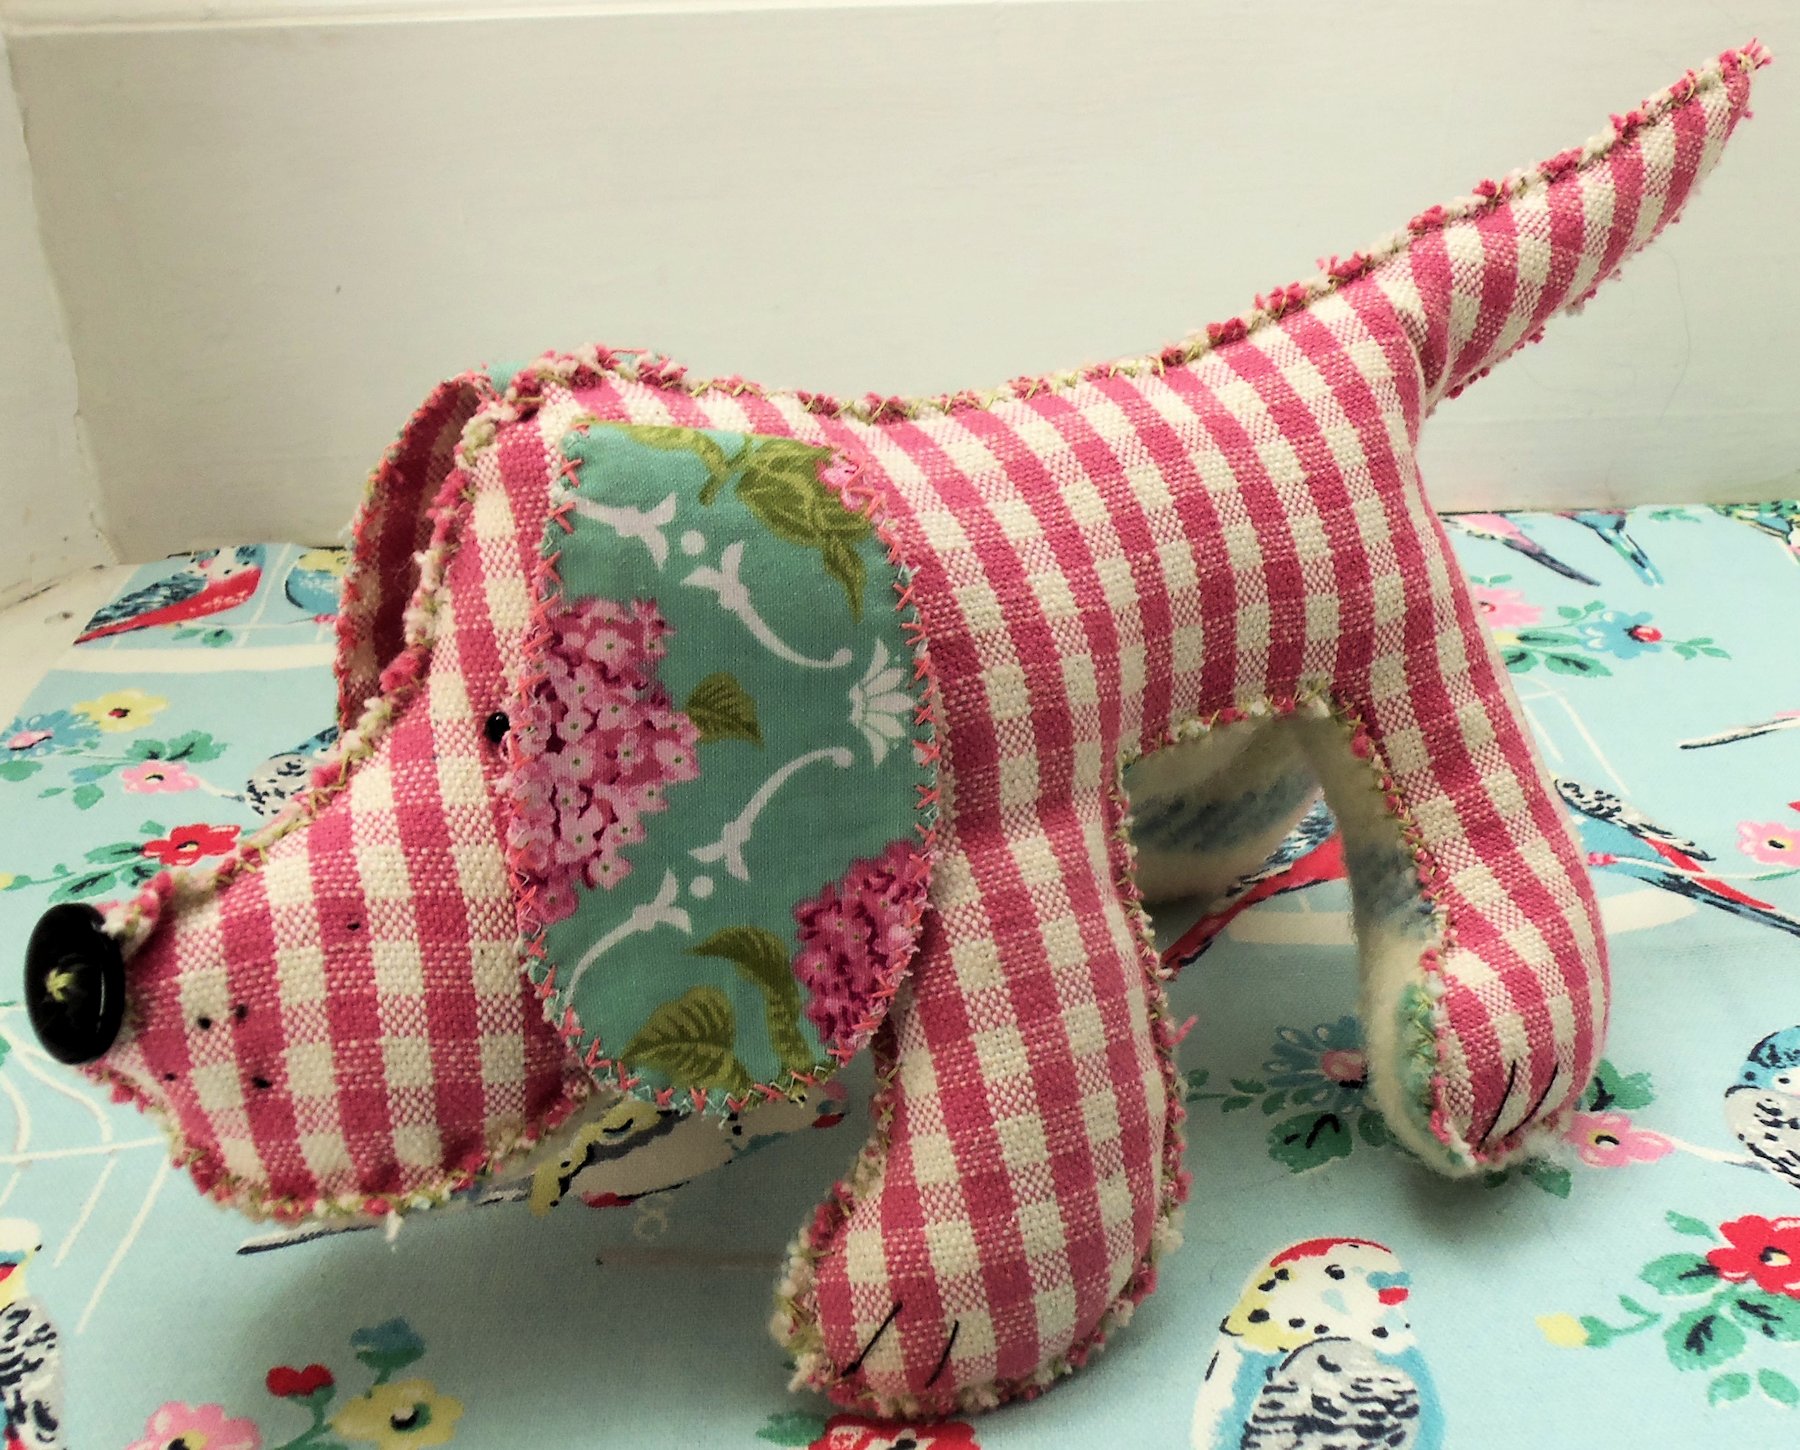
Humphrey is my interpretation of a vintage pattern first published over 40 years ago! He is entirely hand-stitched and has a cute button nose. He’s a great easy make for beginners or to make for sale as he shouldn’t take an experienced maker more than a couple of hours in total.
If you’d like this tutorial as a free pdf file, then click the button below and I’ll send it to you. (If you already receive our free newsletter then you’ll find the tutorial waiting for you in your newsletter readers pattern library).
Materials:
- 18” square main body fabric. Use felt or a medium-weight non-stretchy fabric
- 10” x 12” gusset fabric as before
- 6” square contrast fabric for ears
- ¾” black or dark brown button for nose
- Small black beads for eyes
- Strong dark brown or black thread
- Stranded cotton floss in a colour that you feel works well with your main body fabric. I chose a light mint green for my Humphrey
Notes:
If you’re making your dog from felt then you won’t have problems with fraying. However, I sometimes think that felt can be a bit bland and uninteresting so I like to choose different fabrics but that does mean that if you choose to hand
stitch your Humphrey making a decorative feature of the seams, you may have an issue with fraying. There are various ways to get around this – here are three that I have used:
Fraycheck is a proprietory compound that you apply to the edges of your fabric – it does what it says in the name but can leave your fabric feeling stiff and hard to sew.
If you want to use a lighter-weight cotton, then fuse to light or medium weight fusible interfacing before cutting out the pieces. This will stop fraying.
My favourite – cut out the pieces then go around the edge with a machine zig-zag in a matching thread. Use a short stitch length. When you hand stitch the seams this zig-zag stitch will be covered by your hand stitching.
I like to sew my softie seams by hand using cross stitch to give decorative hard-wearing seams. Work half cross stitch in one direction, then return the other way to complete the stitch. Then if the thread is broken in one place your seams won’t come undone. Stuff the small parts like the tip of the tail and ends of paws as you go to make sure you push the stuffing right into the ends. Use small pieces of stuffing to avoid lumpiness and mould the toy with your hands as you go, turning it around to check you’re happy with how it looks from all sides. Use two strands of cotton floss to sew your seams.
Download your templates HERE.
Method:
- Resize templates to make the Humphrey of your choice. Cut all pieces as shown on templates.
- Stitch gussets to main body pieces around legs and belly
- Join main pieces together along top from nose to tail tip.
- Join gussets leaving a 3” gap for stuffing.
- Stuff and close gap.
- Join inner and outer ears, then stitch to dog using the photograph as a guide.
- Sew on beads for eyes using strong thread and pulling fairly tightly to form little hollows around the eyes. I have marked the eye position on the templates, but it’s always a good idea to try out with glass-headed pins first to make sure you’re happy with the positioning.
- Sew on button for nose with and make a few tiny French knots in dark brown or black for whiskers.
- Add claws in dark brown thread. FINISHED!!
If you’d like this tutorial as a free pdf file, then click the button below and I’ll send it to you. (If you already receive our free newsletter then you’ll find the tutorial waiting for you in your newsletter readers pattern library).
I just love your little animals. I haven’t done too much in the way of house decor, mostly bags and clothing but I’ve started to see more of that type of sewing and needlework and would love to give it a try. I think I got ruined in Jr High School with Home Ec in having to do only hand sewing over and over on the same piece of fabric making a dishcloth of all things. My stitches were not good enough for my teacher so I did it over and over again therefore spoiling me for anything hand done. Now in my late 70’s I want to try a few of those things I’ve hated for years only because they were hand done. I love your designs, so original and yet so simple in the message. Thank you.