Last week I spoke a bit about choosing your materials – you can read it HERE. This week I’m going to be talking about the importance of cutting your pattern pieces and sewing your pieces together, I hope you find it useful!
Softie Patterns from Bustle & Sew
Cutting your pattern pieces:
This is a very important part of the process – it’s worth taking a lot of time and care over as you’ll reap dividends later on. Bad cutting will result in misshapen softies and pattern pieces that don’t fit together properly. Many people think that they should use small scissors to cut out fiddly pieces but this isn’t necessarily the case. Felt pieces for these details must be cut out with a continuous action, so giving a nice smooth line to the edge. A series of short cuts with small scissors will give a jagged, unattractive looking edge. I often use my dressmaking shears to cut out these more detailed shapes. Whatever scissors you’re using they must be nice and sharp. Don’t be tempted to cut out the cardboard bases with your fabric shears as this will ruin their cutting edge.
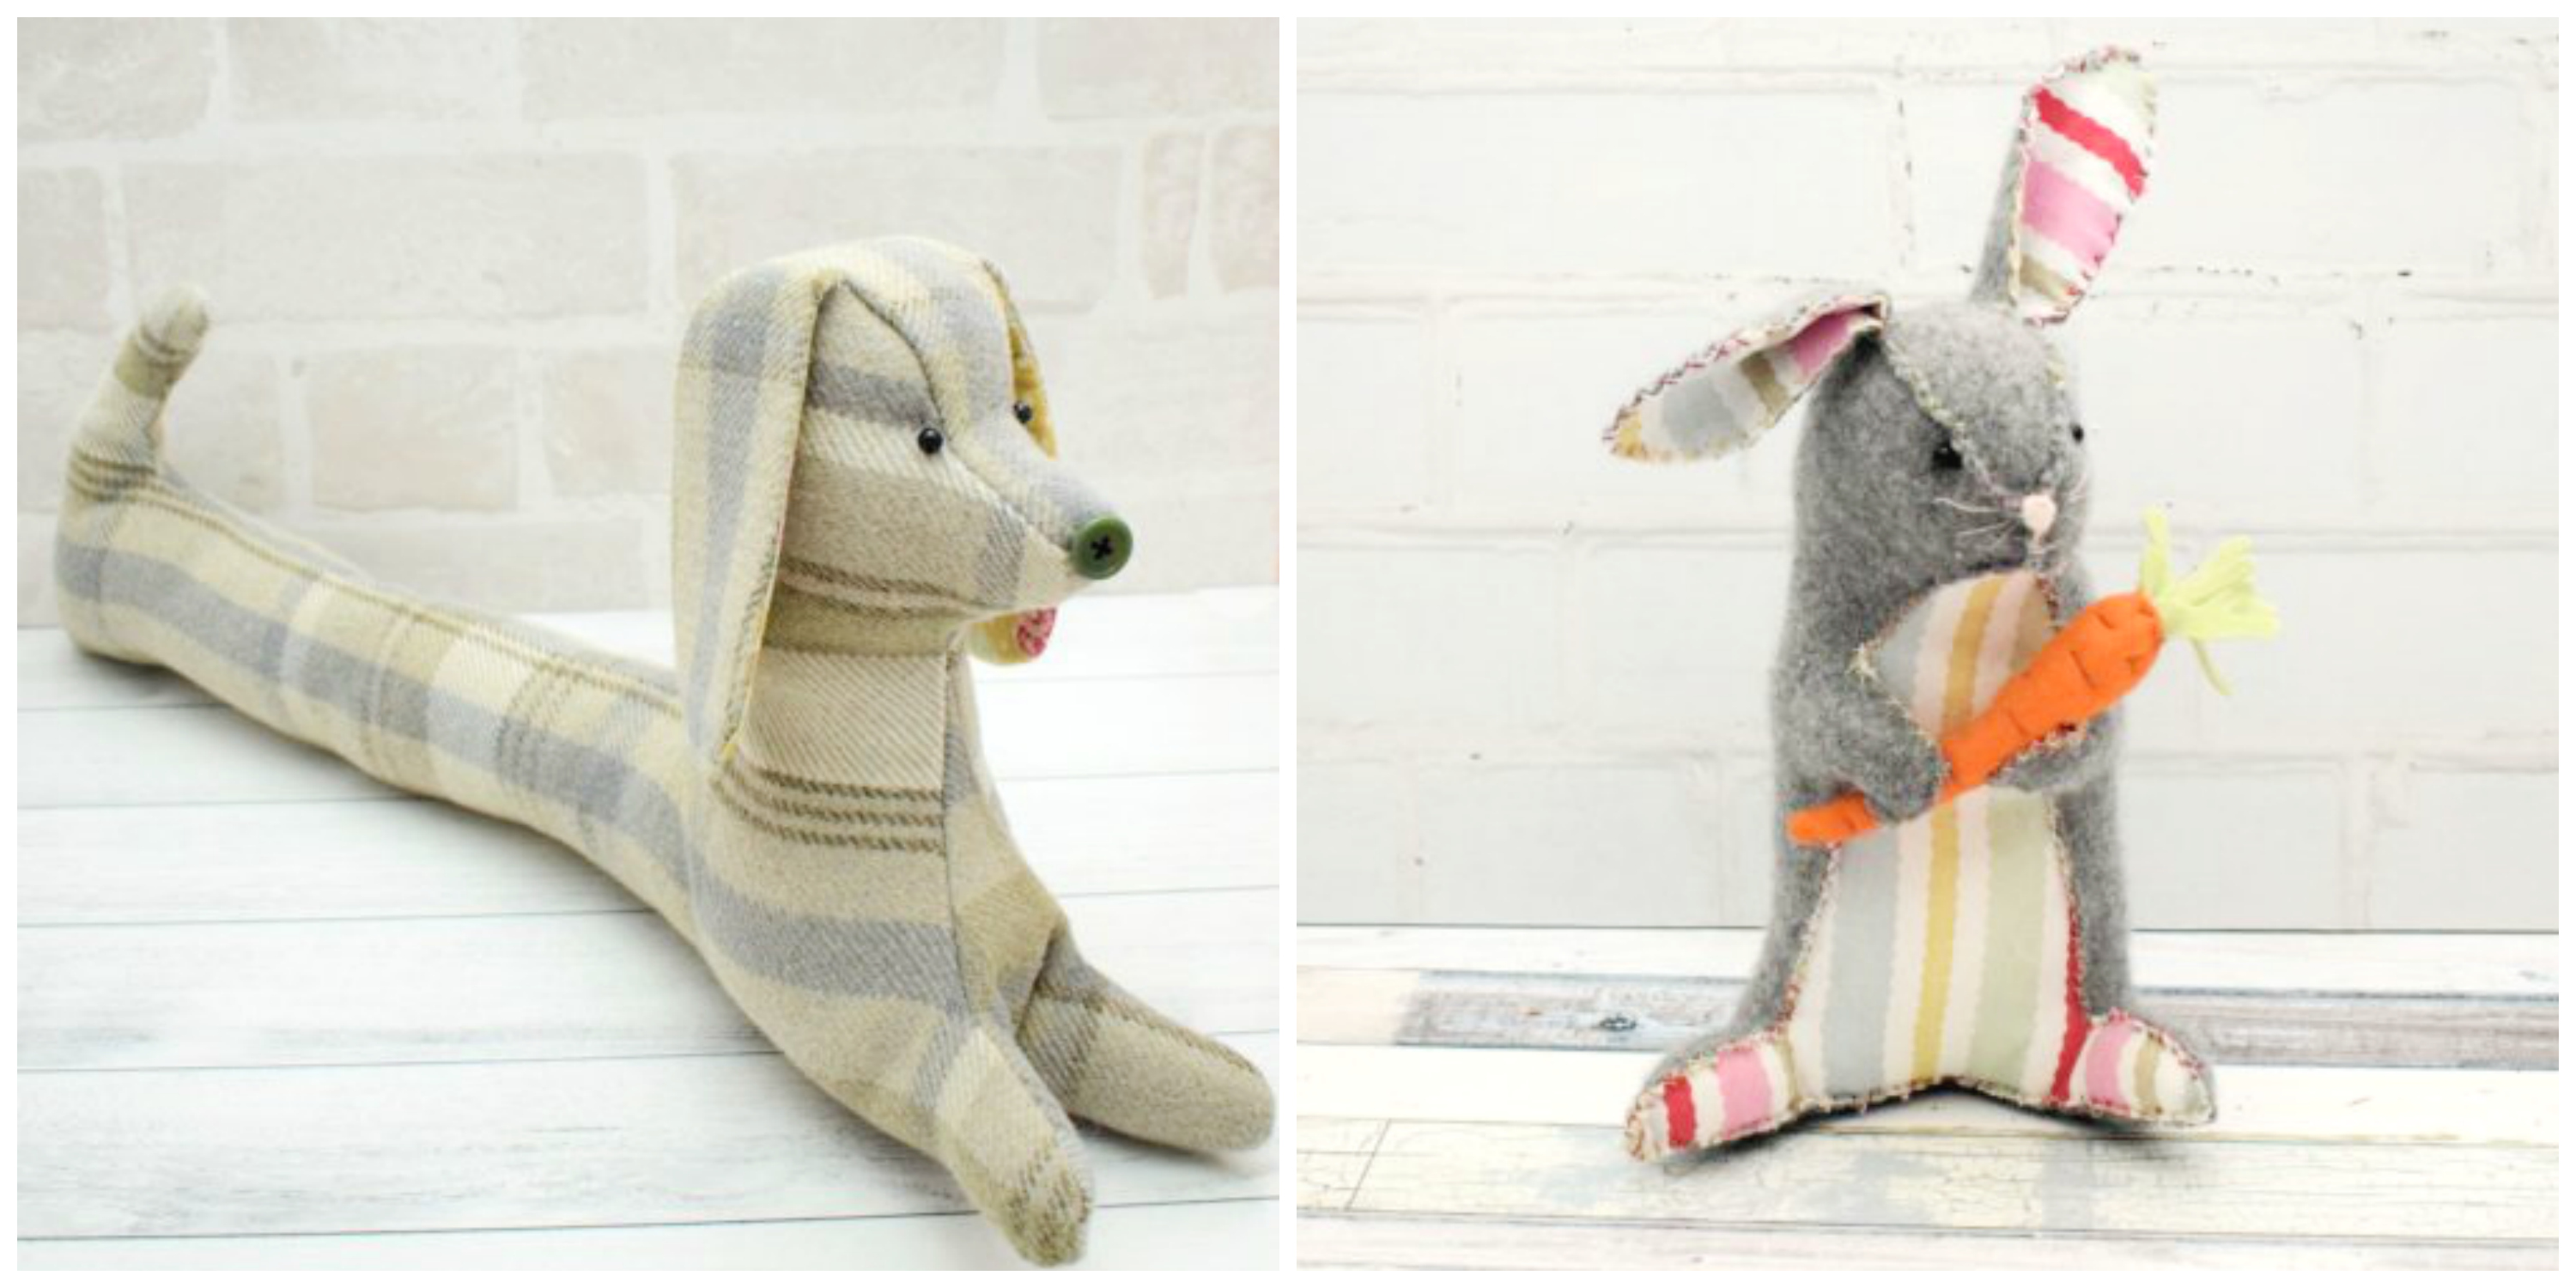
If you’re using a woven fabric, then make sure that the grain runs up and down the piece, not diagonally as this will cause it to stretch and distort. Often it’s nice to combine different fabrics as in the hen on the right who is created from vintage blanket, felted cashmere, feedsack scraps and wool mix felt for her comb and wattles. You can either draw round the shapes on the wrong side of the fabric hen cut out along the lines, or pin the pattern to the material and cut around the edge.
Softie Patterns from Bustle & Sew
Sewing your pieces together:
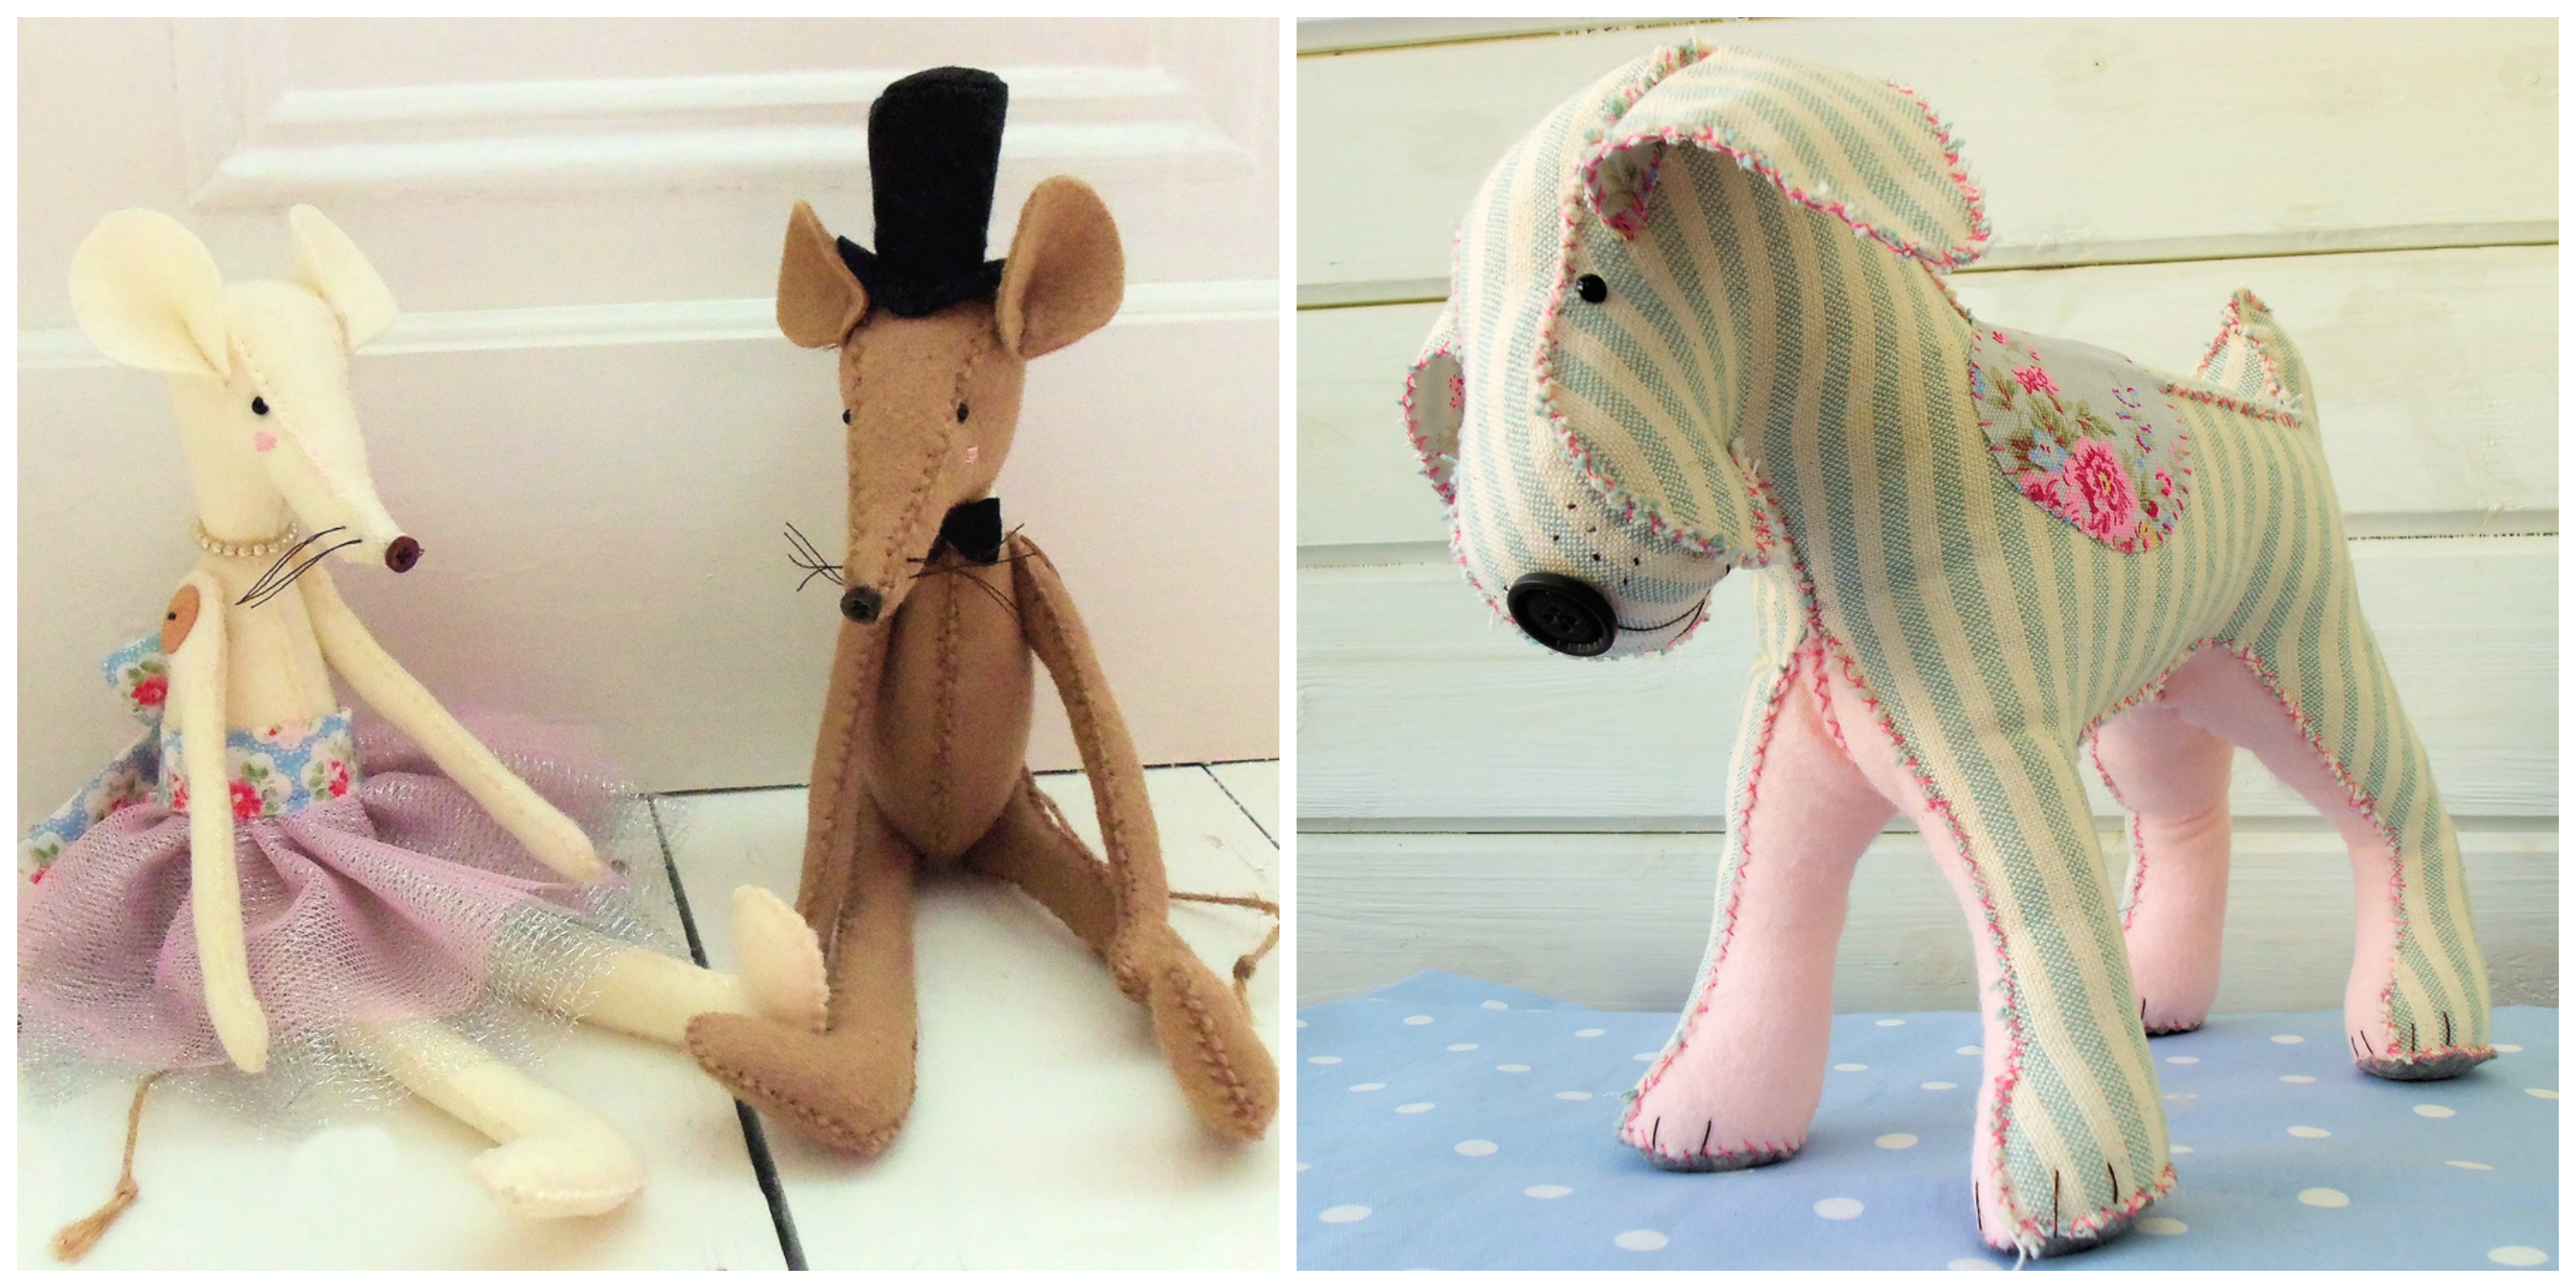
You can join your pieces by hand or by machine stitching. Each will give your softies a completely different look. My preference is to use two strands of stranded cotton embroidery cross and close the seams with cross stitch. I work half-cross stitch in one direction, then return in the other direction to finish the stitch. This produces a nice strong seam as if one thread is broken then the whole seam won’t unravel – the other half of the stitch, being worked separately, should remain securely attached. It’s decorative too.
The thread you choose can either match your materials (the best choice for machine stitching) or contrast/complement them – great if you’re hand stitching and want to make a feature of the seams.
If you’re new to softie making you may well wish to tack your pieces together before you begin to stitch. It’s not a good idea to use pins as they could accidentally be left in the toy. Obviously it’s quicker to machine stitch the pieces together, but this does give a less handmade look, and of course you can’t relax on the sofa with a good movie if you’re using your sewing machine.
Hand sewing your softies also gives you greater control over the finished appearance – you can stuff as you go and also make minor adjustments if necessary.
I do hope you’ve found this useful – be sure to check back next week when I’ll be talking about stuffing your softie and adding the finishing touches!
Leave a Reply