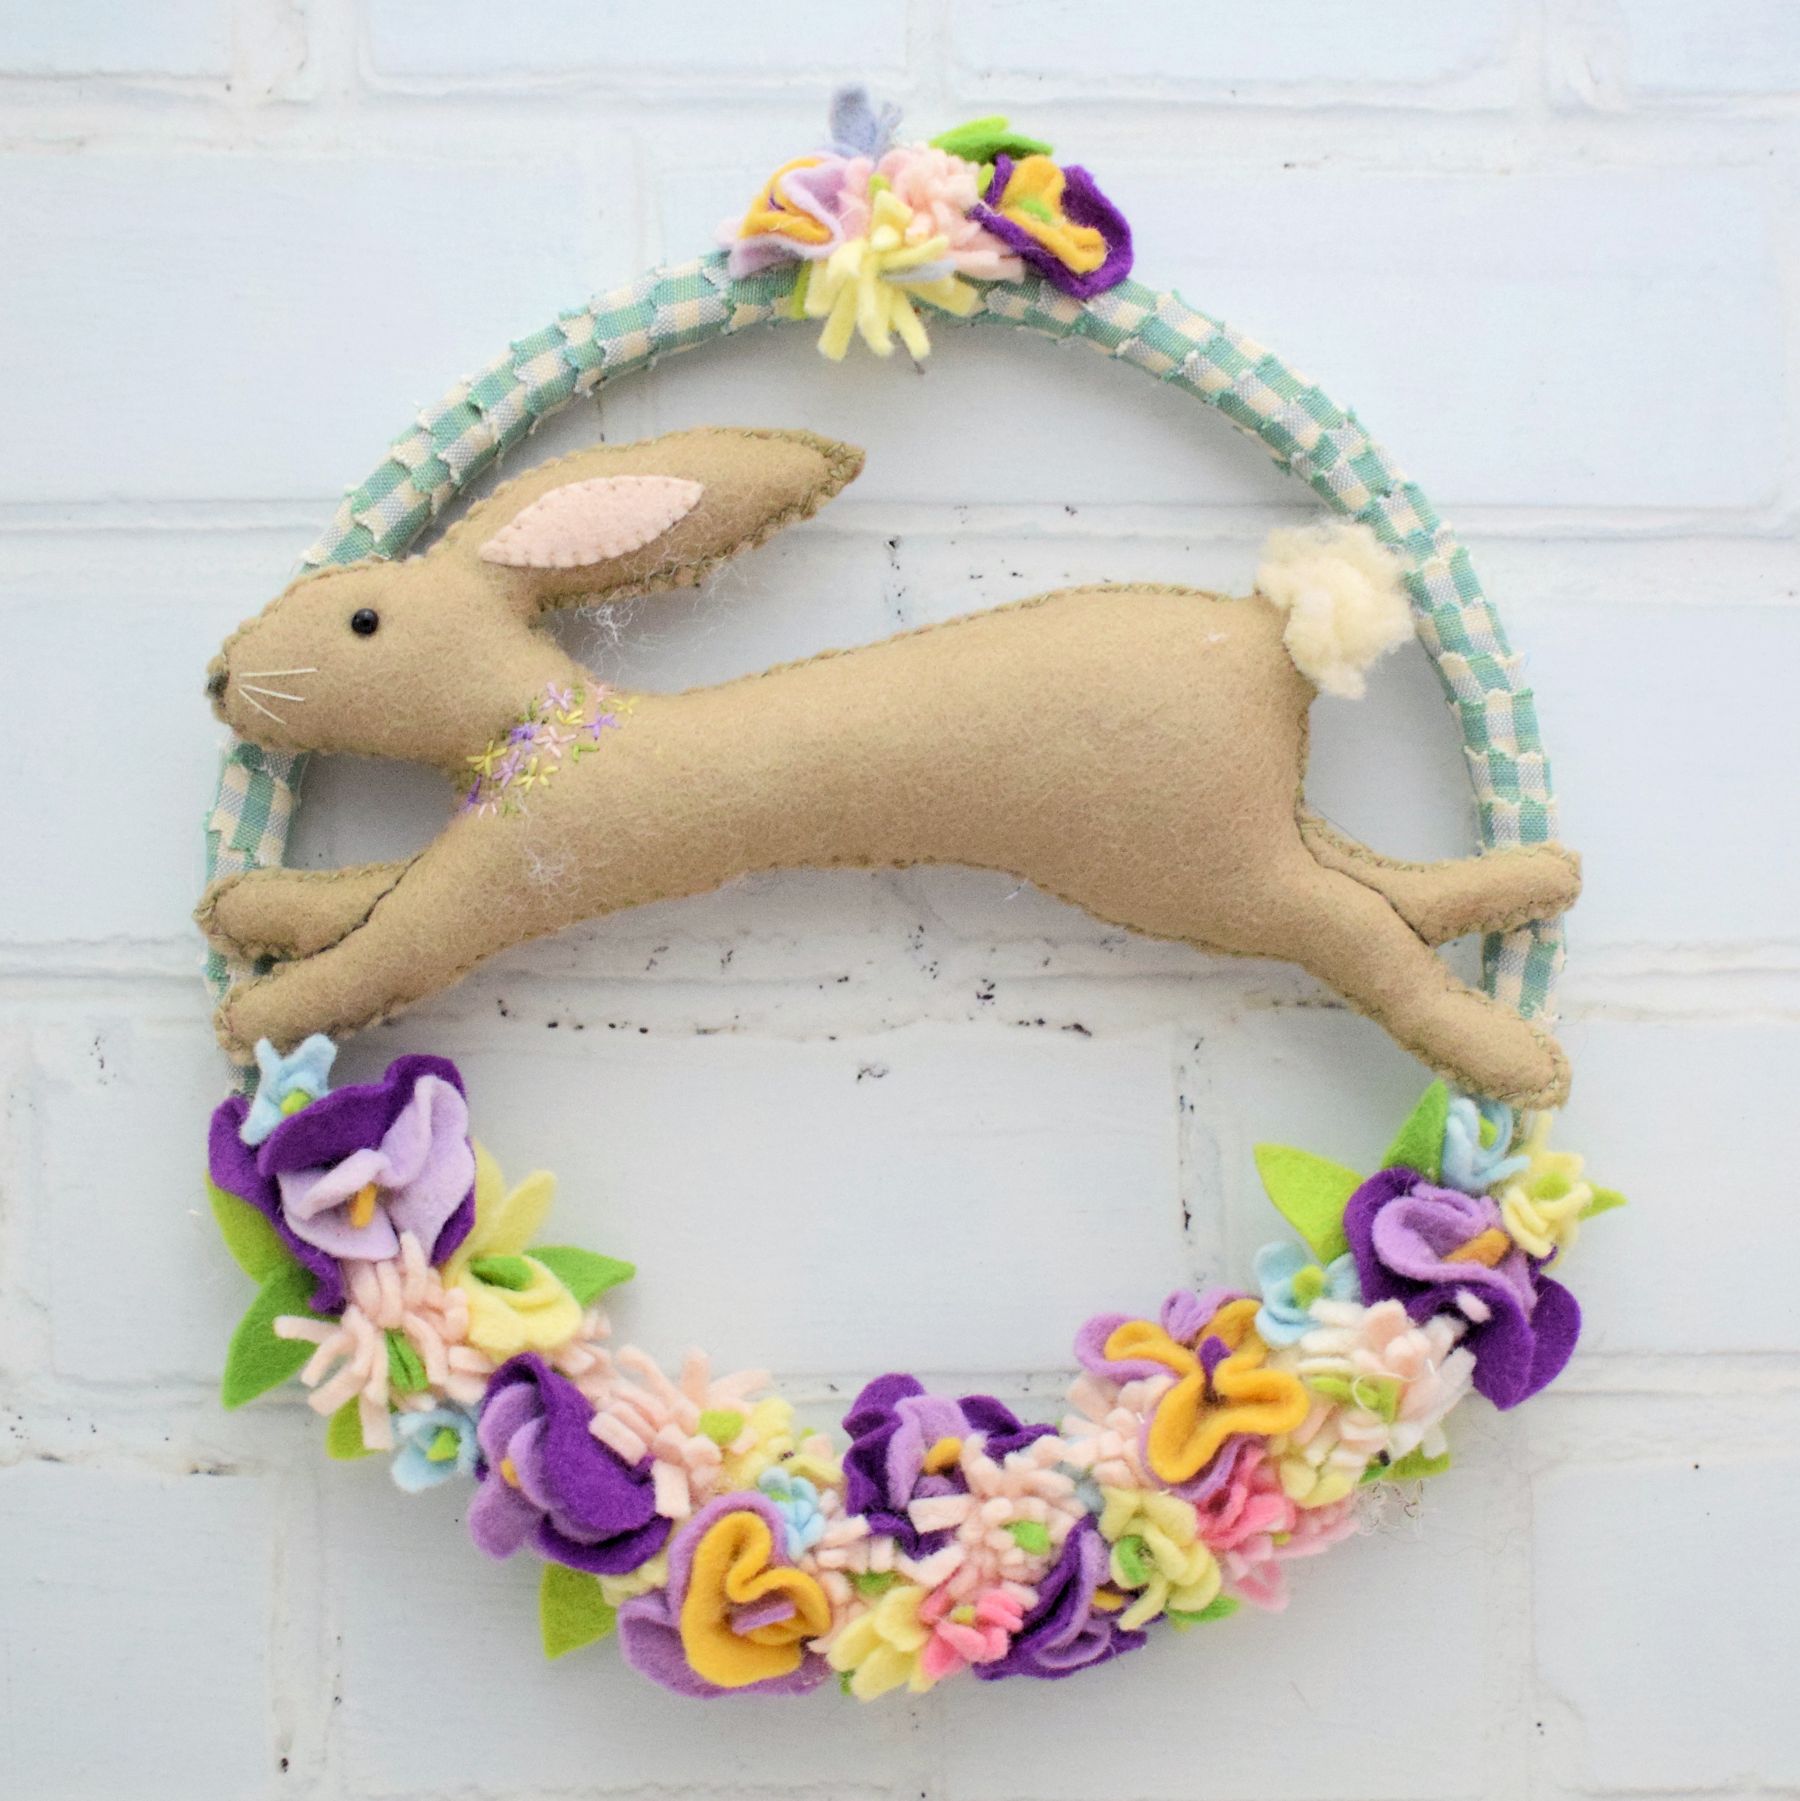
All you need is an old embroidery hoop, some scraps and a hot glue gun to create this enchanting little bunny decoration. Treat your house this spring! I used an 8” embroidery hoop, but you could easily make your wreath larger or smaller, just resize the bunny template to suit.
If you’d like this tutorial as a free pdf file (with step by step pictures), then click the button below and I’ll send it to you. (If you already receive our free newsletter then you’ll find the tutorial waiting for you in your newsletter readers pattern library).
![]()
Materials:
- 8” embroidery hoop
- Strips of fabric to bind hoop – these should be about ½” in length and you will need approximately 2 ½ yards, but this depends on how closely you wrap your hoop. I cut my strips with pinking shears for a decorative effect, but this is optional.
- 10” square rabbit coloured felt and a tiny scrap of pink for his ear
- Tiny scrap of white or cream fluffy fabric for his tail.
- Scraps of coloured felt for the flowers
- Coloured embroidery floss for the flowers around the rabbit’s neck. Floss to match your rabbit coloured felt to sew his body together and a slightly darker shade to add lines for legs and nose.
- Tiny black bead for eye (if unavailable then a few stitches in black floss will work too)
- Toy stuffing
- Hot glue gun
- Temporary fabric marker
- Download your templates HERE
Prepare your hoop:
- Place the inner ring inside the outer and tighten the screw as far as it will go to hold the ring securely in place.
- Starting at the top (the screw) place a dab of glue at the back of the hoop, then begin to cover it with your fabric strips, winding round and round, occasionally securing in place with a dab of glue at the back of your hoop.
- Begin and end strips at the back of the hoop and secure the final end with another dab of glue.
Make your bunny:
Note: use two strands of floss throughout except for whiskers which are a single strand of cream floss
- Take your rabbit coloured felt and fold in half. Press.
- Position the template (actual size) on your felt and draw around with your temporary fabric marker.
- Cut out your two bunny pieces, making sure you cut smoothly as the edges will show.
- Cut out ear shape in pink felt and stitch in place with pink thread.
- With temporary fabric marker pen draw in lines for legs and mark position of collar using photos as a guide.
- Place your bunny pieces together and stitch around the edges with cross stitch. As the legs and ear are quite narrow it’s easier to stuff as you go.
- Stuff your rabbit nice and firmly so he won’t wobble around on the wreath, and close the final gap.
- With darker thread stitch the legs – go through to the back and pull the thread quite firmly to make his legs a bit rounded.
- Stitch his nose with a few straight stitches.
- Secure bead for eye – again take your stitches right through to the back of the rabbit and pull firmly to give his face some contours.
- Stitch collar – I used a selection of flosses that matched the felt I was planning to use for my flowers, as well as a green floss for the leaves. The flowers are simply five small straight stitches arranged in a star shape and roughly scattered along the line of his collar.
- Add whiskers in a single strand of cream floss.
- Cut a circle of white fluffy fabric and stitch into position for his tail.
- Erase any lines from your temporary marker that remain.
- Glue rabbit to wreath with your hot glue gun, using the photograph on the front of this pattern as a guide.
Make your flowers:
- There are lots of different ways to make felt flowers – I chose just three – making blossoms from strips of felt cut into fringes, with a small piece of green at the centre, flowers with strips of felt cut into a deep wavy pattern along one edge – and pansies which were created from two circles of felt scrumpled around a central smaller
piece. - Create flowers of your choice, then glue in position at the bottom of the wreath between bunny’s back and front legs and a small posy at the top to hide the screw. Add some leaf shapes in green felt too if you wish.
- Thread ribbon through screw and hang your wreath. Wait for compliments!
![]()
If you’d like this tutorial as a free pdf file (with step by step pictures), then click the button below and I’ll send it to you. (If you already receive our free newsletter then you’ll find the tutorial waiting for you in your newsletter readers pattern library).
![]()
I adore your website
Aw, thank you so much Melissa!
I love your mouse pin cushion pattern, it is easy to make with good results, lovely
From Chris and Julie
http://www.ourcottagecreations.com