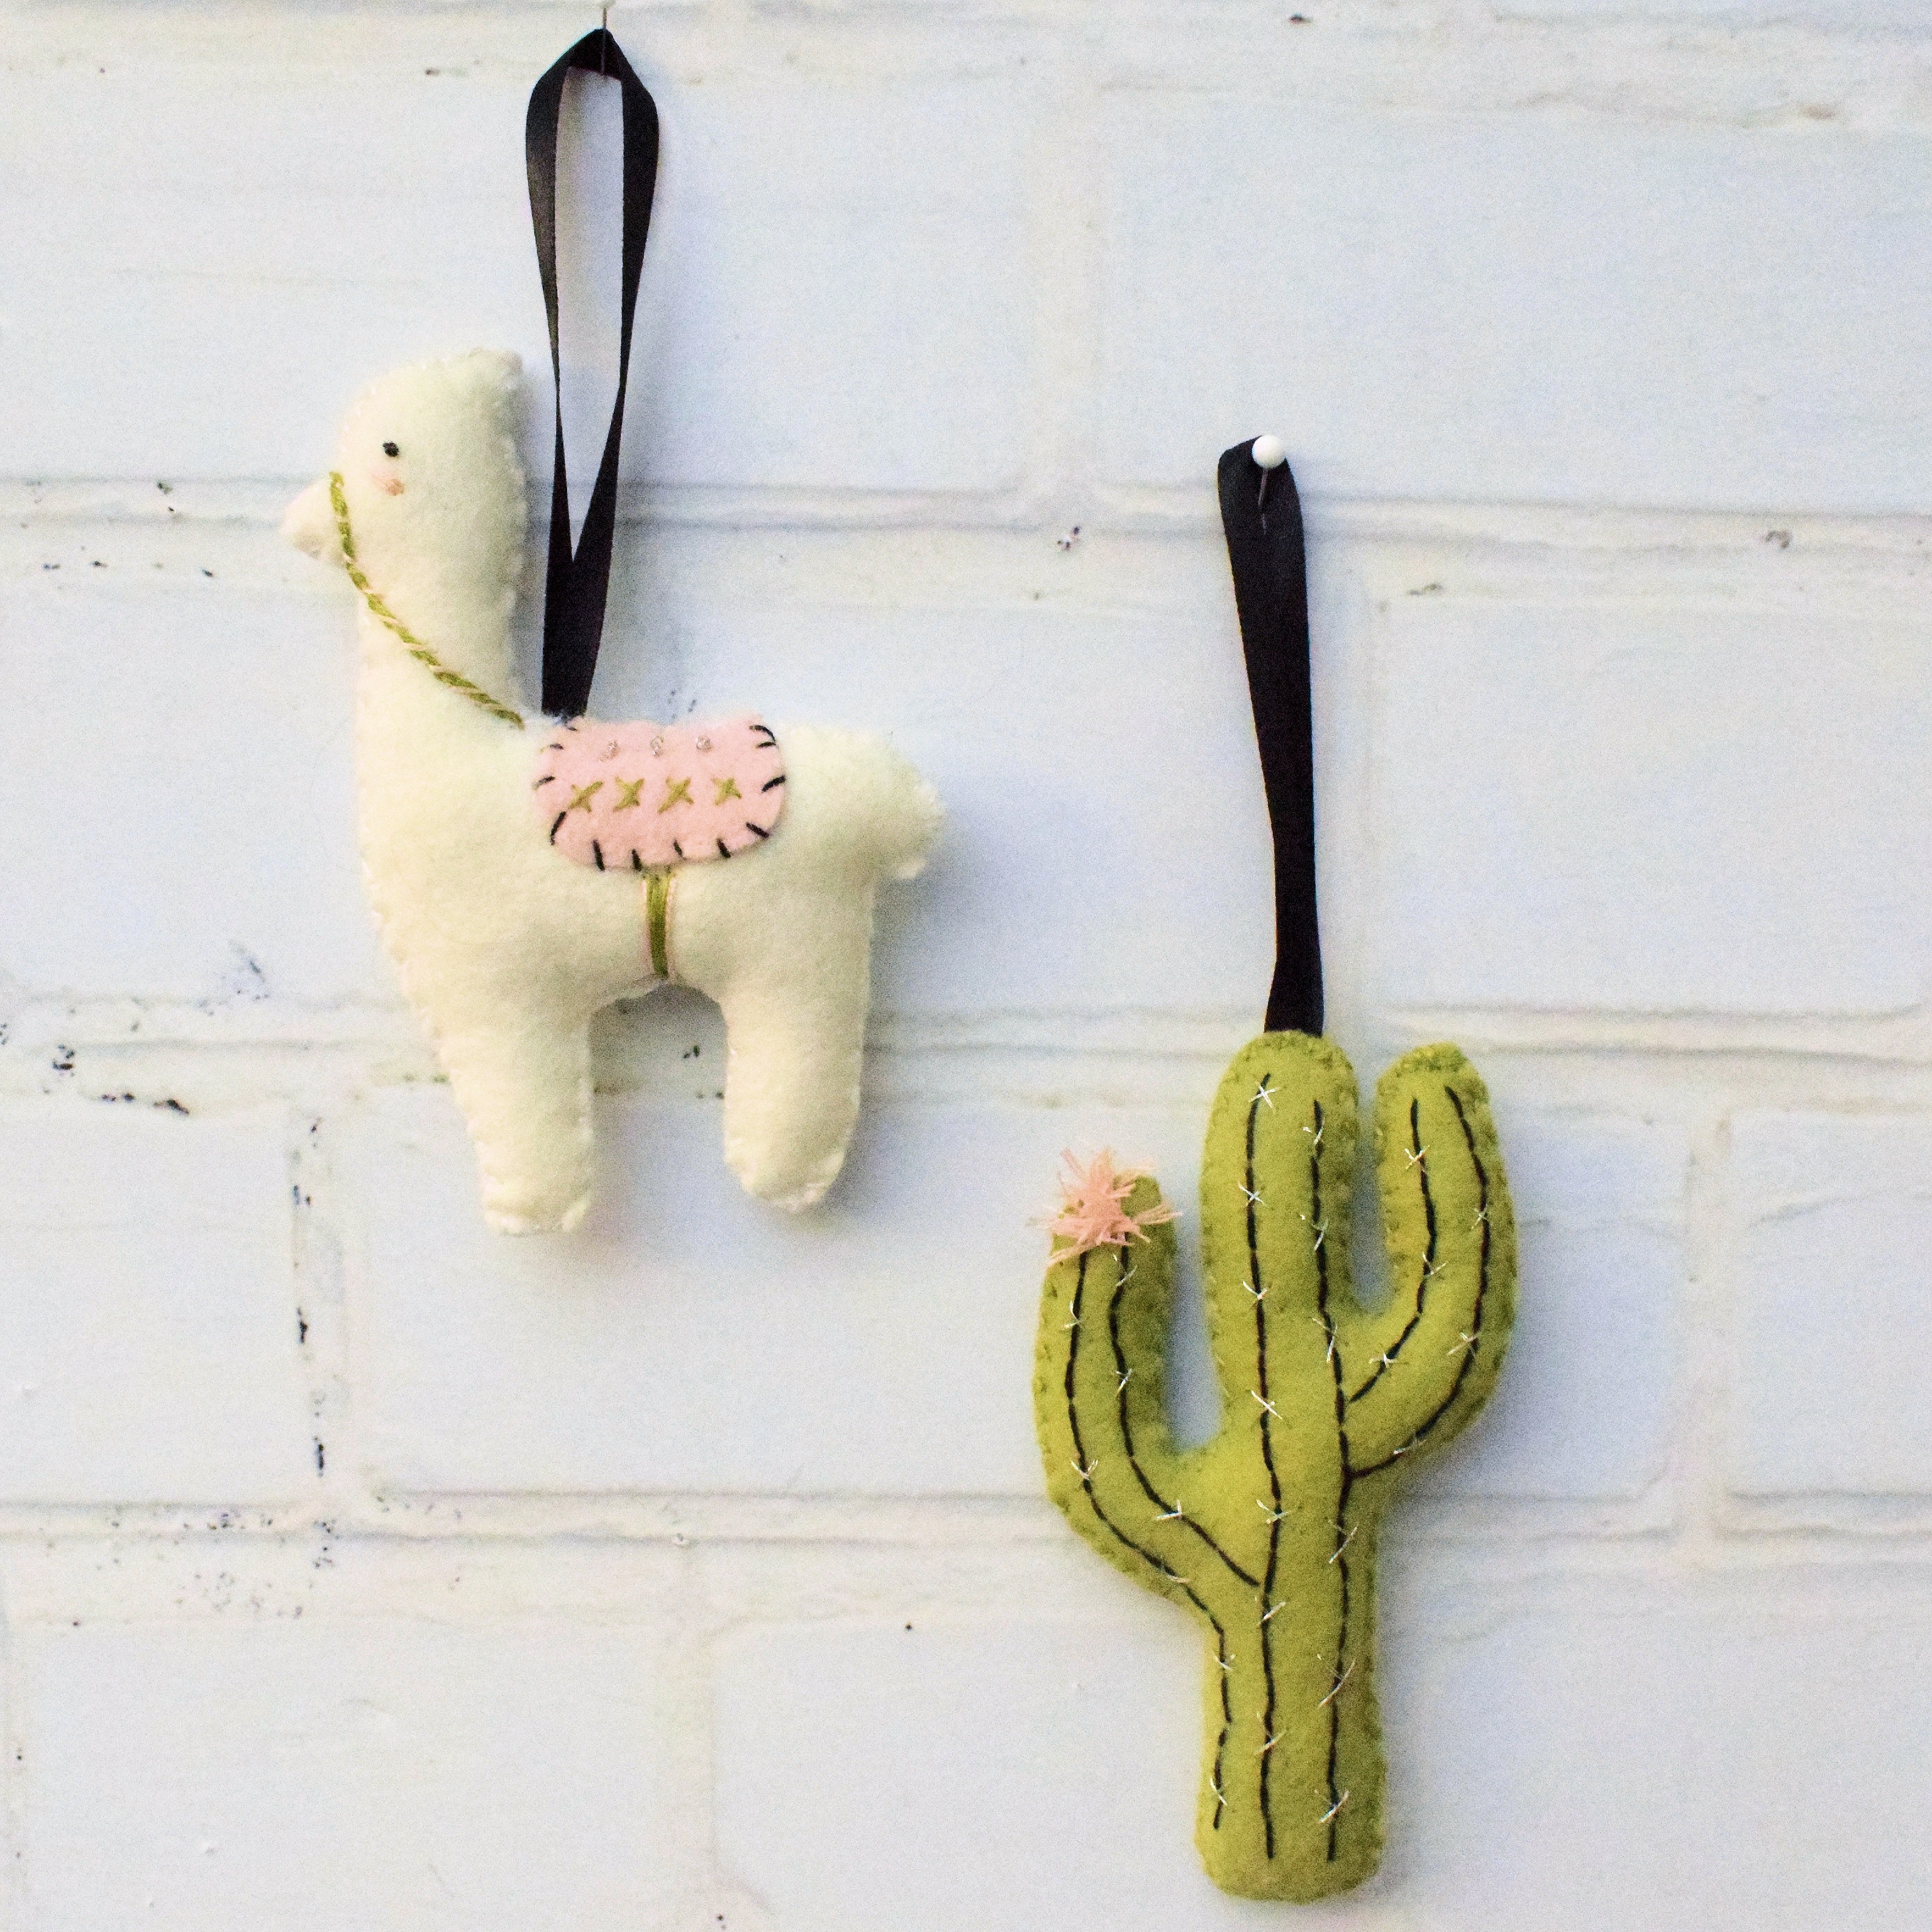
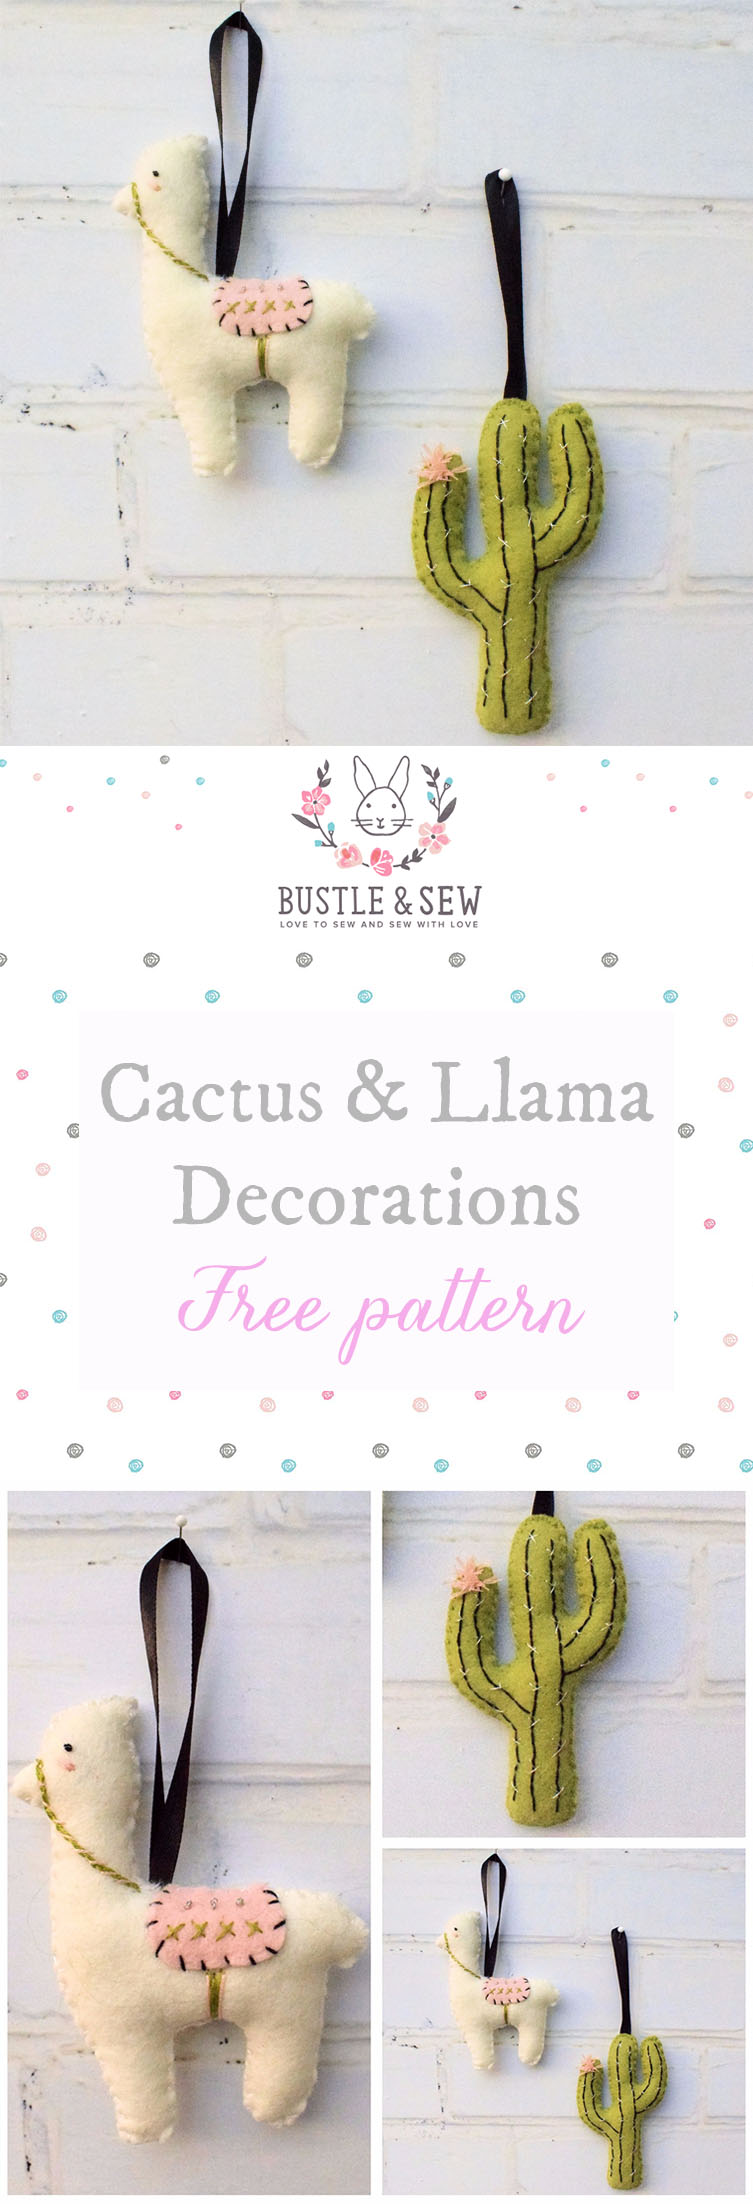
2017 has definitely been the year of the cactus – and the llama too! So I thought it would round the year off nicely by finishing with two simple felt decorations perfect for even the most on-trend tree!
They are really easy to make in felt, and are just a little bit special with their touches of hand embroidery. I found it took me about an hour to make each one, so they’d be a perfect last minute make if you’re pushed for time. Each decoration measures approximately 5” tall.
If you’d like this tutorial as a free pdf file, then click the button below and I’ll send it to you. (If you already receive our free newsletter then you’ll find the tutorial waiting for you in your newsletter readers pattern library).
![]()
Materials
Download your templates HERE.
Llama:
● 6” x 8” cream or white wool blend felt (you can use acrylic craft felt but it isn’t nearly as nice and doesn’t give such a lovely soft rounded effect
● Small scrap pale pink felt
● White or cream embroidery floss
Cactus:
● 6” x 7” green wool blend felt
For both:
● Stranded cotton embroidery floss in pale pink, green, black and silver
● 8” length narrow ribbon for hanging (for each decoration)
● Toy stuffing
● Temporary fabric marker pen
● Stuffing stick (this is very simple to make, simply snap the pointed end off a bamboo skewer and fray the end so it “grabs” the stuffing. Invaluable for pushing little bits of stuffing into small spaces)
Method:
● Cut out all pieces from the full size templates
● Use two strands of floss throughout.
● Fold each length of hanging ribbon in half and pin in place at the top of the cactus and at point A on the llama. The short ends should be inside the decoration when you’ve joined the front and back.
● Join the front and back of each decoration together. Do this by placing the felt pieces with wrong sides together. Use two strands of floss and work whip stitch over the edges at a 45 degree angle. Stuff the smaller parts such as the cactus arms and the llama’s nose as you go. Be sure to make a few extra stitches through the hanging loops when you reach them so they’re secure.
● Return in the opposite direction, angling your stitches the other way to complete a decorative cross stitch. Keep stuffing as you go, and make sure your decoration is nice and firm before you finally close the seam. (If you prefer you could use a blanket stitch instead, it’s entirely up to you)
Llama:
● Applique the saddle shape to the llama’s back with the top edge between A and B on the template. Use short straight stitches worked at right angles to the edge of the saddle – I used black as I though that was a nice contrast.
● Decorate the llama saddle – I used green cross stitches and silver French knots.
● Work long straight stitches from the bottom of the saddle to the tummy seam for the strap.
● Mark the position of the eye and the head harness with your temporary fabric marker pen.
● The eye is a black French knot and I also gave him a pink cheek with a few small straight stitches.
● The harness and rein is green chain stitch whipped with pink floss.
● You can find stitch tutorials here if you’re unfamiliar with any of these stitches.
Cactus:
● Draw lines onto your cactus with your temporary fabric marker pen using the photographs as a guide. Work over the lines in black back stitch.
● Work silver cross stitches over the lines at intervals.
● Finally stitch the flower – this is pink Ghiordes or turkey knot stitch
![]()
If you’d like this tutorial as a free pdf file, then click the button below and I’ll send it to you. (If you already receive our free newsletter then you’ll find the tutorial waiting for you in your newsletter readers pattern library).
![]()
Leave a Reply