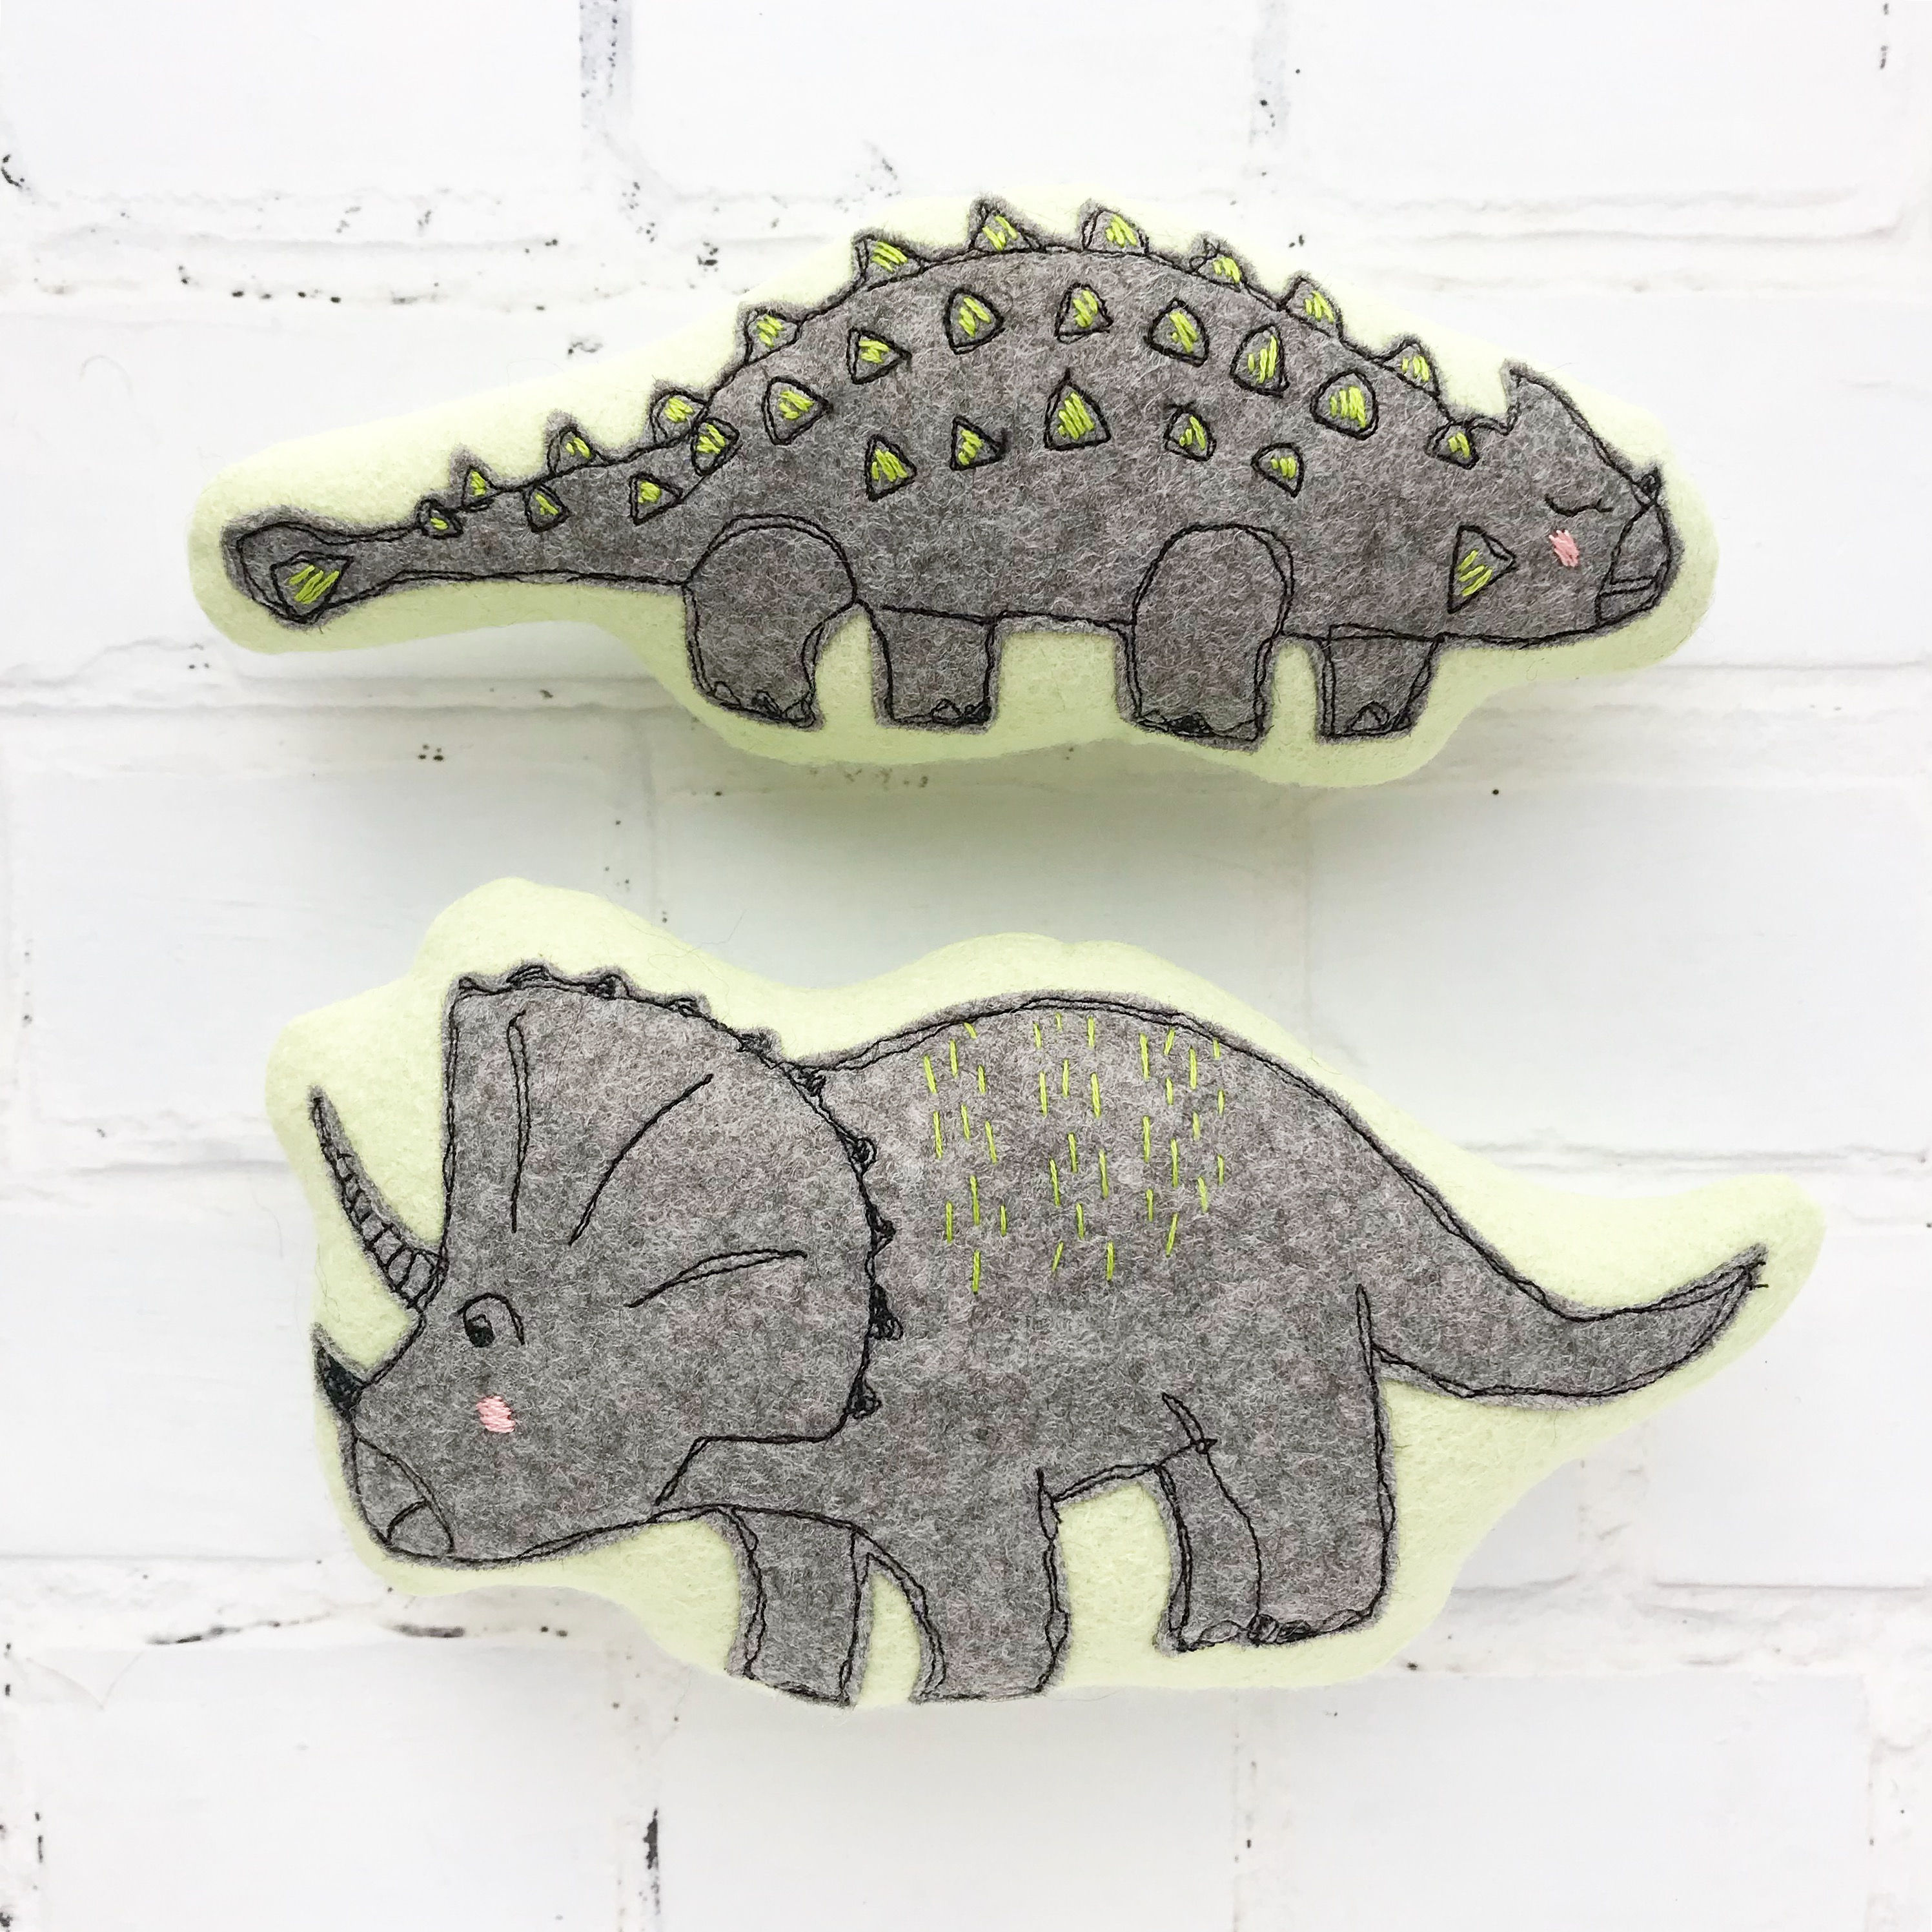
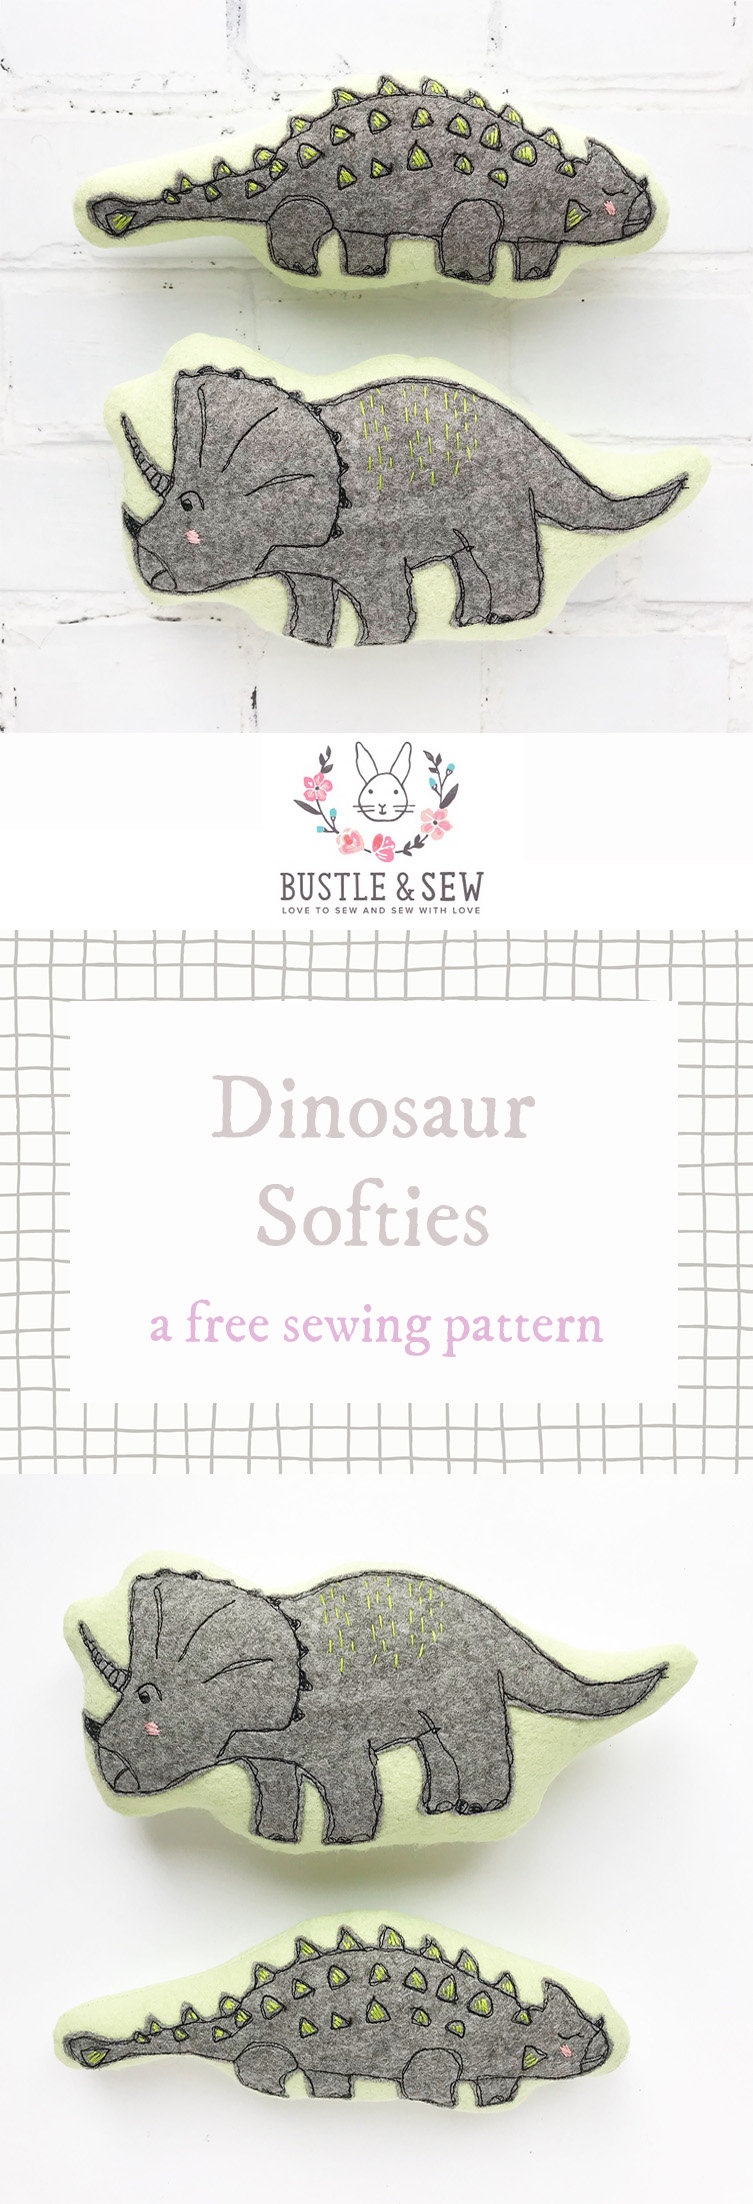
Dinosaurs continue to be a really popular theme for children’s rooms, and I’m sure they always will be. In the April 2018 Bustle & Sew Magazine I included a pattern for a hand embroidered dinosaur picture. These two friendly looking dinosaurs are taken directly from that design – and given a whole new life as simple embroidered softies.
They are felt shapes, machine appliqued onto a felt background and given some hand embroidered touches. Each toy is approximately 9” long.
If you’d like this tutorial as a free pdf file, then click the button below and I’ll send it to you. (If you already receive our free newsletter then you’ll find the tutorial waiting for you in your newsletter readers pattern library).
![]()
Materials:
For each dinosaur
● 10” x 6” grey wool blend felt
● 12” x 16” light green or preferred
background colour felt
● Bright green and light pink stranded
cotton embroidery floss
● Black and cream sewing thread
● Toy stuffing
● Embroidery foot for your sewing machine
● Bondaweb
● Temporary fabric marker pen
Method:
● Cut your pale green background felt into two 12” x 8” rectangles. Put one rectangle to the side for now.
● Download your template HERE. Trace the full size template onto the paper side of your Bondaweb and cut out roughly. Fuse to the grey felt and cut out carefully making sure the edges are nice and smooth as any rough or jagged edges will be very obvious.
● Peel off the paper backing and fuse your dinosaur shape to the centre of your background felt using a cloth to protect your work from the hot iron.
● Use your temporary fabric marker pen to draw in the features and scales.
● Fit the embroidery foot to your sewing machine and drop the feed dogs.
● With black thread in your needle and cream in your bobbin go around the edge of each shape twice – not too neatly – you’re aiming for a sort of scribbled effect. Use your machine to “draw” in the edges of the scales, spines and other features in the same way. If you’re not confident to do this, then it’s fine to work the features in back stitch and black embroidery floss instead.
● Add colour to the spines and along the Triceratops’ back with two strands of green embroidery floss. The back stripes are simple running stitch and the spines on the Ankylosaurus are back stitch. Give each dinosaur a pink cheek too.
● When finished remove all temporary fabric marks and press on the reverse.
● Place the other piece of green felt on a clean flat surface and position your applique face down on top. With your temporary fabric marker pen draw a line around the edge of the dinosaur about 1 – 1 ½” from the edge of the applique and roughly following its shape (there’s no need to be very exact).
● Return your sewing machine to normal settings and machine along that line with a ¼” seam allowance (approx – again it isn’t necessary to be completely accurate), leaving a 3” gap at the bottom for turning.
● Trim seam allowance and clip curves.
● Turn right side out and press.
● Stuff shape using small pieces of stuffing to avoid lumpiness. Mould in your hands and turn regularly as you go to make sure it’s nice and even. It’s best to slightly overstuff (but not too much as this will distort the shape and put stress on your seams) as stuffing does compress with use and you don’t want a floppy dinosaur!
● Close stuffing gap using slip stitch or ladder stitch.
● FINISHED!!

If you’d like this tutorial as a free pdf file, then click the button below and I’ll send it to you. (If you already receive our free newsletter then you’ll find the tutorial waiting for you in your newsletter readers pattern library)
Leave a Reply