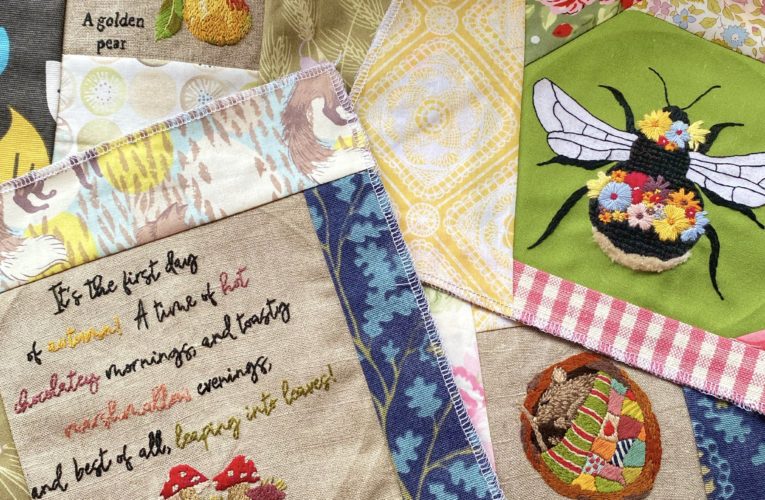
The weather has turned again this week as we experience a run of south-westerly winds bringing grey skies, mist and… Read more »
by Helen | Filed under: Embroidery, Life in Somerset, Quilting
The weather has turned again this week as we experience a run of south-westerly winds bringing grey skies, mist and… Read more »
by Rosie | Filed under: Tips for Stitchers
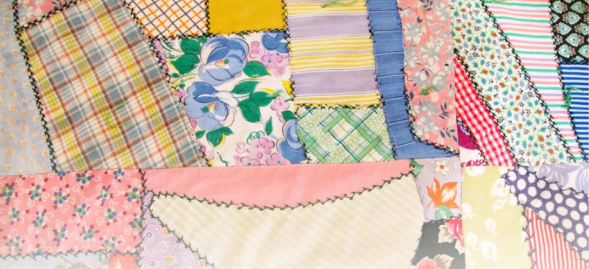
Missed part one? You can find it HERE By the turn of the century importing cotton goods was… Read more »
by Rosie | Filed under: Tips for Stitchers
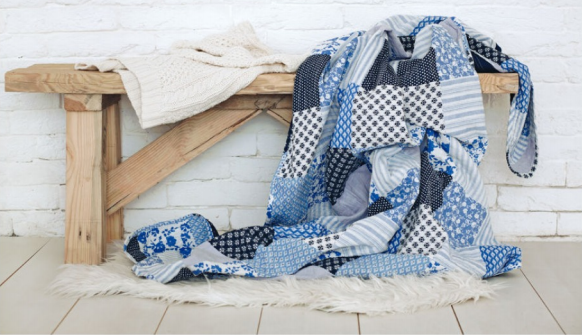
Traditional American quilts are made up of three layers – the patchwork or pieced top, the batting or wadding… Read more »
by Rosie | Filed under: Tips for Stitchers
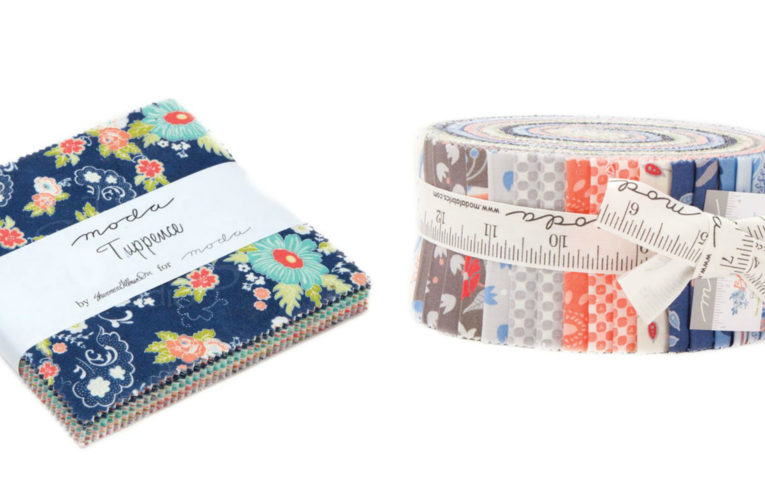
There are so many different ways to cut fabrics and, whilst precuts can be a sewist’s best friend, if you’re… Read more »
by Rosie | Filed under: Tips for Stitchers

It’s not so very long ago that you’d have been hard-pushed to find attractive organic quilting cottons for your latest… Read more »