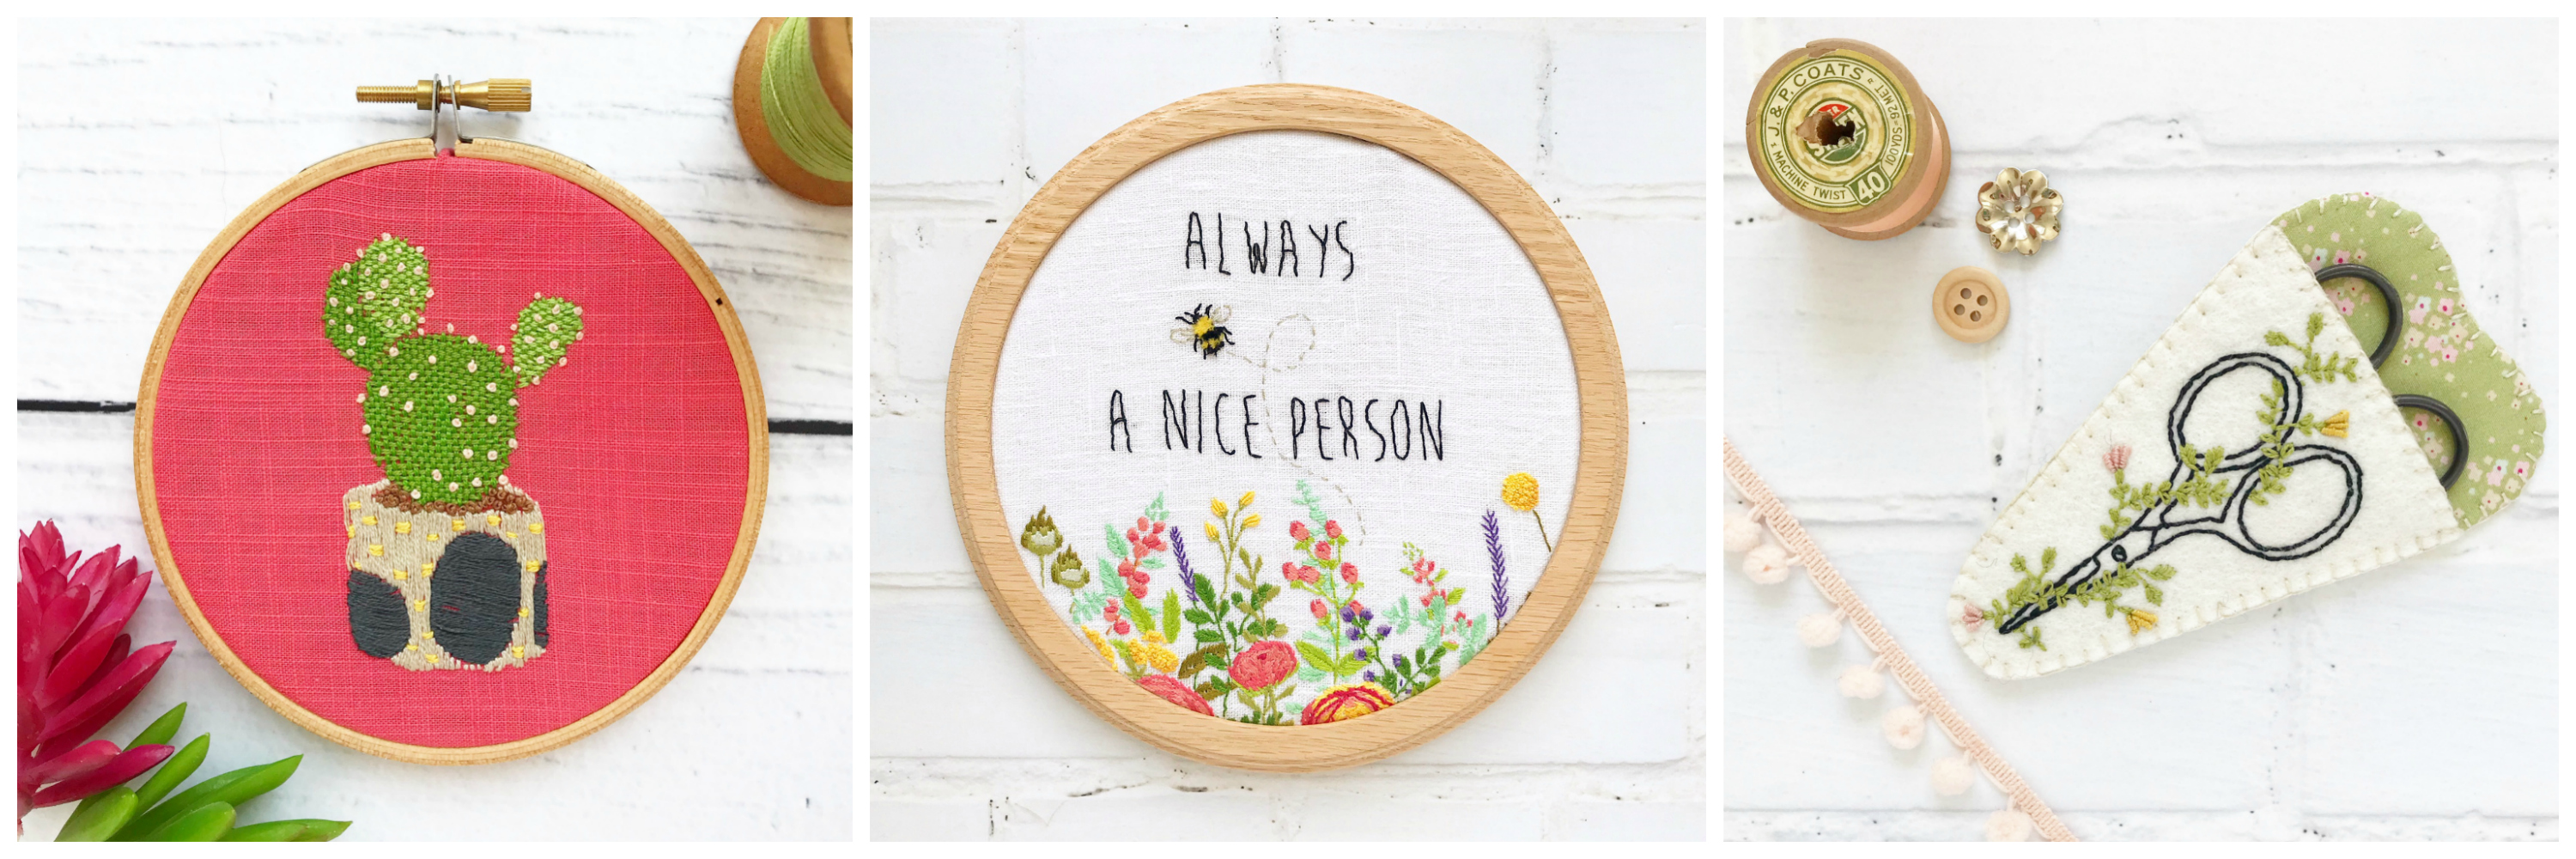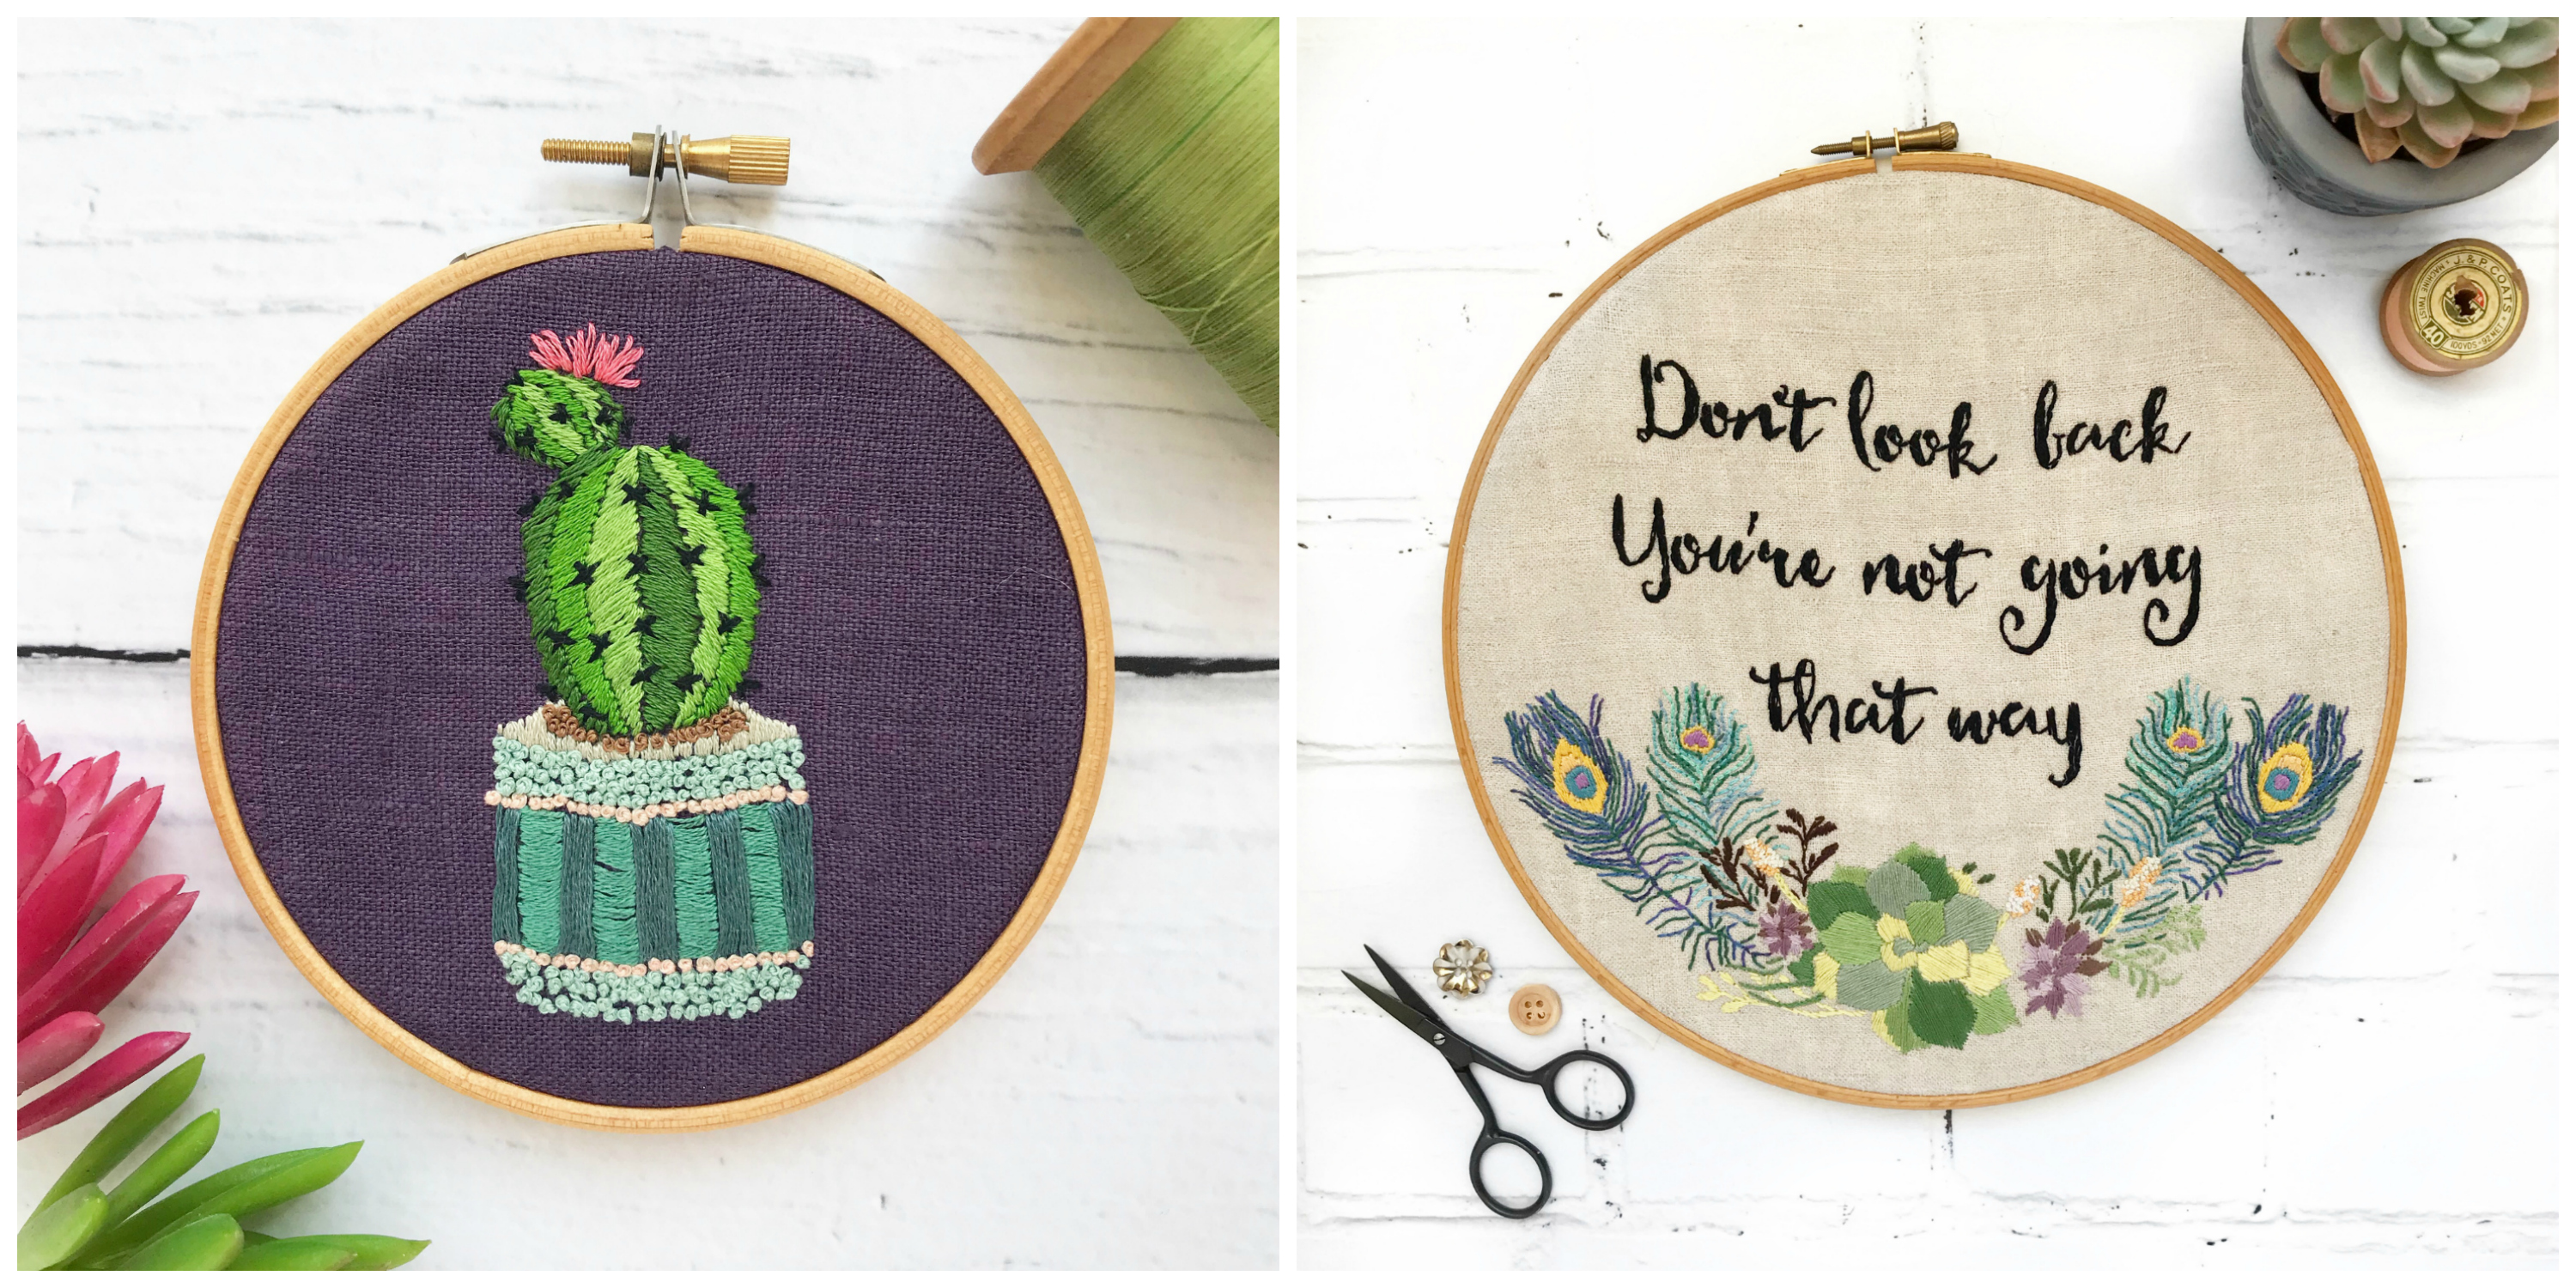
We believe that the pleasure and satisfaction gained from embroidering is not simply having a beautiful piece of work to enhance your home, (and being able to say, “I’m so pleased you like it – I made it myself!”) but also the joy of spending your time creating something that is unique and special to you and that doesn’t exist anywhere else in the world.
Every stitcher working freehand embroidery will create something unique to themselves, reflecting their own character and personality – a wonderfully satisfying achievement in our age of mass production. The beauty of freestyle embroidery is that it frees you to explore the variety of stitches, colour and fabrics available to you rather than simply counting threads and concentrating on making each stitch absolutely perfect.
Once you’ve mastered the basic skills, you’ll find embroidery is a wonderfully relaxing, and very portable hobby. You don’t need lots of expensive equipment and tools, and your project can easily be put down and then picked up again whenever you have the time and inclination to work on it.
Here are a few of our top tips to help you get started…
Choosing your fabric
It’s perfectly possible to embroider onto all kinds of fabric – even stretchy varieties if you use a suitable stabilizer. It’s fair to say though that this would be quite an unusual choice for hand embroidery! We thought it would be useful to have a quick round up of the main things you should consider when deciding which fabric is right for your project, which you can read here. After all, like canvas for a painter, the fabric you choose to stitch on forms the foundation of your embroidery and it’s so important to choose carefully.
 Transferring your design
Before you can get started you’ll need to transfer your chosen design onto your fabric. You can do this in a number of ways; by tracing your design, using Dressmakers Carbon paper, Prick & Pounce, using a transfer pencil or our favourite method – using Sulky Sticky Fabri Solvy. We’ve written a whole guide to using Sulky Sticky Fabri Solvy to transfer your design which can read here.
If you’re embroidering a design from one of our kits then you won’t need to worry about transferring your design as we include pre printed panels!
Choosing your hoop
To hoop, or not to hoop, that is the question! I know there are many stitchers who don’t use a hoop, perhaps because they find it awkward to hold, too much trouble to move around their work, or simply have tried using one but just didn’t get on with it. And lots of those stitchers produce lovely work without one – but the majority of us find our work is much neater and goes much more smoothly when we hoop up before beginning to stitch.
Using an embroidery hoop is the easiest and handiest way to keep your stitch tension correct (frames are possibly even better, but not always as portable and certainly more expensive). Your hoop has to hold your fabric tight and taut while you work to achieve this – but beware – not all hoops are the same, and some are (much) better than others. Read our guide to choosing your embroidery hoop here.

Threading your needle
This isn’t always straightforward to do – and I was always taught to hold the needle in my right hand (I am right-handed) and with my left hand loop the thread over the point of my needle and hold it tightly. Then, with this loop held firmly between my thumb and first finger, I turn my needle around, place the eye over the loop and push it down so that the thread passes through it.
Starting & Finishing your thread
A good length for your thread is the distance between your wrist and elbow – though a little longer is fine. But don’t cut your thread too long as it may twist, knot and/or fray. I usually start my work with a few small stitches, leaving the end of the thread at the front, within the space on the fabric I’m going to be covering with stitches. After the thread is covered, then I snip off the length at the front. That’s just for the first thread, after that I simply run the thread under a few stitches at the back of my work before I start to stitch.
Check out our Stitch Directory for the working instructions for 16 of the most commonly used stitches, all of which are simple and easily mastered by anybody who wants to learn embroidery.
And before you start your project…you might want to read our post all bout avoiding common hand embroidery mistakes!
Have you got any tips you’d like to share? If so, please leave them in the comments below…we’d love to know.
Want more hints & tips? Then click below to get our free newsletter – you’ll even get some fab free patterns too…
Hi,
Some time ago you reviewed a wooden embroidery hoop, ( made in america I think) which did not have the usual brass screws and I feel were more aesthetically pleasing. Please could you tell me if they are now available in Britain, as postage from America is prohibitive!
Thankyou in advance
Heather
Hi Heather,
The hoop we featured are from Auburn Hoops although I’m not sure if they’re available yet in the UK. Might be worth sending a message though xx
Than you for your great embroidery tips! I want to embroider my daughter’s clothes. I will definitely utilize all of your great tips and information when trying to learn to embroider.
It makes sense that you need to trace your desired design onto your fabric before beginning the embroidery process. My wife would like to embroider our nephew’s name on a bib for his birthday, but her hands tend to shake when she holds still for too long. It may be best for her to find an embroidery service that can help her create the bib that she is hoping to make.