Fabrics
A large number of fabrics (and other materials too) are suitable for hand embroidery, ranging from fine cottons and muslins to heavier fabrics such as denim and felt. A plain fabric will give you most freedom with your colour and pattern choices as it won’t be “fighting” with your work, though a carefully chosen pattern can enhance your stitching.
If you decide to use a lightweight fabric then you may discover that the fabric alone isn’t strong enough to take the embroidery threads and you may then have to use a backing fabric behind your work. Plain white cotton is good for this as it provides strength and stability but doesn’t add any bulkiness. Sometimes, however, you may wish to use a double layer of your chosen fabric for example to retain the semi-transparent quality of a sheer fabric.
Needles
Usually crewel needles are used for hand embroidery as they have a long eye and sharp point. The eye of your needle should be large enough to take the thread with ease and make a big enough hole in your fabric for the double thickness of thread to pass through easily.
Threads
Almost any thread can be used for hand embroidery as long as you can pass it through the eye of your needle and it’s suitable for use on your chosen fabric. Your choice will probably depend both on availability and how your finished project will be used. Pieces that require frequent laundering should be stitched with good quality, colourfast linen or cotton thread, whilst if your work is purely for decorative purposes then you could also consider silks or fine wools.
If you’re using thread from a skein and don’t want to rewind it onto a bobbin before use, then it’s important to leave both paper bands on the skein. Pull out the end of the thread from the centre. Do so carefully at first as only one end will unwind smoothly – and pulling the wrong end will result in a tangled mess. If you first try the wrong end then stop and leave it well alone – have another search to locate the correct end – it does often seem to be buried within the skein.
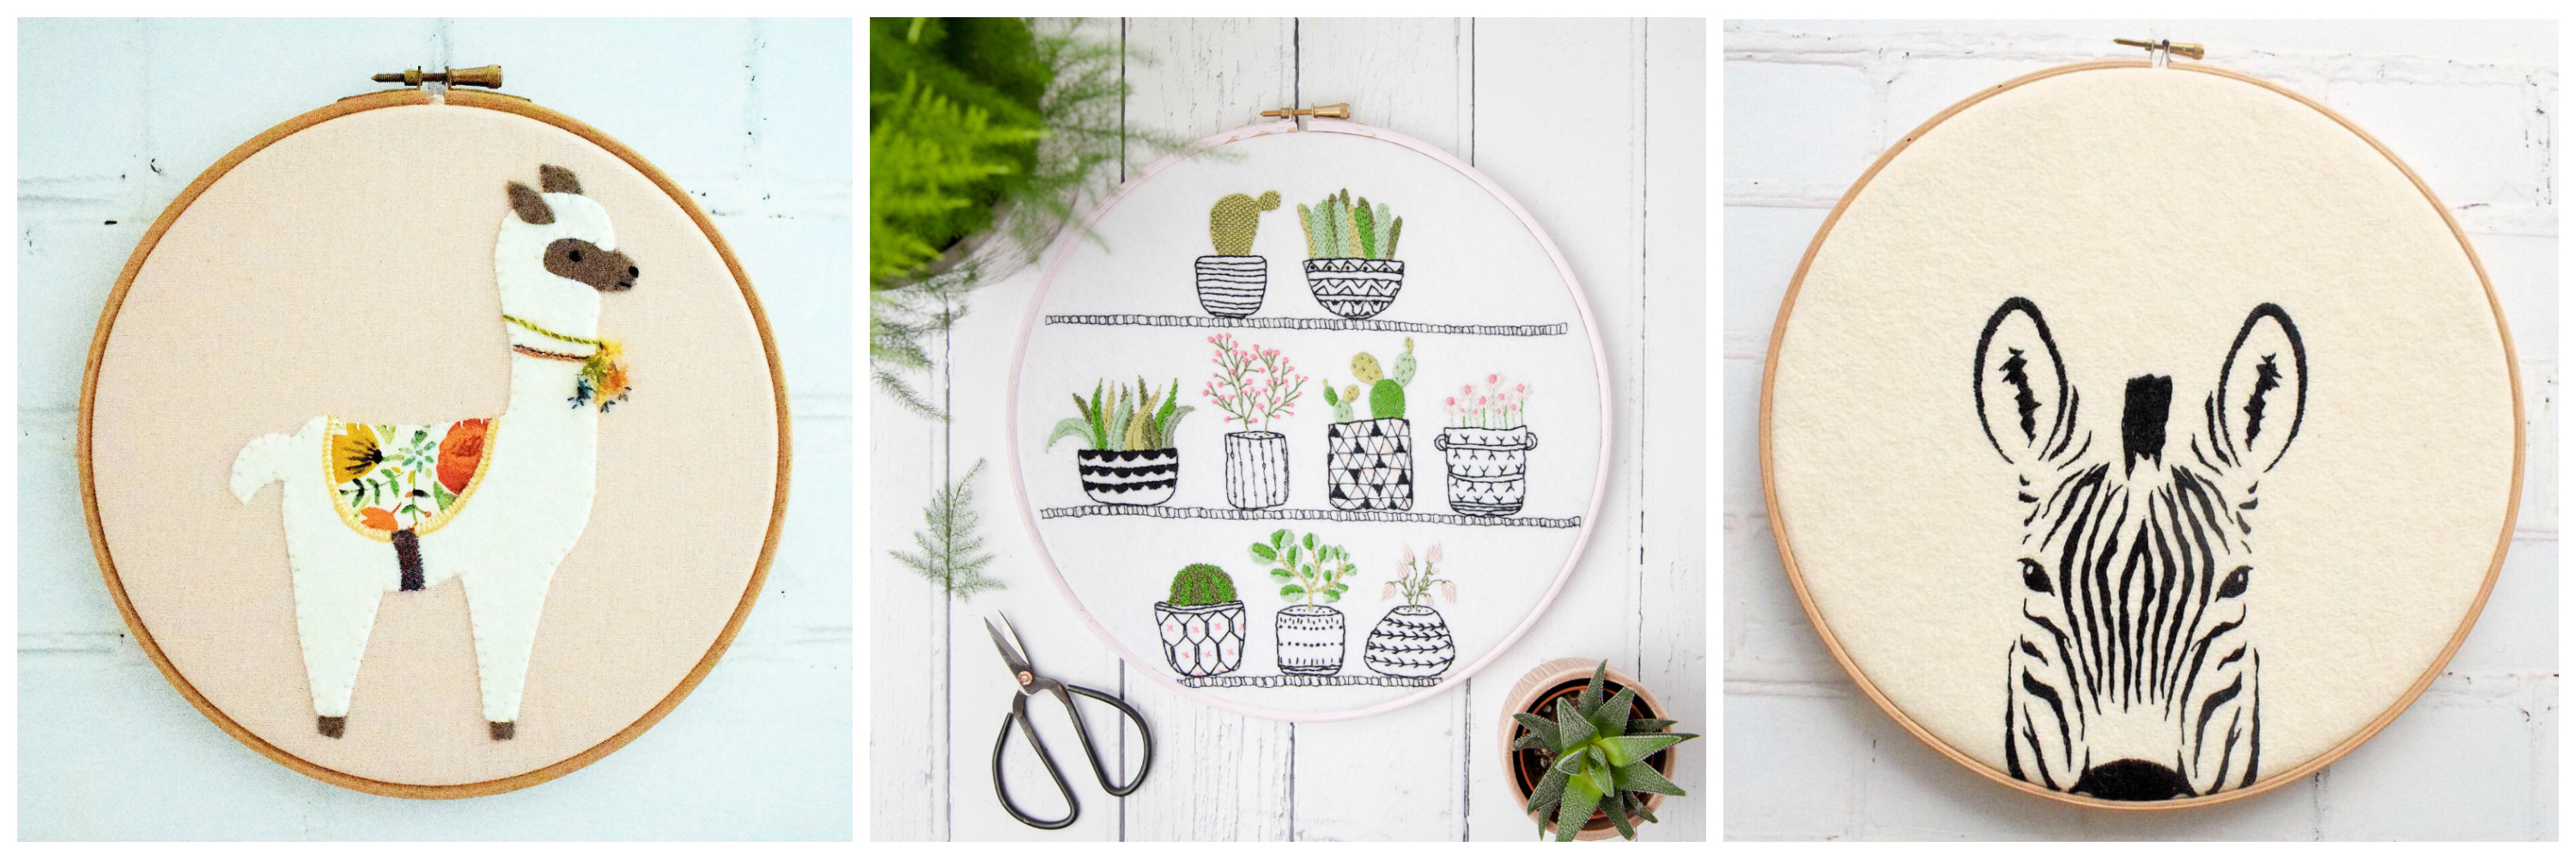
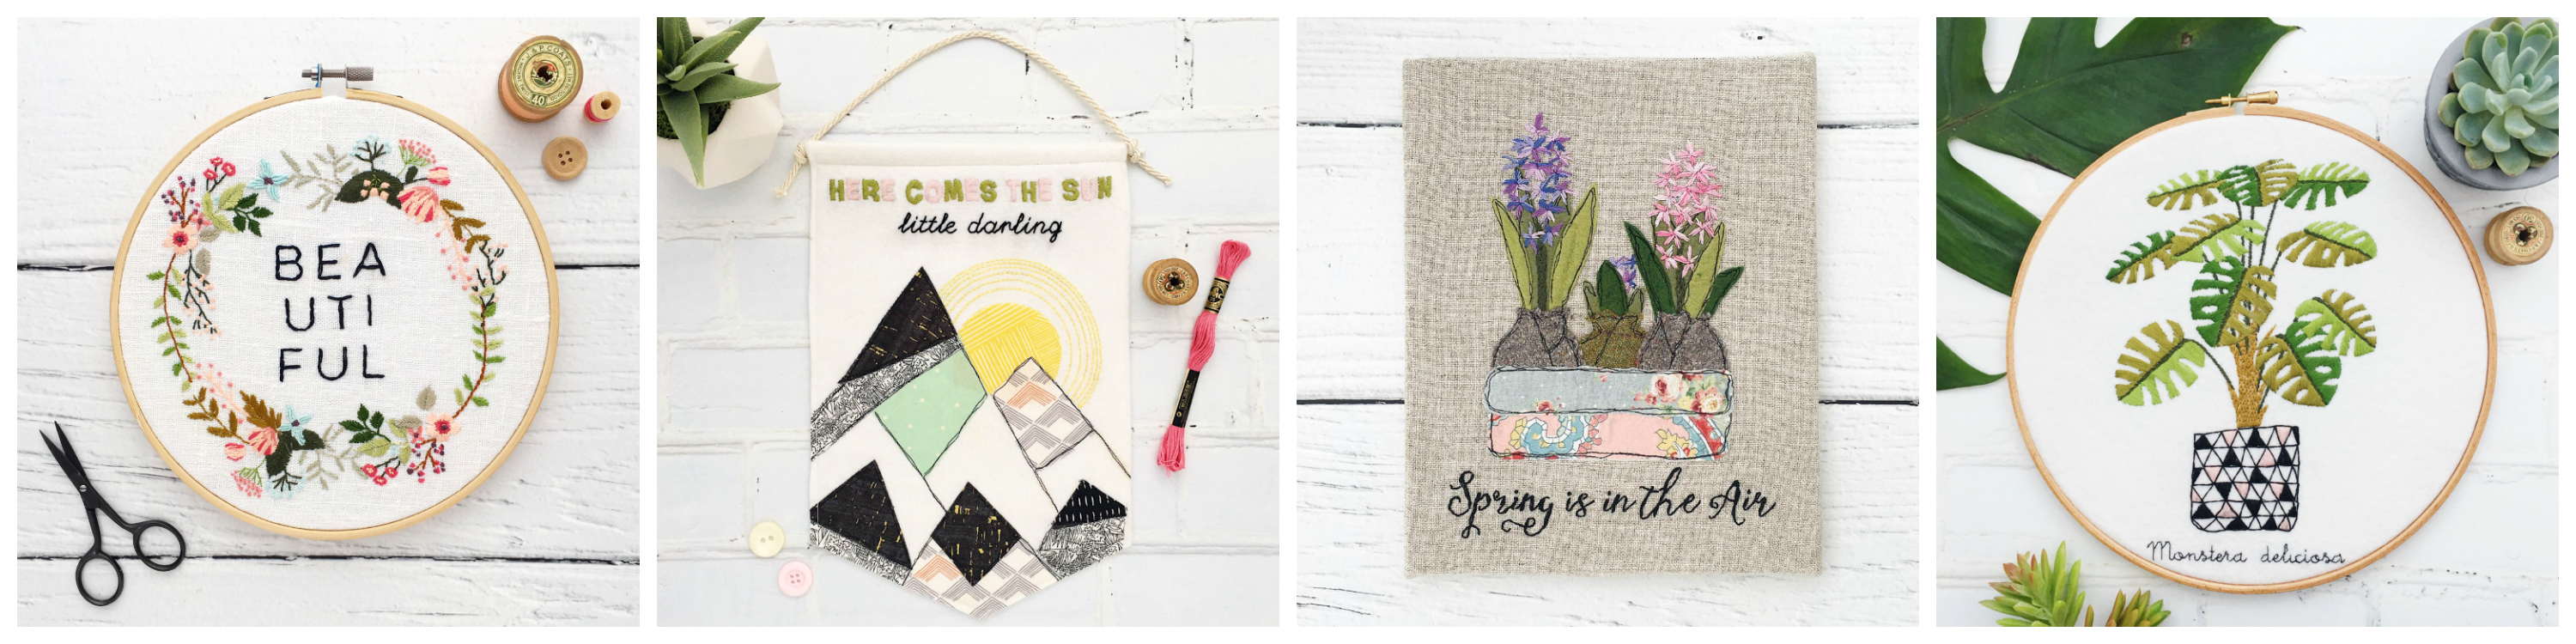
Want to put your embroidery skills into action? Then why not pop over to our store and check out our embroidery patterns.
I hope you’ve found this very little guide useful – click here for part two!
Thanks! I’m never sure about needle sizes. This helps 🙂