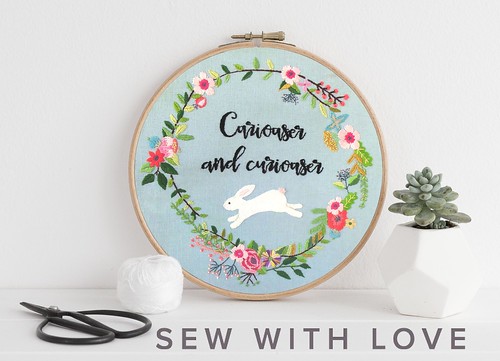
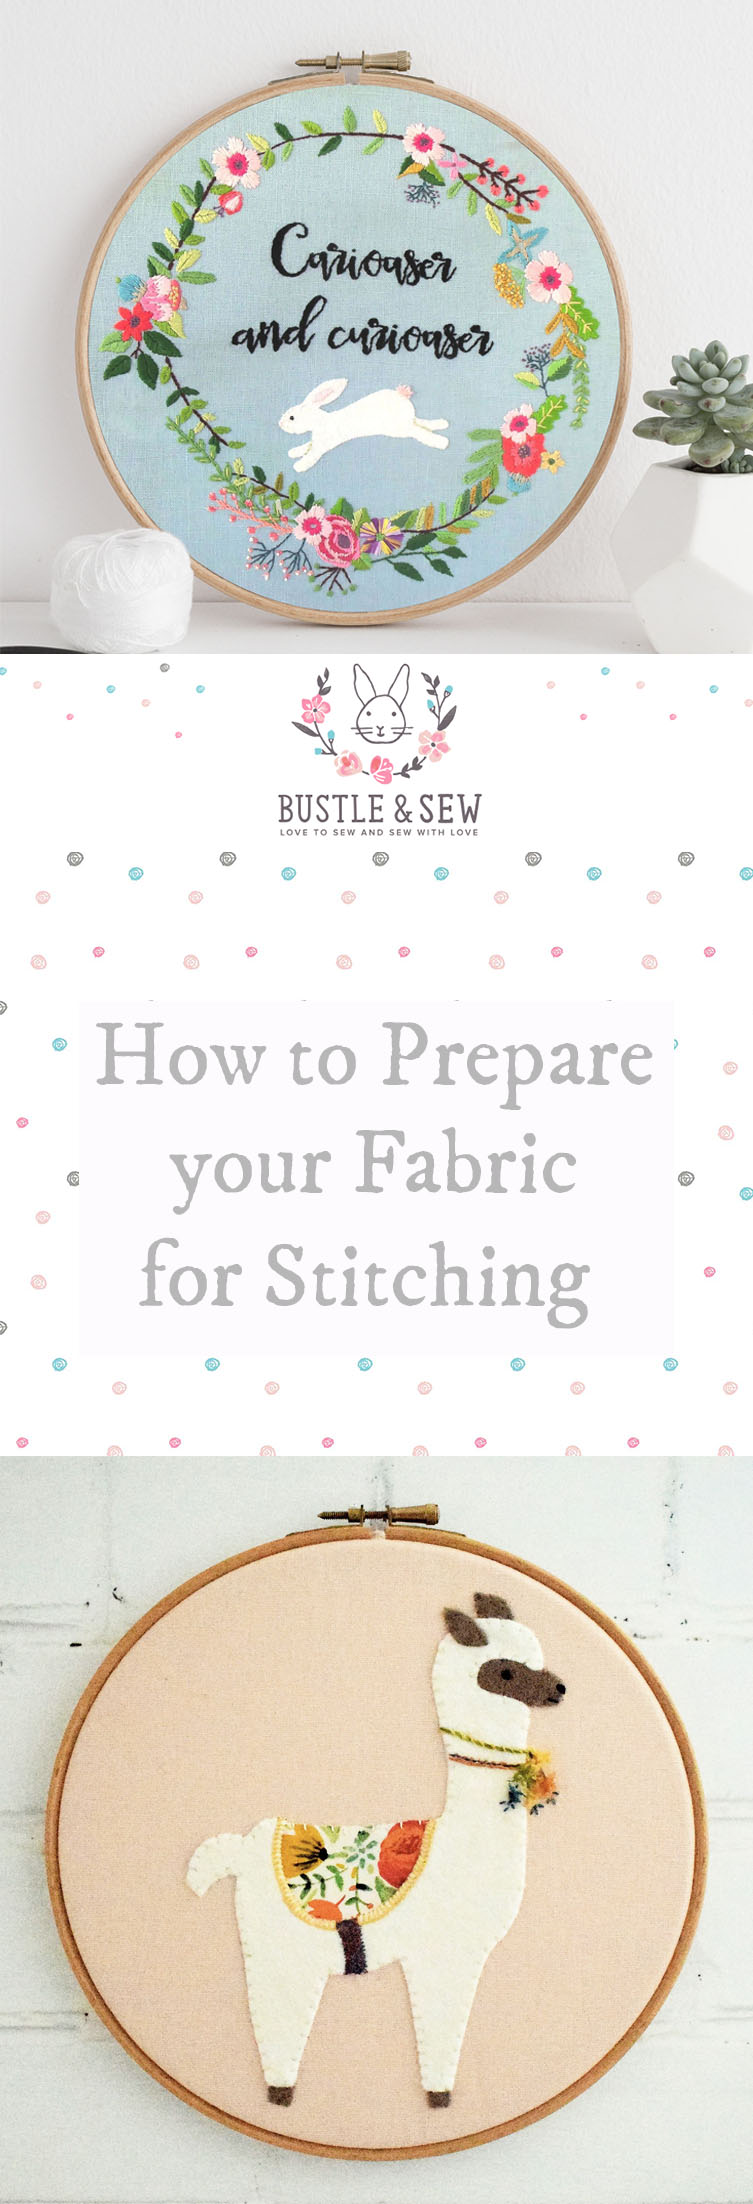
I love hand stitching, and particularly enjoy combining simple applique shapes with embroidery, rather like the White Rabbit Hoop above. If you’re at all like me, when you’re in possession of a lovely piece of new fabric and a heap of deliciously coloured flosses, all you want to do is hoop up and begin to stitch. But…and it’s quite a big but really…there are a few steps you need to take to make sure that your stitching experience is the nicest it can possibly be.
I don’t like flappy corners very much when I’m stitching, so if I know I’m simply going to display my work in a hoop when it’s finished rather than incorporate it into a larger project, I like to trim away the corners to give me a circle around 2-3” greater in diameter than the hoop I’m using. No more flappy corners!!
It’s always a good idea to finish the edge of your fabric before beginning to stitch, especially if (a) you know you’re going to be working on the project for a while, picking it up and putting it down again and/or (b) the fabric is likely to fray. Fraying fabric is really annoying as threads can easily be caught up at the back of your work, and you may have to trim away quite a lot of border if it frays too much. Simply run around the edge of your fabric with your serger if you have one, or a zig-zag stitch on your sewing machine. Failing this you can even bind the edges with tape, though this isn’t such a reliable solution!
Be sure to iron your fabric properly before you transfer your design. Your stitches will be more accurate and you’ll achieve a much nicer result than if you try to embroider creased or crumpled fabric.

Transfer your design before hooping up your fabric. I am a huge fan of Sulky Sticky Fabri Solvy as this gives me the most accurate possible lines to stitch and also acts as a stabiliser if my fabric is quite loosely woven. I trim it fairly closely to the shape of the design so there is less to dissolve away when my work is finished. I’ve written a whole blog post on using this product, just click here to learn more.
When hooping up your fabric should be taut but not tightly stretched or you may distort it which will spoil your stitching. To hoop up loosen the screw at the top of the hoop. Place your fabric on the bottom ring, then push the top hoop down over the top, pulling the fabric gently until it’s taut. Then tighten the screw. If your fabric slips in the hoop you may find it helpful to bind the bottom ring with tape to give the hoop a better grip on the fabric.
Never leave your needle stuck through the fabric that’s going to show on the finished design as it may leave holes, or if it’s damp and you leave it a while you may even get rust marks. I tend to stick mine through close to the edge that won’t be seen, but it’s even better to use something like a magnetic needle keeper.
It’s good practice to remove your work from the hoop between sessions, but I must admit I don’t do this unless I know there’s going to be a break of a few days or so until I’m able to return to my work.
![]()
We share lots more hints, tips and goodies with our newsletter readers, so if you’d like to be the first to hear all our news, just click the button above to sign up – it’s free and we never share your email address with anyone else – promise!
Many thanks for the info/blog post re Sulky Sticky Fabric Solvy. didn’t know such a product existed…off to look for it on Amazon now, by the way I absolutely adore the Stag Kit shown on your blog….shall add that to my ‘must do’ list….perfect project for autumn.
So many kits, so little time!
Thanks so much Vivian – hope you enjoy a lovely autumn’s stitching!
I am enjoying making some of your hoop embroideries, and the post above was very welcome. But I would really love a follow up with details of mounting the finished work in the hoop. Do you use any backings? Maybe mount board or foam core? Thanks again for a most enjoyable magazine.
Hi Robin, thanks for your kind comments and yes, that is a very good idea for a follow up post I will add it to my list! xx
Quiet informative. I’ll use these tips on my upcoming projects.
Thanks for the tip of ironing the cloth / fabric . It really helped.
You’re most welcome Sasha x
Perfect timing for this post! Appreciating the time and effort you put into your website and in-depth information you offer. Such a great embroidery project. Worth sharing! Please do continue sharing updates! Thanks a lot!
This is an amazing blog for embroidery
Thank you so much! xx
Thanks for the tips. Nice work!