Last week I spoke a bit about the importance of cutting your pattern pieces and sewing your pieces together – you can read the post HERE. This week I’m going to be talking about stuffing your softie and adding the finishing details. I hope you find it helpful!
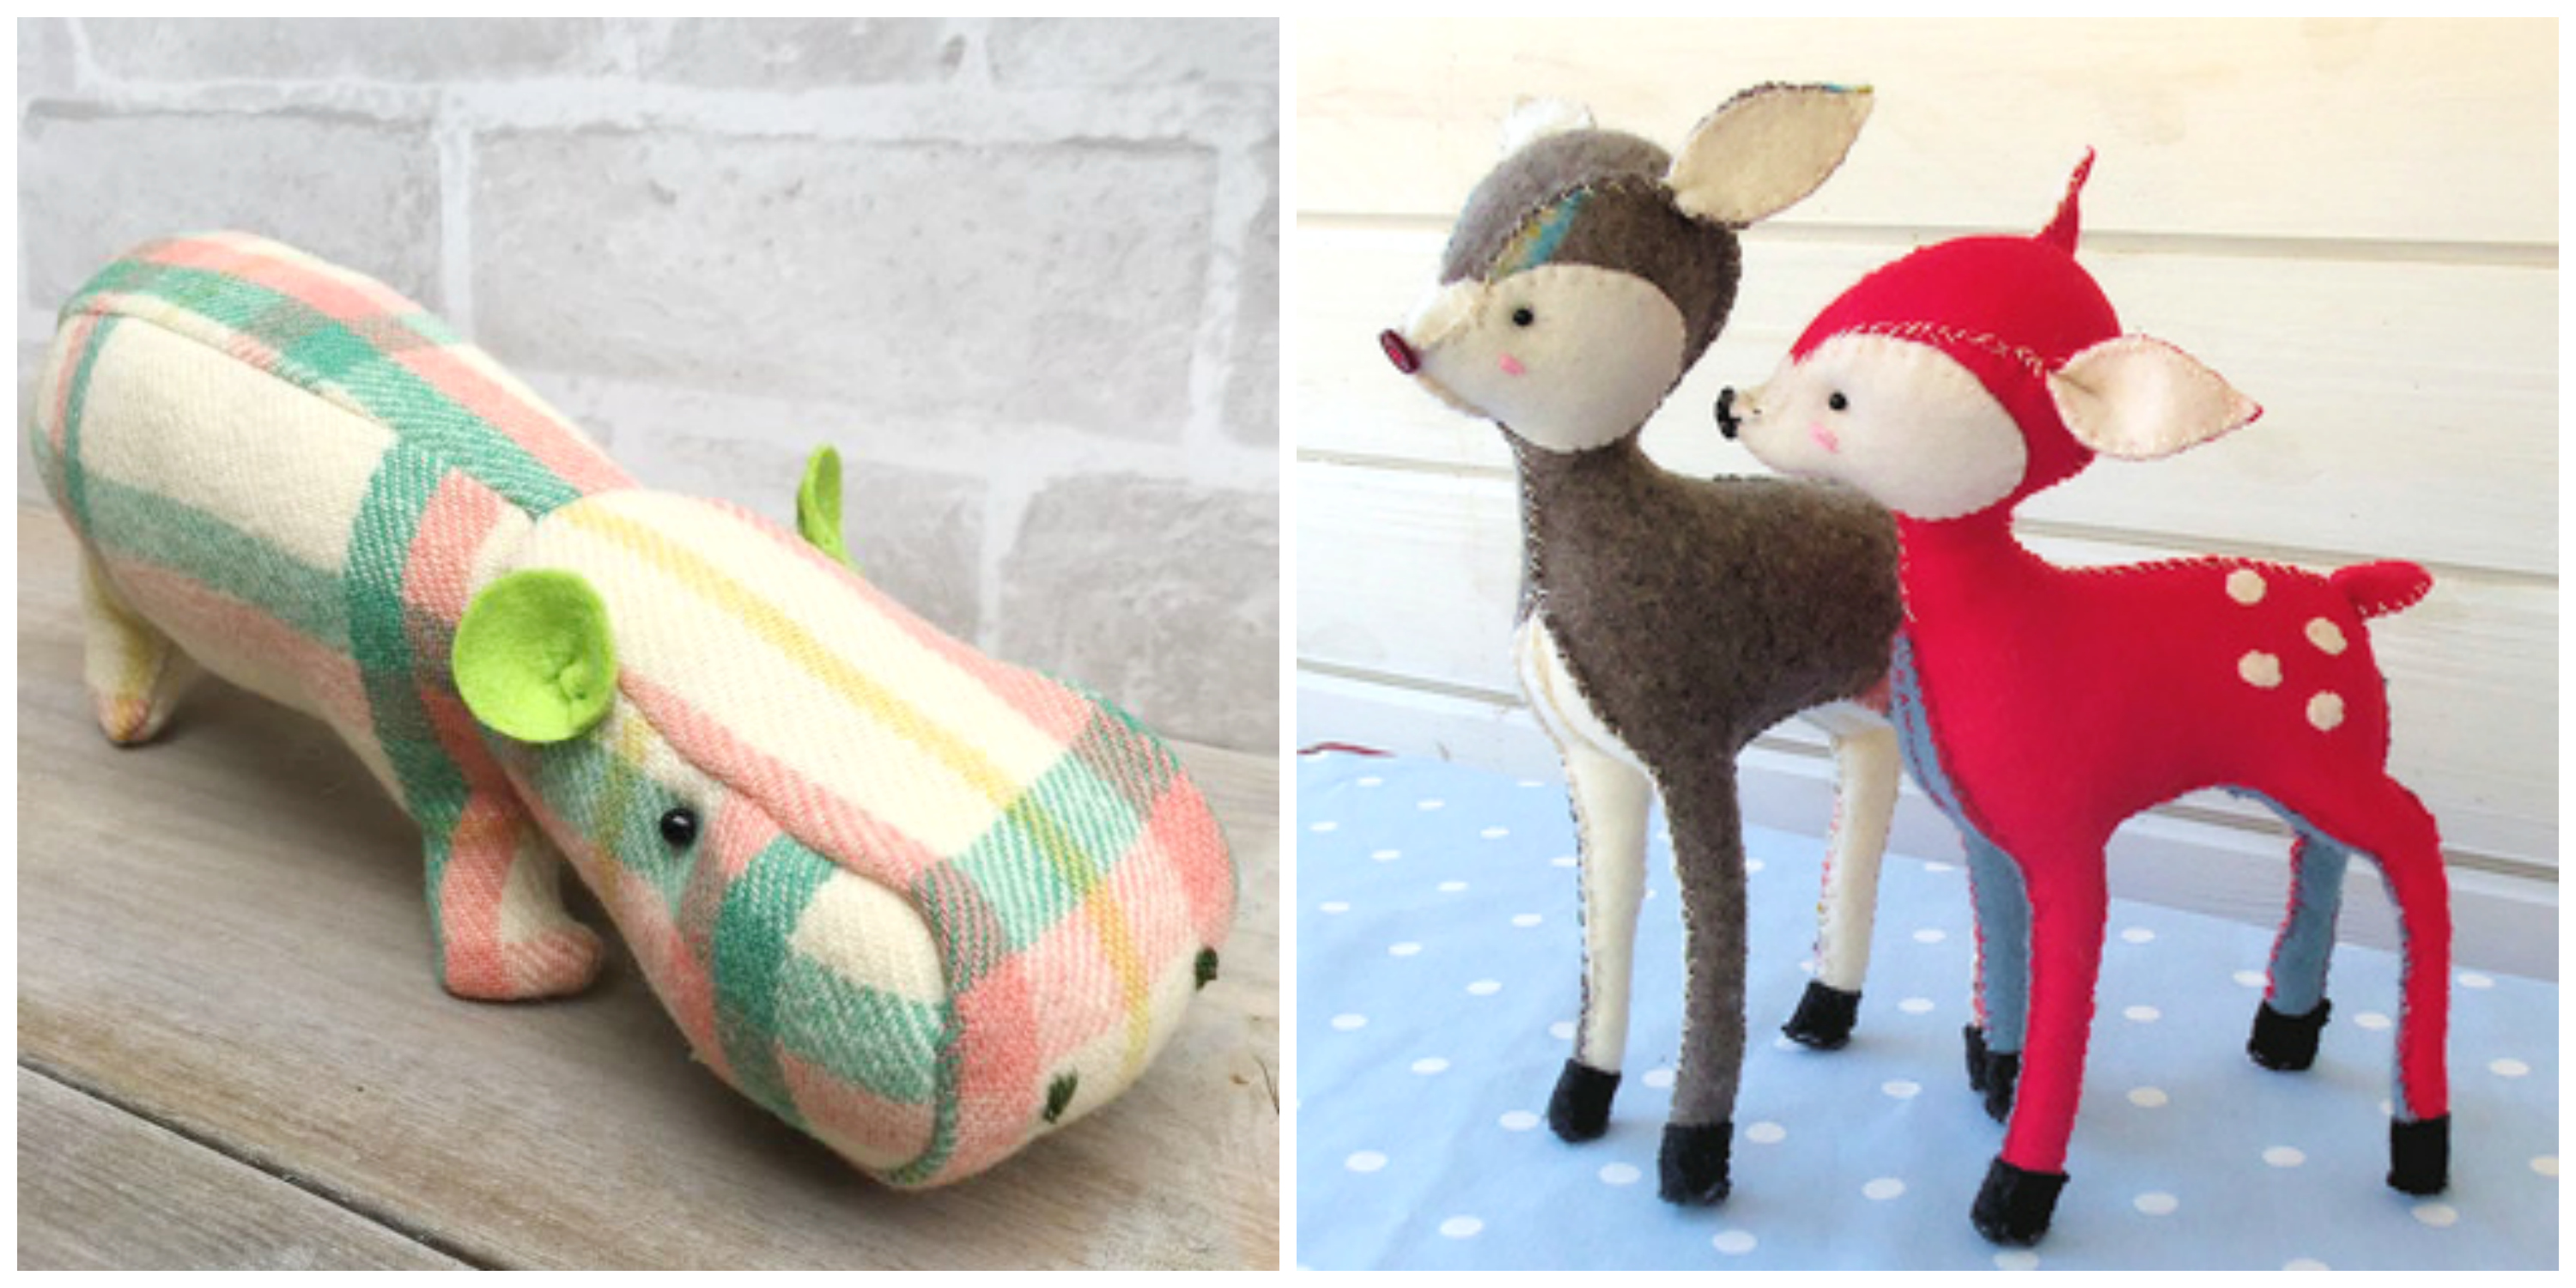
Softie Patterns from Bustle & Sew
Stuffing your Softie This is a very important part of the process, one which is well worth taking time over. The amount of stuffing you use and how you insert it will determine the final shape. You must be happy with the shape and feel of your softie before you close the final seam as it’s impossible to rearrange the stuffing once that seam is closed. The only way to change things at this point is to open the seam, take the stuffing out and start again!
If making a softie for a child, then you should always use new stuffing that meets legal requirements for toys, particularly in respect of fire. If the softie is going to be for decorative purposes only, then you can economise by using chopped up old tights, old cushion filling or even cotton wool if you’re really stuck! If your softie has a flat base like the pin cushion mice, then begin by inserting a piece of cardboard into the base so your softie will stand nicely. You can also insert rice or polybeads into the base to weight your softie (but not if it’s for a young child).
Always stuff the extremities first, using very small quantities of stuffing to begin with to avoid gaps and lumpiness. I like to stuff and sew the seams as I go for hard to reach places, but others prefer to use the blunt end of a knitting needle or pencil to push the stuffing into place. It’s always better to have an over rather than under-stuffed softie (though not too much to distort the shape) as stuffing will always compact rather than expand. You don’t want your softie to develop a wobbly head and floppy limbs!
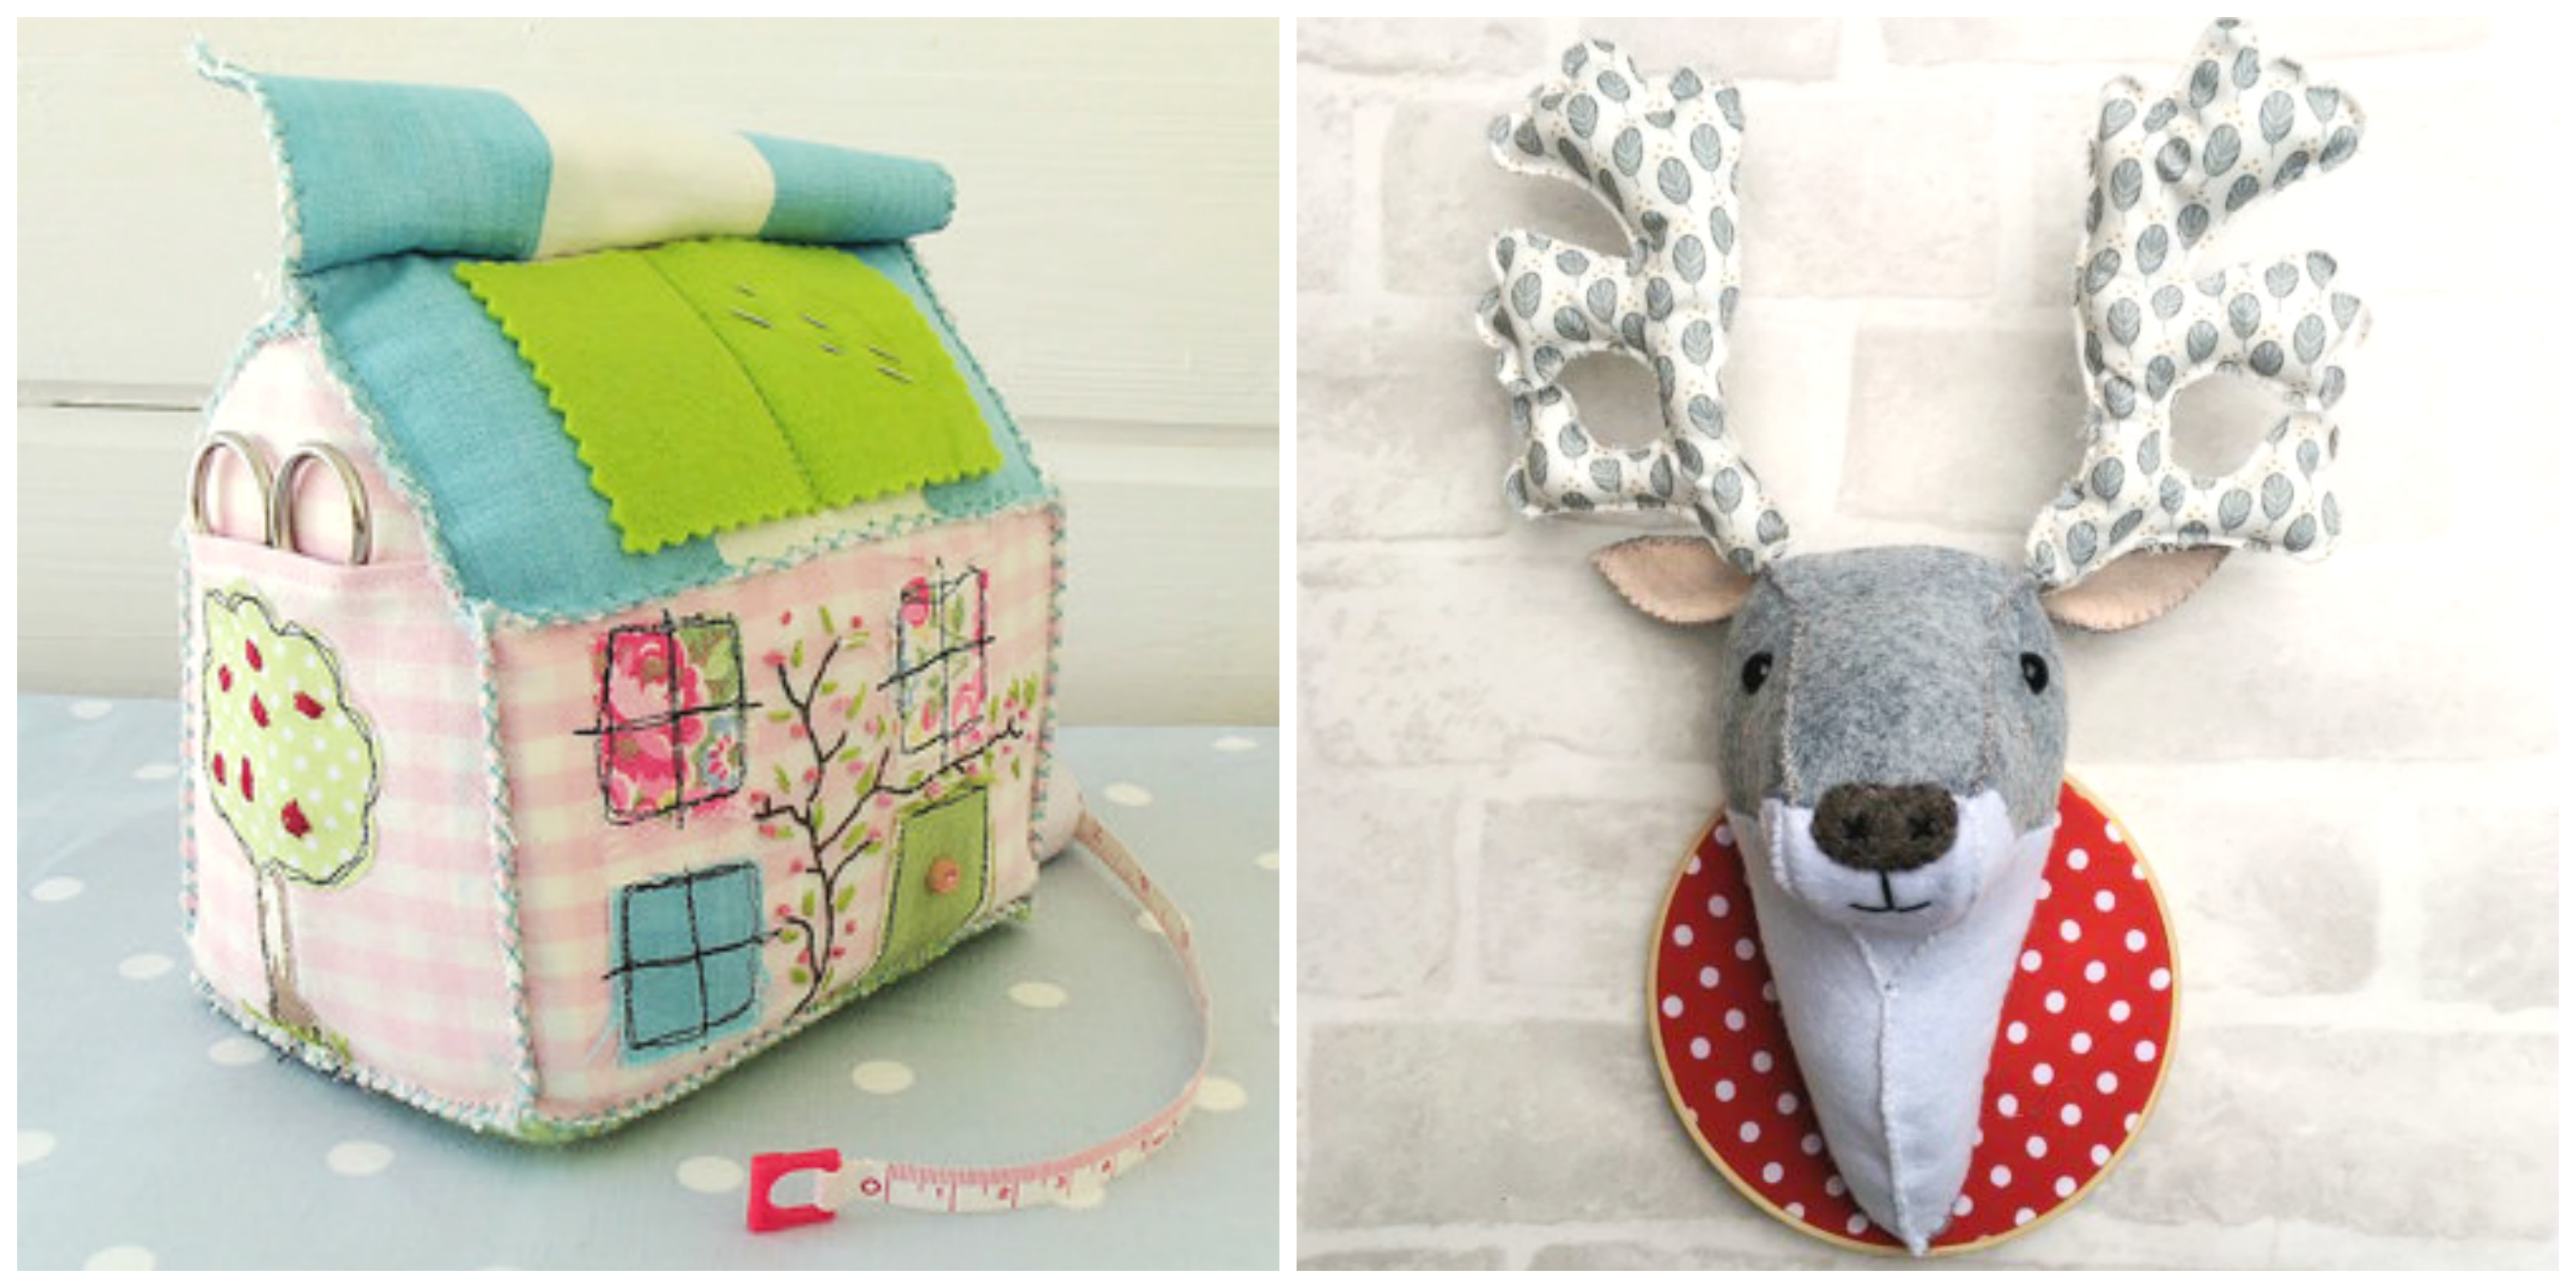
Softie Patterns from Bustle & Sew
Finishing Details:
Positioning of the details such as eyes and ears will give each softie an individual character and moving them only slightly will completely alter your softie’s expression. It’s worth spending a bit of time experimenting with glass-headed pins before sewing on eyes to make sure that your softie looks nice and happy and friendly!
Make sure all trimmings are very firmly attached, and if giving to a child do not use items that might cause choking such as buttons, ribbons and bells.
And finally…

Have confidence and don’t give up!! Many softies won’t look good until they’re finally completed with all the little details so important to create their characters finished. The little elephant above looked really ugly until his beautiful patterned ears were attached and I nearly discarded him. I’m so glad I didn’t!
Leave a Reply